
How organisation transforms your garden building
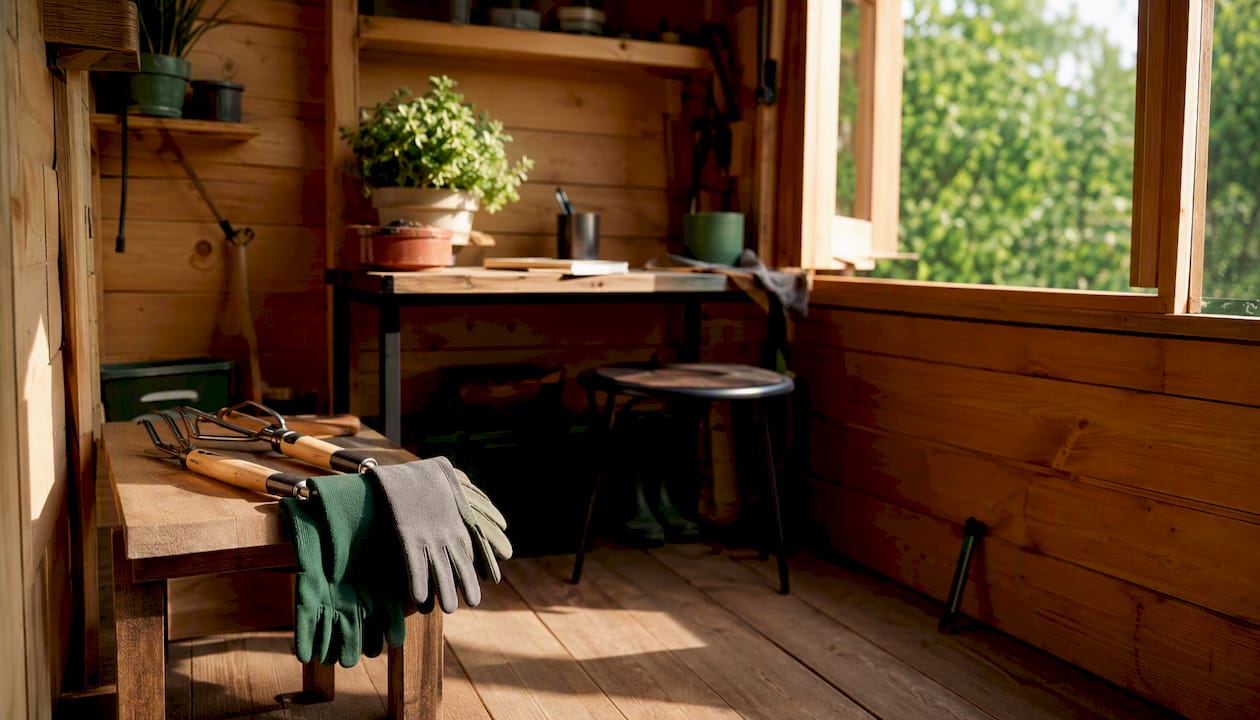
Good organisation turns a neglected garden building into a space you actually want to use. Whether you’ve got a log cabin doubling as a home office, a workshop, or a hobby room, the difference between a frustrating clutter-pile and a smooth, functional space comes down to one thing: planning how every item lives inside it.
Here’s what to do right now:
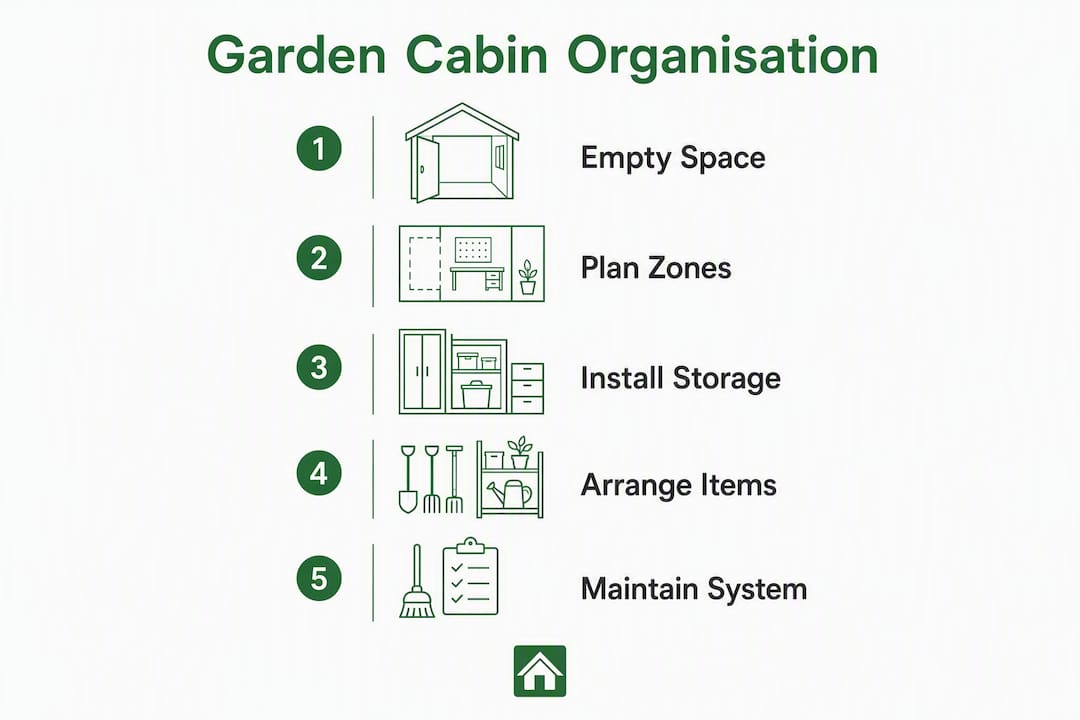
- Empty everything out and sort into keep, donate, recycle, or dispose
- Sketch a simple floor plan with zones for each activity
- Store vertically using walls and ceiling space before filling the floor
- Place heavy items low and near the door
- Lock away fuels, chemicals, and sharp tools separately
The role of organisation in garden buildings goes beyond tidiness. A well-planned cabin stays safer, feels larger, and works harder across every season. If you’re starting from scratch, bespoke garden log cabins from Logcabinkits can be designed around your storage and layout needs from day one, with door positions, window groups, and internal studs placed exactly where you need them. Under permitted development rules, most single-storey garden buildings don’t need planning permission, though height and coverage limits apply. If you use the cabin partly for business, HMRC treats the building shell differently from its fittings, so an itemised invoice matters.
Table of Contents
- How to empty and sort your garden building properly
- How do you plan zones and a layout that actually works?
- Using your walls and ceiling: vertical storage that frees up the floor
- Practical storage for every type of item in your cabin
- Choosing the right bench or desk for your cabin
- Lighting, ventilation, and keeping your cabin safe
- How to rotate seasonal items and keep the system going
- UK planning and tax rules for garden buildings used as offices
- Three weekend plans: from quick tidy to office-ready
- Key takeaways
- Why the design of your cabin shapes how well organisation works
- Logcabinkits builds cabins that work the way you need them to
- Useful sources and further reading
How to empty and sort your garden building properly
Before you plan a single shelf, you need a blank canvas. That means taking everything out, not just shuffling things around.
What you’ll need before you start:
- A tarpaulin or groundsheet to lay items on outside
- Cardboard boxes or crates labelled Keep, Donate, Recycle, Dispose
- A notepad or phone to photograph and list what you have
- A basic cleaning kit: brush, dustpan, damp cloth, and a torch
Work from back to front. Pull everything out into the garden and lay it flat so you can see it all at once. This is the moment to check the building itself: look for damp patches on the floor or walls, any soft or discoloured timber, gaps in the roof felt, and signs of pests such as droppings or gnaw marks. Catching these now saves you fitting shelves over a problem that’ll get worse.
Three-pile triage for a weekend job:
- Keep and use regularly — goes back in, in a prime spot
- Keep but rarely use — goes into overhead or deep storage
- Out — donate, recycle, or book a collection
Pro Tip: Don’t try to organise while you empty. The two tasks fight each other. Get everything out first, then decide. You’ll make faster decisions when you can see the full picture laid out in front of you.
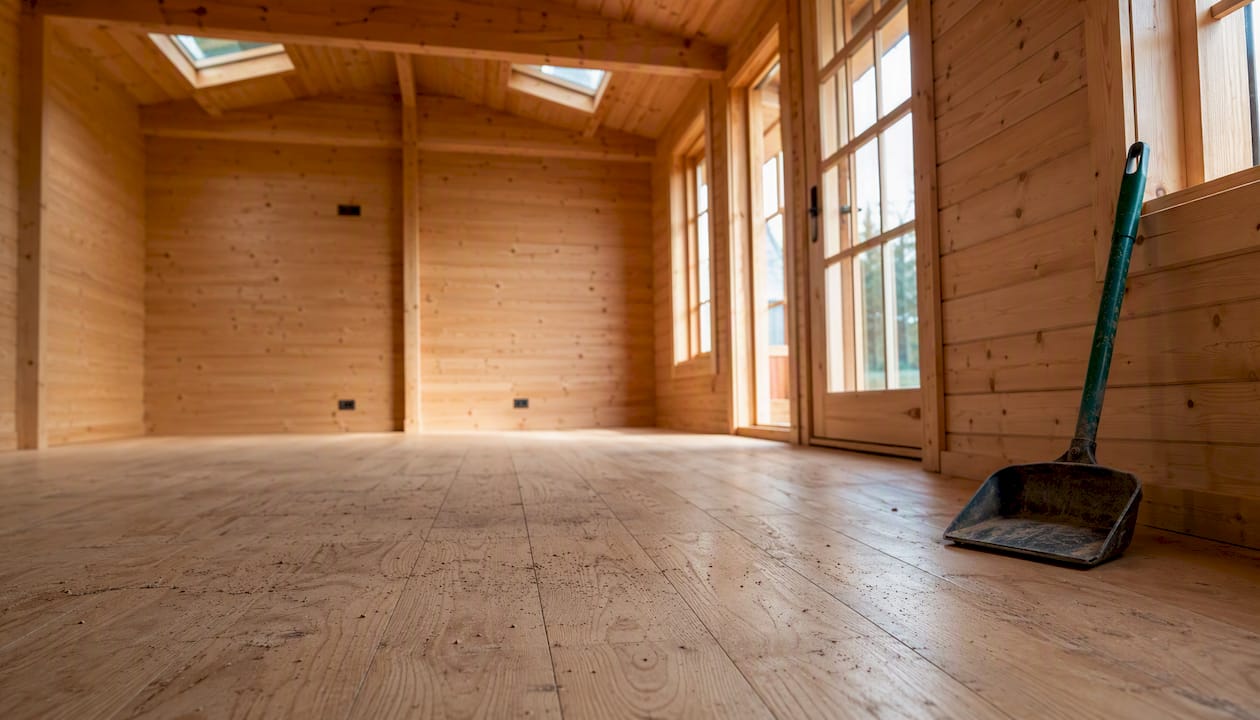
Once the cabin is empty, sweep it out and wipe down the walls. You’ll see the true floor area, the actual wall space, and any structural issues that need fixing before you bring anything back in.
How do you plan zones and a layout that actually works?
Measure the cabin’s internal dimensions and sketch them on squared paper, using one square per 0.5 metres. Mark the door swing, any windows, and fixed features like power sockets.
Zone ideas to consider:
- Entry and mud zone near the door: hooks for coats, a boot rack, a mat
- Workshop or bench area: along the longest wall, ideally under a window
- Tool storage: wall-mounted, close to the bench
- Plant or utility corner: potting bench, watering kit, compost bags
- Office or hobby area: desk facing a window, away from damp-prone walls
Three layout rules that make a real difference:
- Keep a clear central walkway from the door to the back wall. Designers stress that preserving this direct path reduces perceived clutter and makes the space feel twice as big.
- Place heavy items low and close to the door so you’re not carrying them across the room.
- Put frequently used items at eye level, between hip and shoulder height.
Corner desks and benches are worth considering in smaller cabins. They preserve usable floor area by tucking the work surface into a space that would otherwise be dead. A desk placed to face the door also gives you a natural sightline across the whole room, which helps you spot anything out of place quickly.
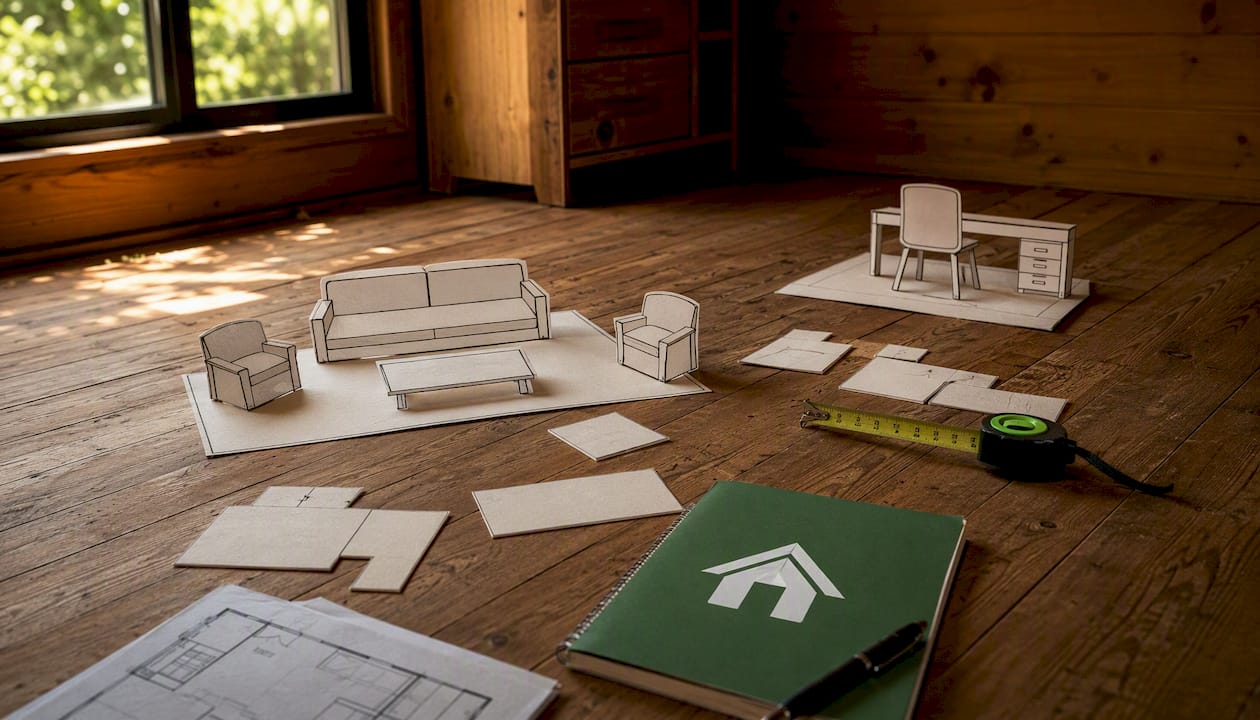
Pro Tip: Draw your furniture on cut-out squares of paper and move them around the floor plan before you buy or build anything. It takes ten minutes and saves a lot of heavy lifting later.
Using your walls and ceiling: vertical storage that frees up the floor
Floor space is the most valuable thing in a garden building. Once it’s gone, it’s gone. Walls and ceilings, on the other hand, are almost always underused.
Wall storage options:
- Pegboards: cheap, flexible, and easy to reconfigure. Ideal for hand tools, small parts, and anything you reach for daily
- Slatwall panels: stronger than pegboard, holds heavier items, and looks tidy
- Narrow shelving: 20–30 cm deep shelves above head height keep bulky items off the floor without blocking movement
- Purpose hooks and racks: long-handled garden tools hang vertically on wall straps or in corner cradles, which stops them falling and saves a surprising amount of floor space
Overhead options:
- Loft platforms: a simple timber platform above head height can store seasonal items, camping gear, or anything you use once or twice a year
- Suspended racks: ceiling-mounted racks work well for bikes, ladders, and flat items
- Bike hoists: a pulley system lifts a bike to ceiling height and brings it back down with one hand
For timber cabin walls, fixing into factory-fitted studs is the right approach. Pre-planning fixing points and specifying anchor types during manufacture reduces retrofit work and keeps insulation and cladding intact. Use timber-specific anchors or screw directly into studs; avoid raw plugs in thin log profiles. For heavier loads like loft platforms or bike hoists, check with your supplier about recommended fixings before you drill.
Practical storage for every type of item in your cabin
Different items need different systems. Here’s what works for the most common cabin contents.
Hand tools and small parts
Shadow-boarding is the gold standard: paint the outline of each tool on the board so you can see at a glance what’s missing. Labelled bins or jars for screws, nails, and fixings keep small parts findable. A tool board at bench height means you never hunt for a screwdriver again.
Long-handled garden tools
Vertical racks or wall straps keep forks, spades, and rakes upright and out of the way. Corner cradles use the least-used part of the room and stop tools falling across walkways.
Chemicals, paints, and fuels
These need their own dedicated, ventilated space. A lockable metal cabinet is the safest option. Use a spillage tray underneath, keep everything clearly labelled, and never store fuel canisters near electrical equipment or heat sources. This isn’t just good organisation — it’s a basic safety requirement.
Bicycles and bulky seasonal kit
Hoists or foldaway wall brackets work well for bikes. Seasonal items like paddling pools, sledges, and garden furniture covers go into clearly labelled boxes on overhead racks or a loft platform.
Power tools and batteries
Keep power tools on dedicated shelves with clear separation between tools, batteries, and chargers. Lithium batteries should not be stored in very cold or very damp conditions, so a well-insulated cabin matters here. For home organisation systems that go beyond basic shelving, modular cabinet systems can be adapted to fit a cabin interior.
Choosing the right bench or desk for your cabin
The furniture you choose shapes how the whole room works. Get it wrong and you’ll be working around it for years.
Workbench types:
- Fixed benches: the most stable option for heavy work. Build or buy one to fit the wall exactly, with a shelf underneath for bulky items
- Foldaway benches: ideal for smaller cabins where the space doubles as a hobby room or office. Fold flat against the wall when not in use
- Modular units: flexible and reconfigurable as your needs change
For a garden office, a desk with integrated drawers or shelving underneath keeps paperwork and cables tidy without adding extra furniture. A fold-down desk on a wall bracket is a good solution when the cabin also serves as a utility room or potting space.
Ergonomics worth knowing:
A standard workbench sits at a comfortable height for standing work. If you’re doing detailed tasks like model-making or electronics, lower it slightly so you can work with your elbows bent at a comfortable angle. For a seated desk, use a height that supports ergonomic posture.
Plan furniture as part of your zone map, not as an afterthought. A bench that blocks the ventilation panel or sits in front of a window is a problem you’ll notice every single day.
Lighting, ventilation, and keeping your cabin safe
A well-organised cabin that’s dark, damp, or poorly ventilated won’t stay organised for long. These basics matter.
Lighting:
- Maximise natural light first: position the desk or bench under or near a window
- Add LED task lighting above the workbench and at the desk. LED strips are low-cost, low-heat, and easy to fit
- Put switches near the door so you’re never fumbling in the dark
Ventilation and damp:
- Fit ventilation strips or passive vents high and low on opposite walls to create airflow
- Use a dehumidifier during winter months if the cabin isn’t heated regularly
- Insulation helps regulate temperature and reduces condensation, which protects both your belongings and the timber
Security and safe storage:
- Fit a quality padlock or mortice lock on the main door
- Anchor expensive equipment (lawnmowers, power tools) to a floor anchor or wall bracket
- Store fuels and fertilisers in a locked, ventilated metal cabinet away from electrics
Pro Tip: Once a month, spend five minutes on a quick safety check: test the RCD if you have mains electrics, check walkways are clear, confirm chemical labels are readable, and look for any new damp patches. It takes less time than you think and catches problems early.
How to rotate seasonal items and keep the system going
Organisation isn’t a one-off job. The cabins that stay tidy are the ones with a simple system for rotating kit and doing basic upkeep.
Seasonal rotation:
- Label every box with its contents and the season it belongs to (Summer Kit, Winter Kit)
- At the start of each season, move the relevant boxes to accessible shelves and push the off-season boxes to overhead or deep storage
- Do a quick five-minute check each time you rotate: anything broken, expired, or no longer needed goes straight out
Maintenance schedule:
- Every six months: re-label any faded labels, check timber treatment on external surfaces, inspect the roof felt or covering, clear gutters if fitted
- Quarterly: pest inspection (look for droppings, gnaw marks, or nests), check fixings on wall-mounted storage, wipe down shelves
- Annual deep clean: empty everything out again (yes, really), clean the floor and walls, treat any new damp spots, review the zone layout
Storing temperature-sensitive items:
Paints and adhesives can be ruined by frost. Store them in an insulated cabinet or bring them indoors over winter. Lithium batteries for power tools should be stored at room temperature, charged to around 50%, and kept away from damp.
UK planning and tax rules for garden buildings used as offices
Before you convert a cabin to a home office or business space, it’s worth understanding the rules. They’re not complicated, but getting them wrong can be costly.
What permitted development covers
Under Class E of permitted development, garden buildings used incidentally to the enjoyment of the house don’t usually need planning permission, provided they meet the conditions. The Planning Portal sets out the key limits:
| Rule | Limit |
|---|---|
| Maximum eaves height near a boundary | 2.5 metres |
| Maximum garden coverage | No more than 50% of the garden |
| Use | Must be incidental to the house |
Stricter rules apply to listed buildings, conservation areas, and other designated land. For multi-room cabins, check the multi-room planning permission rules before you build.
HMRC and tax basics
HMRC generally treats the building shell as a structure rather than plant and machinery, which means the construction cost itself usually can’t be claimed as a capital allowance. However, wiring, plumbing, and internal fittings may qualify if they’re invoiced separately. Running costs (heating, electricity, broadband) can be proportionally claimed by self-employed people.
Get itemised invoices before construction begins. Separating the cost of integral features like wiring and plumbing from the shell cost gives you the best chance of claiming capital allowances on those elements. Once a single invoice is issued for the whole build, that separation is much harder to argue.
If a limited company pays for a cabin on a director’s land and the director uses it privately, benefit-in-kind charges and National Insurance liabilities can arise. Tax treatment depends on ownership, invoicing, and actual usage patterns.
Accountants commonly advise keeping some incidental private use of a garden office to protect Private Residence Relief when you sell the property. Exclusive business use risks losing that relief and can trigger a Capital Gains Tax liability. For full guidance, see the UK planning permission guide and speak to an accountant before you build.
This is general information, not professional tax or legal advice. Confirm current rules with HMRC or a qualified accountant before making decisions.
Three weekend plans: from quick tidy to office-ready
Plan 1: Small tidy (2–4 hours)
What you need: Labels, a marker pen, a few hooks, a box of cable ties.
- Remove everything from one zone (start with the most-used area)
- Wipe down surfaces and check for damp
- Put items back in logical groups: all hand tools together, all garden chemicals together
- Add three or four hooks to the wall for the most-reached-for items
- Label every shelf, box, and bin
Plan 2: Full reorganisation (one weekend)
What you need: Pegboard or slatwall, brackets, screws, a workbench or trestle, labels, boxes.
- Day 1: Full clear-out, floor-to-ceiling clean, sketch the zone map, buy or gather storage materials
- Day 2: Install wall storage, set up the bench, bring items back in by zone, label everything
Plan 3: Convert to office-ready (two weekends)
What you need: Insulation check, RCD-protected mains supply (installed by a qualified electrician), desk, LED task light, lockable filing or storage, HMRC documentation folder.
- Weekend 1: Full reorganisation as above, plus insulation check and any damp treatment
- Weekend 2: Desk and lighting installation, cable management, set up HMRC documentation (itemised invoices, usage log), final safety check
Checklist of materials to buy or hire:
- Pegboard or slatwall panels and fixings
- Timber-specific wall anchors or stud-mount screws
- LED strip or task light
- Labelling kit (label maker or weatherproof labels and marker)
- Lockable metal cabinet for chemicals and fuels
- Dehumidifier (for winter use)
- Tarpaulin for the clear-out day
Key takeaways
Good organisation in a garden building starts with one action: empty the space completely, then zone it before a single item goes back in.
| Point | Details |
|---|---|
| Empty and zone first | Take everything out, then assign a zone to each activity before anything goes back in. |
| Vertical storage saves floor space | Use walls and ceilings for hooks, pegboards, shelves, and overhead racks before filling the floor. |
| Heavy items low, frequent items at eye level | Place bulky or heavy kit near the door at floor level; keep daily-use tools between hip and shoulder height. |
| UK planning and tax rules apply | Single-storey cabins under 2.5 m eaves near boundaries usually don’t need permission; get itemised invoices for any business-use fittings. |
| Logcabinkits bespoke cabins | Logcabinkits designs cabins with door positions, window groups, and pre-fitted studs planned around your storage and layout needs. |
Why the design of your cabin shapes how well organisation works
Most people organise around the building they have. The smarter move is to choose a building designed around how you want to organise it. That’s the thinking behind the way Logcabinkits approaches cabin design.
Door placement is the most overlooked decision. A door in the corner of a cabin forces you to walk diagonally across the floor to reach the back wall, which cuts usable wall space and creates awkward traffic patterns. A centrally placed door, or a double-door front, keeps both side walls clear for full-length storage runs. When you’re planning a workshop or a multi-use cabin, that difference in usable wall space is significant.
Window grouping matters too. A single large window on one wall floods the room with light but leaves the other walls in shadow. Grouping smaller windows on two walls gives you better natural light distribution and keeps the main storage wall free. It’s a detail that’s easy to specify at the design stage and almost impossible to change afterwards.
Multi-room log cabins solve a different problem: when one space has to serve two or three functions (office, utility, hobby room), a dividing wall with a door between rooms means each zone can be properly fitted out without compromise. The office stays quiet and tidy; the potting bench and tools stay in the utility room.
Pre-installed fixing points and factory-fitted studs are a detail that makes a real difference when you come to fit wall storage. Drilling into a log wall after the fact risks cracking the profile or compromising insulation. Specifying extra studs at the build stage means your pegboards, shelving, and bike hoists go up cleanly, without guesswork.
Logcabinkits builds cabins that work the way you need them to
A cabin that’s been designed with organisation in mind from the start is a different thing entirely from one you’re retrofitting storage into afterwards. Logcabinkits offers bespoke garden log cabin design where door positions, window placement, internal studs, and fixing points are all specified before manufacture, so your storage systems go in cleanly and your layout works from day one.
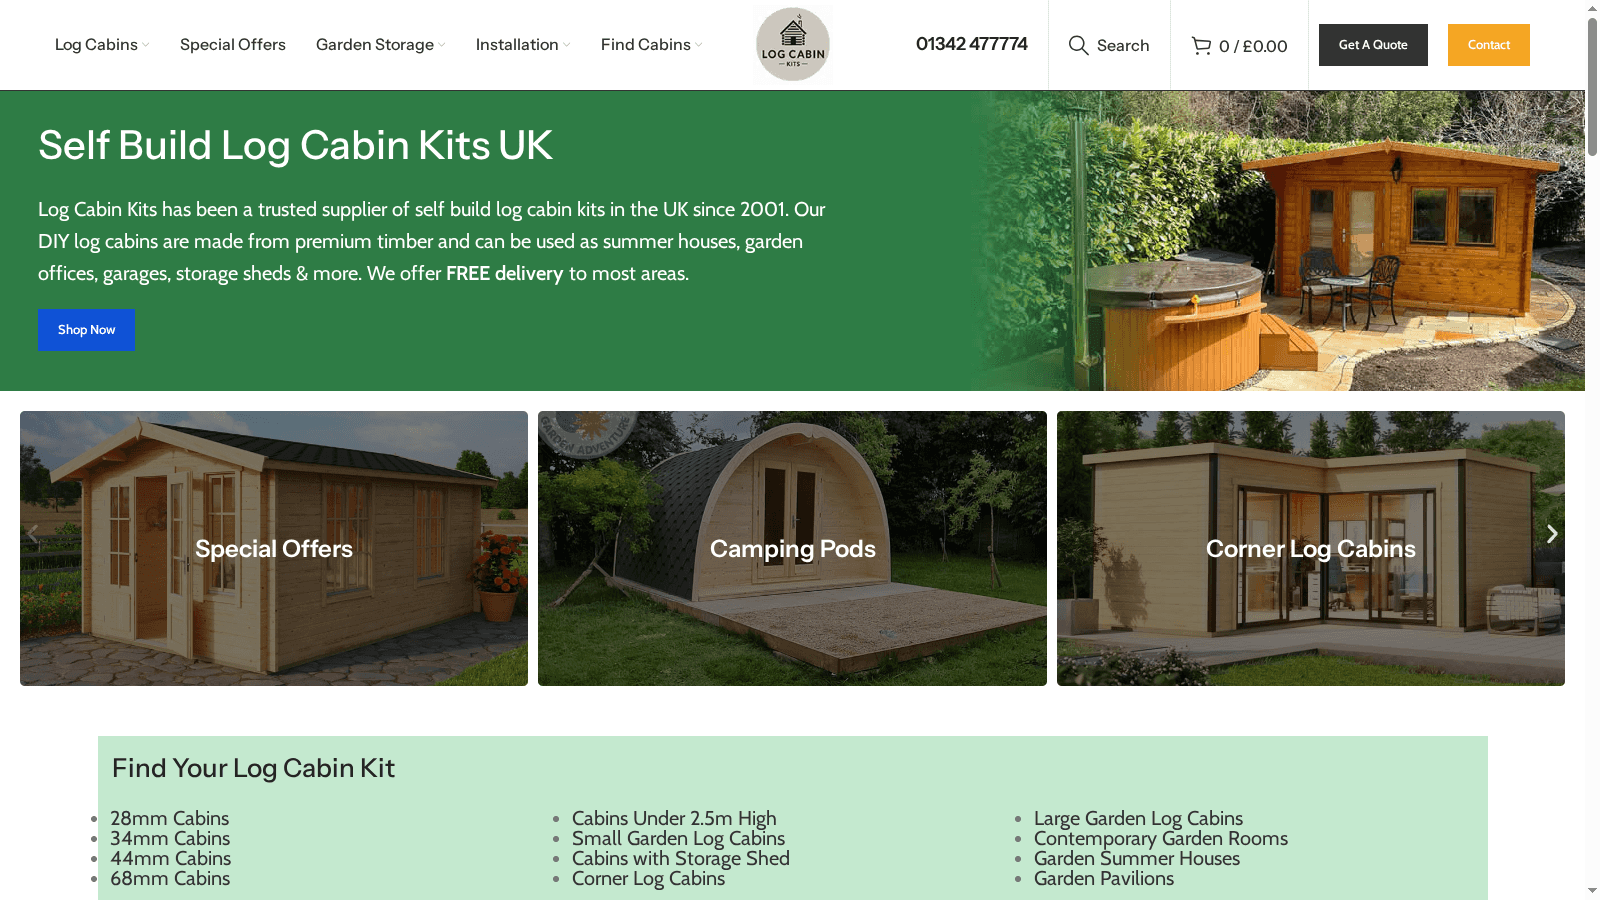
The standard range covers a wide variety of sizes and styles, from compact single-room cabins to large multi-room buildings with separate rooms for office and utility use. Every cabin is available with options including insulation, double glazing, and factory-painted exteriors, all delivered to UK mainland addresses. If you’re not sure which size or layout suits your plans, the cabin selection wizard walks you through the options in a few minutes and points you to the right starting point.
Browse the full range of garden log cabins or get in touch with the Logcabinkits team to talk through a bespoke design that fits your space and your plans.
Useful sources and further reading
UK planning and permitted development:
- Permitted development rights for householders: technical guidance — GOV.UK
- Outbuildings: planning permission guidance — Planning Portal
- The Town and Country Planning (General Permitted Development) (England) Order 2015 — legislation.gov.uk
Tax and HMRC guidance:
- Garden office tax explained: what you can (and can’t) claim — Eco Accounts
- Garden rooms, permitted development and tax — CalcHub
Logcabinkits product and planning pages:
- Garden log cabins — browse the full range by size and style
- Bespoke log cabin design — custom door positions, studs, and layout options
- Cabin selection wizard — find the right cabin for your needs
- Multi-room log cabins — separate rooms for office and utility use
- How to optimise cabin storage: practical tips — fixing guidance and storage ideas
- UK planning permission for a log cabin — what you need to know before you build
- Multi-room log cabin planning permission rules — coverage limits and permitted development for larger cabins