
Garden cabin landscaping workflow: your step-by-step guide
TL;DR:
- Proper site assessment and drainage testing are essential steps before beginning garden cabin landscaping to prevent future water problems. Hardscape features should be installed first, including grading, foundations, and drainage, followed by planting zones that prioritize safety and low maintenance. Consistent seasonal maintenance ensures the landscape remains attractive, functional, and safe over the years.
Getting the landscaping right around your garden cabin can feel like a lot to take on. There’s the soil to check, plants to choose, paths to lay, and drainage to sort. Without a clear garden cabin landscaping workflow, it’s easy to end up redoing work or running into problems that could have been avoided. This guide walks you through the whole process in the right order, from initial site checks all the way through to long-term maintenance. Whether you’re planning a brand new cabin setup or refreshing an existing space, you’ll find clear, practical steps here that actually save you time and effort.
Table of Contents
- Key takeaways
- Site assessment: what to do before you start
- The landscaping workflow: hardscape before softscape
- Planting and soft landscaping around your cabin
- Maintenance and long-term performance
- My take on getting this right
- Start your cabin project with Logcabinkits
- FAQ
Key takeaways
| Point | Details |
|---|---|
| Start with a drainage test | Run a 24–48 hour drainage test before any landscaping to avoid costly water problems later. |
| Hardscape goes in first | Lay paths, patios, and grading before planting to protect soft landscaping from damage. |
| Plan cabin and landscape together | Co-ordinating your cabin foundation with landscaping saves rework and disruption. |
| Choose plants wisely | Native species that handle wet and dry cycles establish faster and need less care. |
| Build in seasonal maintenance | Regular pruning, mulching, and debris clearing keeps the space looking great all year. |
Site assessment: what to do before you start
The most common mistake people make with landscape design for garden cabins is jumping straight to the fun stuff. Plants, paving, and pretty features are tempting, but the groundwork you do before any of that determines whether the whole project lasts.
Check your drainage first
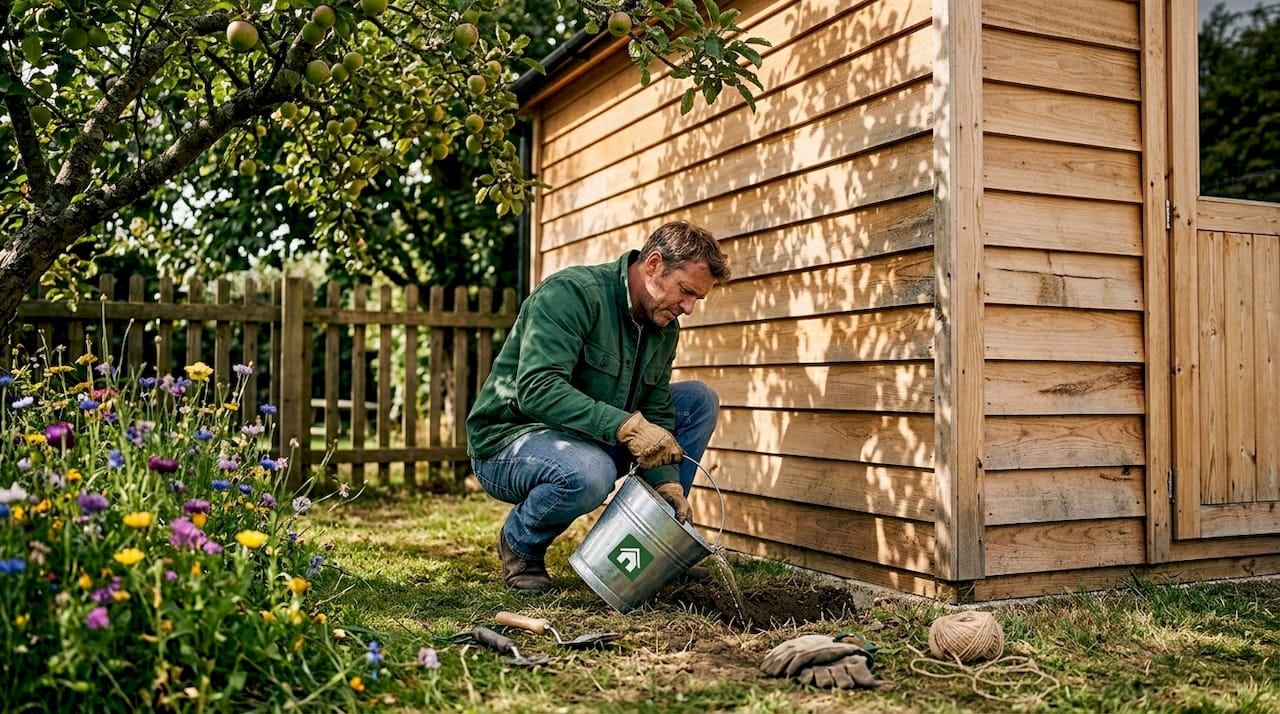
Water is the number one cause of problems around garden buildings. Before you dig a single hole, do a drainage test. Pour water onto the ground and observe how quickly it soaks away. If water pools for longer than 48 hours, you either need to amend the soil or rethink your layout. Sandy soils drain faster than clay, which matters when you’re calculating the size of any rain garden or soakaway you might need later.
The formula for sizing a rain garden is straightforward. Divide your impervious surface area by 6 for clay soils or by 8 for sandy soils to get the minimum rain garden area. Position it at least three metres from your cabin foundations to protect against damp.
Map the area properly
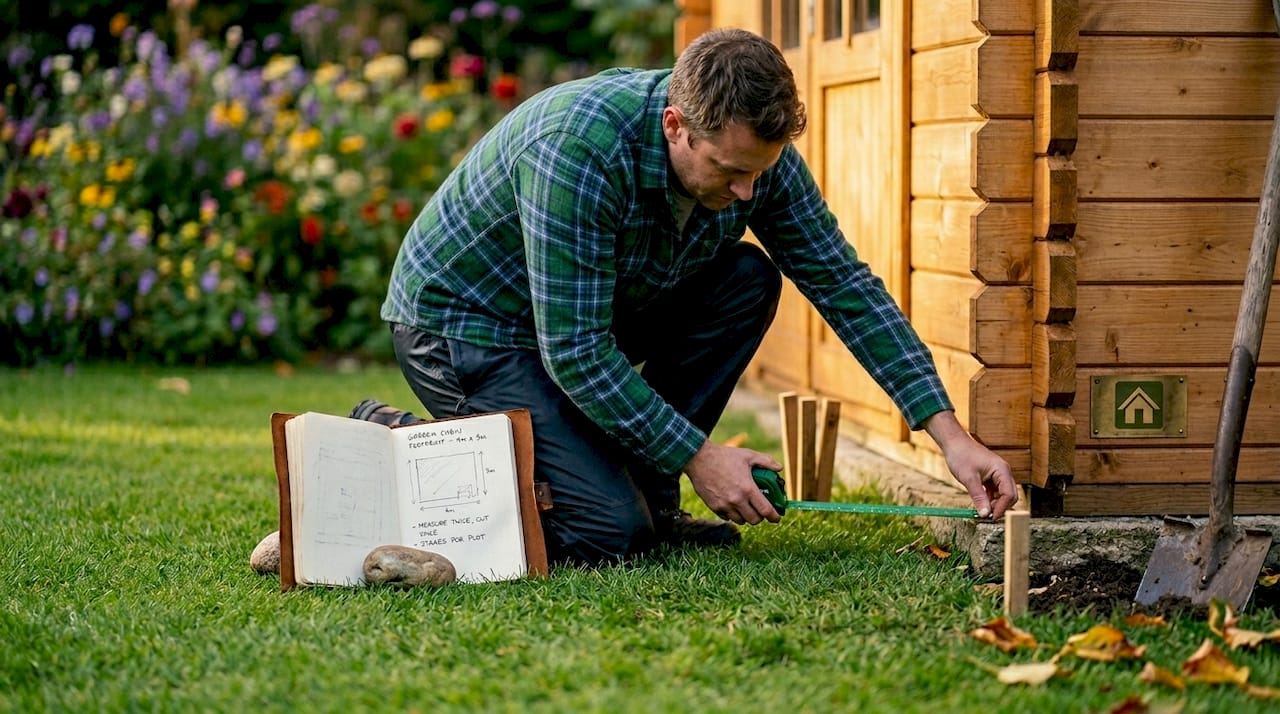
Grab a tape measure and sketch out the full space. Note where the sun falls at different times of day, where existing utilities run, and where you want access routes to go. Planning foundations, services conduit, and path alignment jointly between your cabin build and your landscaping design prevents the kind of headaches that force you to dig things up twice.
Think about fire safety too, especially if you live in a drier area. A non-combustible perimeter zone directly around the cabin with limited organic mulch and well-spaced planting significantly reduces fire risk. This zone is sometimes called Zone 0 in fire-safe landscaping.
Pro Tip: Take photos of your garden before you start, from several angles. You’ll refer back to them constantly as the project develops, and they’re genuinely useful when you’re deciding where to place plants or adjust paths.
Here’s a quick checklist for your site assessment:
- Test soil drainage over 24–48 hours
- Measure and map the full landscaping area
- Mark utility routes and access points
- Identify the sunniest and shadiest zones
- Note any slopes that could affect drainage or path placement
- Research native plant species suited to your local climate
The landscaping workflow: hardscape before softscape
Professional landscapers follow a clear rule. Foundations, utilities, and hardscape must be in place before any planting begins. This isn’t just about efficiency. It’s about protecting your plants and your time. Digging trenches or laying paths after planting damages roots, compacts soil, and wastes work.
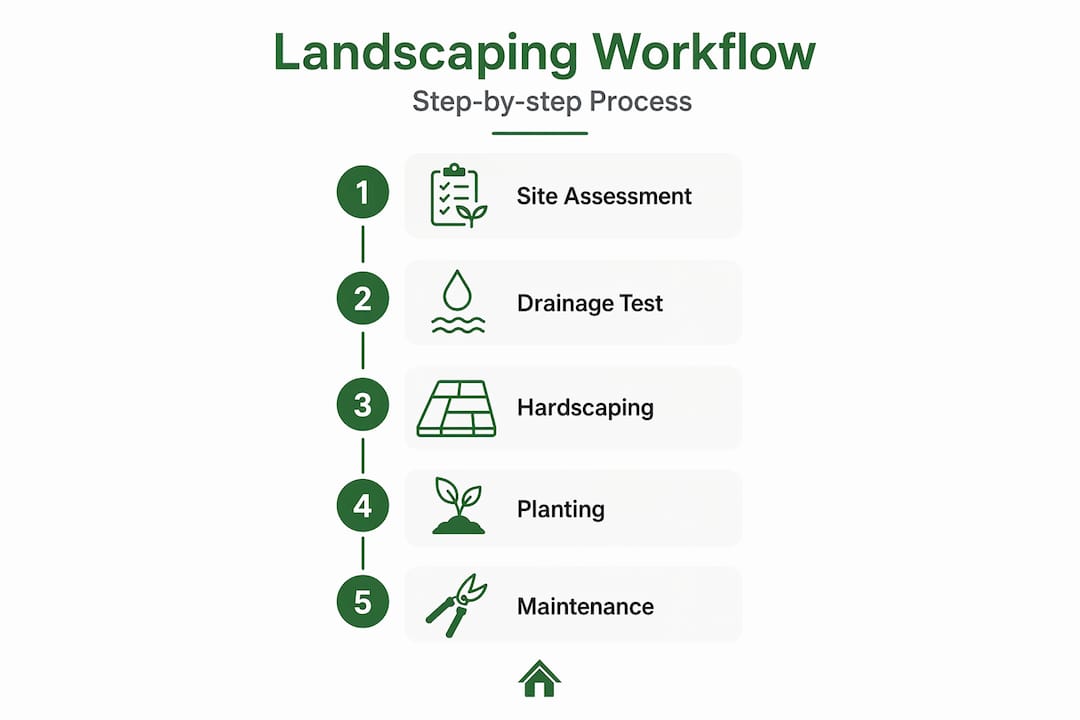
Here’s the order to follow for an efficient landscaping workflow around your cabin:
- Grade the site. Level off and slope the ground away from the cabin. A gentle fall of about 1 in 60 is enough to direct water away from the base.
- Lay the cabin foundations. Coordinate this with your landscaping plan so path levels and patio heights align correctly.
- Install drainage and soakaways. Route water away from the cabin with French drains, rock spillways, or a soakaway at least three metres from foundations.
- Lay hardscape surfaces. Put down paths, patios, and any gravel zones before any planting. Using paving that matches your house helps tie the cabin into the wider garden scheme visually.
- Create the non-combustible perimeter. Immediately around the cabin, use gravel, paving slabs, or stone rather than bark or organic mulch.
- Prepare planting beds. Amend soil with sand, topsoil, and organic compost, and level the bases of any planting areas so water doesn’t pool unevenly.
Pro Tip: Lay a conduit pipe under any paths or patios while the ground is open. Even if you don’t need to run cables now, it saves a huge amount of effort if you want lighting or power to the cabin later.
Here’s a quick comparison of hardscape options and their benefits:
| Material | Best use | Fire safety rating | Maintenance level |
|---|---|---|---|
| Gravel | Perimeter zone, paths | Excellent | Low |
| Paving slabs | Patios, main paths | Excellent | Low |
| Bark chippings | Planting beds only | Poor (avoid near cabin) | Medium |
| Decking | Seating areas | Moderate (treated timber) | Medium |
| Grass | Wider garden areas | Poor when dry | High |
Hardscape features like gravel paths and retaining walls also act as natural fire breaks, interrupting any continuous fuel source between your planting and the cabin. This doubles up as both safety feature and structural design element.
Planting and soft landscaping around your cabin
Once your hardscape is done, the fun really begins. Choosing the right plants makes all the difference between a garden that looks great for one season and one that genuinely thrives year after year.
The key is selecting native species that tolerate wet and dry cycles. Natives establish faster and need far less watering once they settle in, which is exactly what you want in a low-maintenance garden retreat.
Planting zones around the cabin
Think of your planting in three zones:
- Zone 0 (0–1 metre from the cabin). Keep this area free of organic material. Use gravel, slate, or paving. No plants or mulch here.
- Zone 1 (1–5 metres from the cabin). Choose low-growing, fire-resistant plants with high moisture content. Lavender, sedums, and ornamental grasses with good spacing work well. Avoid resinous or highly flammable species.
- Zone 2 (5 metres and beyond). You have more freedom here. Mix shrubs, perennials, and taller plants as you like, but keep paths clear and avoid letting plants touch each other, which can carry fire between them.
Space plants according to their mature size, not how small they look in the pot. Overcrowding is one of the most common cabin garden renovation mistakes, and it leads to disease, competition for water, and higher fire risk as plants dry out and touch each other.
Pro Tip: Apply a 5–8 cm layer of wood chip mulch in your planting beds, but keep it at least 30 cm away from the cabin base and any wood surfaces. Mulch locks in moisture, reduces weeds, and gives the beds a tidy, finished look.
When it comes to softening the structural lines of the cabin with planting, climbers and tall grasses at the corners work beautifully. They help the building feel like it belongs in the garden rather than sitting on top of it. Avoid anything that grows directly against timber walls, though. You need airflow to keep the wood in good condition.
Maintenance and long-term performance
A good workflow for outdoor living spaces doesn’t end once the planting is in. Maintenance is what keeps the whole thing looking as good in year three as it did in year one.
Here’s a simple seasonal schedule to follow:
- Spring. Cut back any winter-damaged growth. Top up mulch in planting beds. Check drainage channels are clear after winter rain.
- Early summer. Cut ornamental grasses and remove dead plant matter before the driest part of the season. This reduces fuel load and tidies the space.
- Late summer. Check for any pooling or erosion around paths and cabin bases after summer storms. Address any low spots before autumn rain arrives.
- Autumn. Clear fallen leaves from gravel zones and paths. Check gutters and drainage outlets are free of debris. Review any plants that haven’t performed well and plan replacements.
- Winter. Keep the non-combustible perimeter clear of leaf litter. Inspect timber cabin surfaces for any signs of damp or moss, which can indicate drainage issues nearby.
Routine pruning, fertilisation, weed control, and debris clearing are the recurring tasks that make the biggest difference over time. None of them are difficult. The trick is simply doing them at the right time of year rather than letting them build up.
If you find that water is still pooling despite your drainage setup, it’s worth revisiting your soil preparation. Amending with sand and organic compost improves drainage significantly in heavy clay soils. Check that your soakaway or French drain hasn’t become blocked with silt, which happens naturally over time.
You can also review your planting choices after the first full season. Some species won’t suit your specific conditions, and it’s completely normal to swap them out. Landscaping a garden retreat is always an evolving project, not a one-time job.
For a helpful list of ongoing outdoor tasks to keep the whole space looking its best, the outdoor maintenance checklist from Love My Clean House is worth bookmarking.
My take on getting this right
I’ve seen a lot of cabin landscaping projects go sideways, and it almost always comes down to the same thing. People plan the cabin and the landscaping separately, as if they’re two different jobs. They’re not. The moment your cabin foundation is being planned, your paths, drainage, and planting zones should be on the same sketch.
The second thing I’d say is this. Don’t underestimate drainage. I can’t count how many times someone has laid a beautiful garden only to find water sitting against the cabin base within a year. The 24 to 48 hour drainage test feels like an extra step when you’re keen to get started, but it genuinely saves you from expensive rework.
The other insight worth sharing is that beauty and safety aren’t in conflict. A gravel perimeter zone looks smart and clean. Well-spaced, fire-resistant plants in Zone 1 can look just as attractive as a dense border. You don’t have to choose between a good-looking garden and a sensible one.
Finally, give yourself permission to change things. The best gardens I’ve seen are the ones where the owners kept adjusting, adding, and improving over a few seasons. Start with a solid workflow and a clear site assessment, get the hardscape in first, and then build from there. You’ll be far more pleased with the result than if you tried to get everything perfect on day one.
— Martin
Start your cabin project with Logcabinkits
If you’re at the planning stage, getting the right cabin in place before the landscaping begins makes everything easier. At Logcabinkits, you’ll find a full range of quality garden log cabins to suit all sizes of garden and all kinds of uses, from home offices to relaxation retreats.
If you have specific requirements, the bespoke cabin build service lets you get exactly the footprint, height, and specification you need, which makes integrating your cabin into a detailed landscaping plan much simpler. The team is always happy to talk through your ideas and help you find the right starting point. Explore the range and get in touch to find out what’s possible for your garden.
FAQ
What is a garden cabin landscaping workflow?
A garden cabin landscaping workflow is the sequence of steps you follow to plan, install, and maintain the area around a garden cabin. It covers site assessment, hardscape installation, planting, and ongoing maintenance in the correct order to avoid mistakes and rework.
Should I do landscaping before or after installing the cabin?
Plan both together from the start, but install the cabin foundations first. Coordinating foundations, paths, and drainage early avoids the need to dig up finished landscaping work later.
What are the best plants for around a garden cabin?
Native species that tolerate wet and dry conditions are the best choice. Low-growing, fire-resistant plants such as lavender and sedums work well in the zone closest to the cabin, while giving you more flexibility further out.
How do I stop water pooling around my garden cabin?
Run a drainage test before you start and grade the ground so it falls gently away from the cabin. Install a soakaway or French drain at least three metres from the foundations, and amend heavy clay soil with sand and compost to improve absorption.
How often should I maintain the landscaping around my cabin?
Carry out light maintenance each season. Clear debris and cut back dead growth in early summer before dry weather sets in, and check drainage channels in spring and autumn to keep everything working as it should.