
Step by step cabin planning: your complete 2026 guide
TL;DR:
- Step-by-step cabin planning involves organizing every project phase to prevent budget overruns and costly mistakes.
- It requires assessing site conditions, designing layouts, obtaining permits, and sequencing construction carefully.
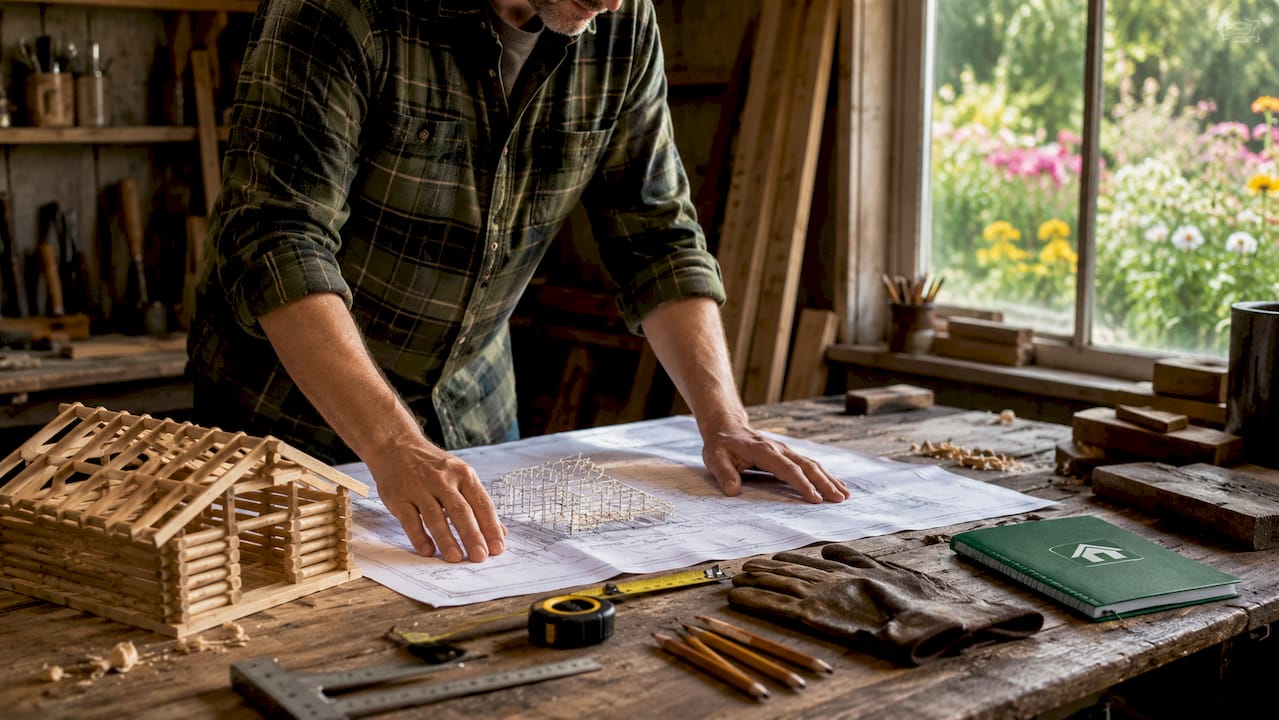
Step by step cabin planning is the process of organising every phase of your cabin project in logical order, from choosing the right spot in your garden to fitting the final door handle. Get this right and you avoid the two biggest problems that trip up DIY builders: budget overruns and planning mistakes that are expensive to fix. A well-structured cabin design guide covers site analysis, layout decisions, permits, materials, and construction sequencing. Industry guides recommend budgeting 10–20% as contingency for unexpected costs, which tells you everything about how often surprises happen. This guide walks you through each stage clearly, so you can build with confidence.
What does step by step cabin planning actually involve?
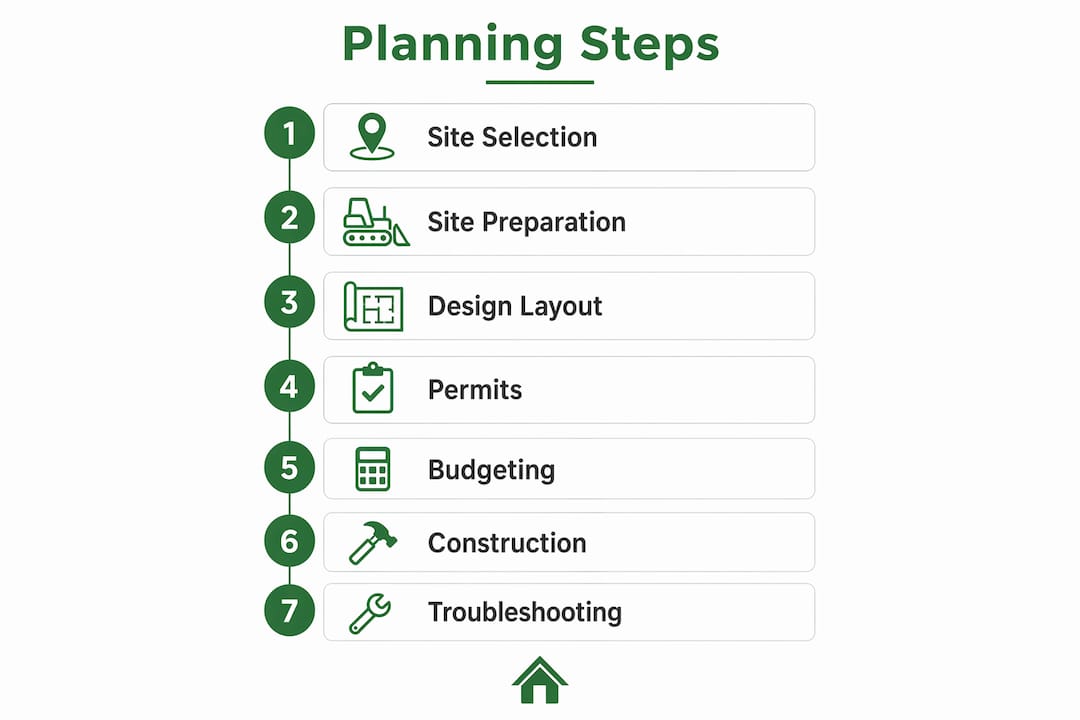
Step by step cabin planning means breaking a complex project into manageable stages, each one building on the last. Think of it as a building a cabin checklist that you work through in order, rather than all at once. The stages are: site preparation, design, permits and budget, then construction and finishing. Skipping or rushing any stage creates problems that are far harder to fix later.
The industry term for this approach is phased project planning, and it applies whether you’re assembling a pre-designed kit or commissioning a fully bespoke cabin design. Each phase has its own decisions, costs, and timelines. Understanding what comes when is the single biggest advantage you can give yourself before you spend a penny.
How to assess and prepare your site for cabin building
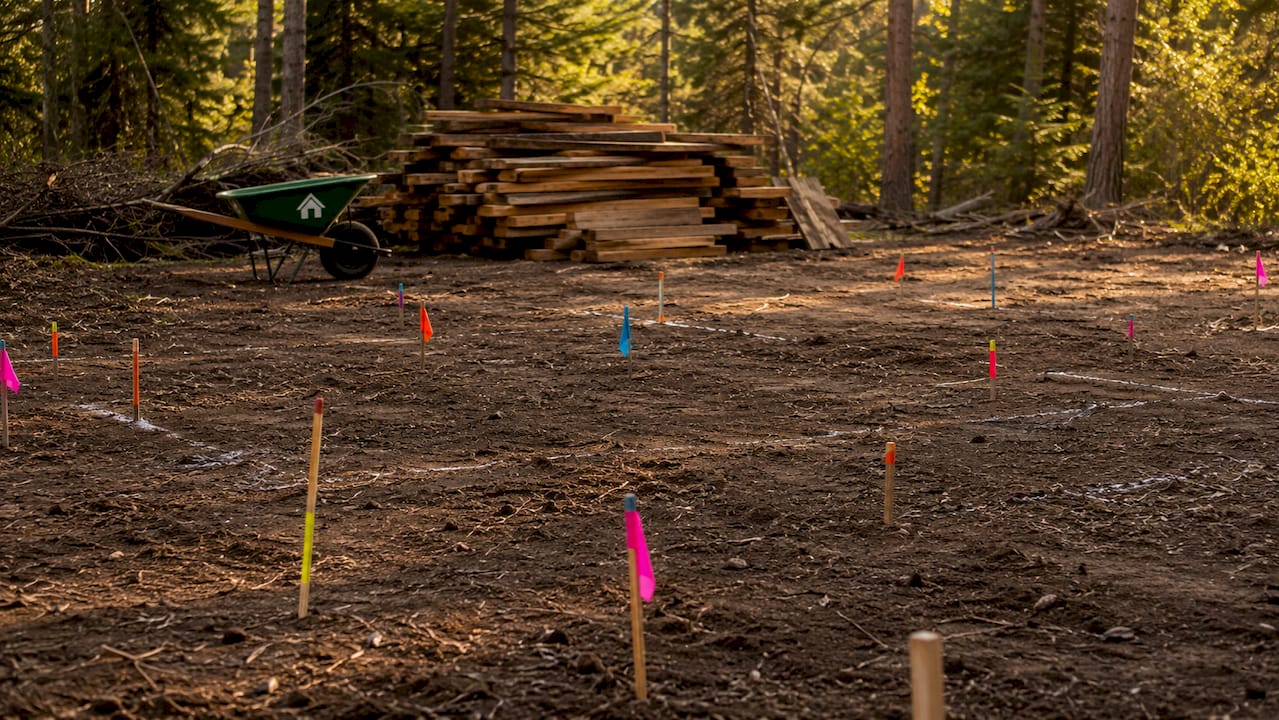
Site selection is permanent. A poorly chosen spot creates ongoing problems, while your cabin design can always be adjusted. Spend more time on site selection than you think you need to. It pays off every single day you use the building.
When you walk your garden, check these factors:
- Sun exposure: Which direction does the plot face? South-facing positions give you the most natural light and warmth through winter.
- Drainage: Does water pool after heavy rain? Poor drainage causes damp foundations and rot over time.
- Prevailing winds: Identify where the wind comes from. A sheltered spot reduces heat loss and makes the cabin more comfortable.
- Ground level: A flat or gently sloping site is far easier and cheaper to prepare than a steep one.
- Access: Can a delivery vehicle reach the site? Cabin kits arrive on pallets, and you need clear access for unloading.
Once you’ve chosen your spot, clear the area of vegetation, level the ground, and check for underground utilities before you dig. If you’re unsure about soil stability, a basic soil test from a local surveyor is money well spent.
Pro Tip: Visit your chosen site at different times of day over a week. Morning shade can become afternoon sun, and that changes how you position windows and doors entirely.
Designing your cabin: layout, footprint, and functional plans
Good cabin design starts with a simple question: what will you actually use this building for? The answer shapes every decision that follows. A garden office needs power points and good north light to avoid screen glare. A garden room for relaxing needs south-facing glazing and comfortable flow between spaces. A multi-room log cabin used as a guest annexe needs privacy from the main house and its own entrance.
Work through this process in order:
- Write a programme list. List every activity the cabin needs to support. Include storage, seating, sleeping, working, or whatever applies to your project.
- Sketch a rough footprint. Draw the outline to scale on graph paper. Mark doors and windows roughly. This doesn’t need to be perfect; it just needs to exist before you talk to a supplier.
- Plan your window positions. Passive solar design places most glazing on south-facing walls and limits north-facing windows. East and west windows help with cross ventilation. Good window placement transforms the interior with natural light and airflow.
- Rough in your mechanical systems early. Electrical conduit and piping must be planned during the design phase, not added later. Retrofitting cables and pipes in a log cabin means bulky surface-mounted trunking that spoils the look.
- Choose your roof style. A steeper roof pitch sheds rain and snow more effectively and adds useful headroom if you want a loft area. Steeper roofs at a 6/12 pitch also suit metal roofing, which is durable and long-lasting.
- Consider customisation options. Standard cabin kits can often be adjusted in size, wall thickness, and specification. Logcabinkits offers a custom size cabin service that lets you adapt a standard design to your exact needs without starting from scratch.
Pro Tip: Use free online floor plan tools like RoomSketcher or Planner 5D to visualise your layout before committing. Seeing it in 3D catches problems that flat drawings miss.
What permits, budgets, and timelines do you need for a cabin?
Most garden cabins in the UK fall under Permitted Development rights, which means you don’t need full planning permission if the building meets certain size and height limits. However, rules vary by location, and some areas have restrictions. A single 30-minute conversation with your local planning department can prevent costly violations and stop-work orders. Most councils are helpful when you ask early.
Budget components to plan for
| Budget item | Typical consideration |
|---|---|
| Base and groundworks | Concrete slab or timber frame base; costs vary by size and ground conditions |
| Cabin kit or materials | Pre-designed kits offer fixed costs; bespoke builds require detailed quotes |
| Permits and surveys | Planning fees, soil tests, and structural sign-off where required |
| Mechanical systems | Electrical installation, heating, and any plumbing connections |
| Finishing and furnishing | Insulation, internal lining, flooring, and fixtures |
| Contingency | Budget an extra 10–20% on top of your total for unexpected costs |
If your cabin needs a water supply or waste system, costs rise significantly. Drilling a well and installing a septic system can cost between £20,000 and £40,000. That figure shows why infrastructure decisions belong in the planning stage, not as an afterthought.
A typical custom cabin project takes a few months for a pre-designed kit and over a year for a fully custom build. Pre-designed kits win on speed because the design decisions are already made. Custom builds take longer but deliver exactly what you want.
Step by step cabin assembly: from base to finished building
The physical build follows a clear sequence. Rushing any stage creates problems in the next one, so work through each step before moving on.
- Prepare the base. Lay a concrete slab or build a timber frame base on compacted, level ground. The base must be perfectly level. Even a small error here throws off every wall and roof joint above it.
- Assemble the floor frame. Fix floor joists to the base, then lay the floor deck. Install floor insulation at this stage. A well-insulated floor at R-30 makes a significant difference to year-round comfort and heating costs.
- Build the walls. For log cabin kits, walls interlock in layers. For platform-framed builds, erect stud walls using 2×4 or 2×6 timber at standard spacing. Check for plumb and square at every course.
- Install the roof structure. Fix rafters or trusses, then add roof decking. Fit insulation before the final roof covering. Aim for R-38 or above in the ceiling for good thermal performance.
- Fit windows and doors. Install frames before cladding or sealing the exterior. Check that all frames are square and operate smoothly before fixing permanently.
- Weatherproof the exterior. Apply roofing felt or membrane, then the final roof covering. Seal all joints, around windows, and at the base. This stage protects everything inside.
- Run mechanical systems. Pull cables through pre-planned conduit, connect any plumbing, and install heating. This is far easier when the walls are up but before internal lining goes on.
- Finish the interior. Fix internal wall lining, lay finished flooring, and install fixtures. Paint or treat timber surfaces as the final step.
Pro Tip: Check your DIY installation guide before you start assembly. Knowing the full sequence in advance means you buy the right materials at the right time and avoid costly return trips to the builder’s merchant.
Common mistakes to avoid during assembly:
- Skipping the damp-proof membrane under the base
- Not checking for square before fixing walls permanently
- Leaving gaps around window frames that let in draughts
- Fitting internal lining before mechanical rough-ins are complete
How do you troubleshoot problems during a cabin build?
Unexpected issues are normal on any building project. The builders who finish on time and on budget are the ones who plan for problems before they happen.
“The best cabin builders aren’t the ones who avoid problems. They’re the ones who spot them early and fix them before they become expensive. Check your work at every stage, not just at the end.”
If you hit unexpected ground conditions, such as soft spots or buried rubble, stop and assess before continuing. Laying a base over unstable ground causes cracking and movement later. Bring in a groundworker to advise if you’re unsure.
Weather delays are common in the UK. Build a weather buffer into your timeline, especially for roofing and exterior work. Order materials slightly ahead of when you need them to avoid supply delays holding up the build.
For future-proofing, think about what you might want to add later. A garden log cabin with extra wall thickness and a larger base is easier to extend or upgrade than one built to minimum spec. Fit a larger consumer unit than you currently need, so adding circuits later is straightforward.
Pro Tip: Take photos at every stage of the build, especially before you cover up foundations, insulation, and wiring. If something goes wrong later, those photos are invaluable for diagnosis and any warranty claims.
Key takeaways
Successful cabin planning requires site selection, design, permits, and construction to happen in the right order, with a 10–20% contingency budget built in from the start.
| Point | Details |
|---|---|
| Site selection comes first | Choose your spot based on sun, drainage, and access before touching the design. |
| Plan mechanical systems early | Electrical and plumbing routes must be decided at the design stage to avoid surface-mounted retrofits. |
| Budget for the unexpected | Add 10–20% contingency on top of your total project cost from day one. |
| Contact your council early | A short conversation with your local planning department prevents permit violations and delays. |
| Follow the build sequence | Each construction stage depends on the one before; rushing creates problems that are costly to fix. |
What I’ve learned from watching cabin projects go wrong
The most common mistake I see is people falling in love with a design before they’ve properly assessed their site. They find a cabin they like, order it, and then discover the ground is too soft, the access is too narrow, or the position gets no sun in winter. The cabin is fine. The planning wasn’t.
The second mistake is underestimating how much the mechanical systems matter. Electrical and heating decisions feel like details, but they shape how comfortable and usable the building is every single day. Skipping them in the design phase and bolting them on later costs more and looks worse.
My honest advice: spend at least as much time planning as you do browsing designs. Use the cabin selection wizard to narrow down your options based on what you actually need, not just what looks good in photos. And if you’re not confident about any part of the build, Logcabinkits offers a professional installation service that takes the stress out of assembly entirely.
Planning is not the boring part. Planning is the part that makes everything else work.
— Martin
Quality garden log cabins, built around your plans
Logcabinkits supplies a wide range of garden log cabins and bespoke cabin kits, designed for UK gardens and delivered free across the country. Whether you want a standard design or something built to your exact dimensions, there’s a straightforward path from plan to finished building.
The bespoke cabin design service lets you adjust wall thickness, roof style, window positions, and overall footprint to match your site and your plans. Every cabin comes with full assembly instructions, and the team is on hand to answer questions at any stage. Browse the full range and use the selection wizard to find the right starting point for your project.
FAQ
What is the first step in planning a cabin?
Site selection is the first and most important step. Choose your location based on sun exposure, drainage, and access before you finalise any design decisions.
Do I need planning permission for a garden cabin in the UK?
Most garden cabins fall under Permitted Development rights and don’t require full planning permission, but rules vary by area. Contact your local planning department early to confirm what applies to your plot.
How long does it take to build a cabin from a kit?
A pre-designed cabin kit typically takes a few months from order to completion. Fully custom builds can take over a year, depending on design complexity and site conditions.
How much contingency should I budget for a cabin project?
Budget an extra 10–20% on top of your total project cost. This covers unexpected ground conditions, supply delays, and any design changes during the build.
Can I run electricity and plumbing into a garden cabin?
Yes, but both must be planned during the design phase. Retrofitting cables and pipes into a finished log cabin is difficult and results in surface-mounted trunking that affects the interior finish.
Recommended
- Customisable Cabin Features: Your 2026 Guide
- blog cabin build timelines explained your planning guide | Specialist Garden Cabin Supplier
- blog garden cabin landscaping workflow your step by step guide | Specialist Garden Cabin Supplier
- blog step by step cabin insulation your complete diy guide | Specialist Garden Cabin Supplier