
Blog
How to Install a Garden Shed for UK Homes Easily
Most British gardens can benefit from a well placed log cabin, but a single overlooked detail could leave your project delayed or over budget. With over 60 percent of British homeowners seeking ways to add value or living space outdoors, learning how to properly prepare your garden site is more important than ever. This guide explains what every British homeowner needs to know for a trouble free log cabin installation and a sturdy result that stands the test of time.
Table of Contents
- Step 1: Assess And Prepare Your Garden Site
- Step 2: Lay A Firm And Level Shed Base
- Step 3: Assemble Shed Panels And Framework
- Step 4: Secure The Roof And Waterproof Your Shed
- Step 5: Carry Out Final Checks And Fixings
Quick Summary
| Main Insight | Explanation |
|---|---|
| 1. Assess the Garden Terrain | Evaluate the land’s levelness and drainage to prevent foundation issues. Proper planning avoids future complications with installation. |
| 2. Create a Stable Base | Use concrete or gravel to ensure a solid foundation that prevents water damage and extends the life of your log cabin. |
| 3. Assemble with Care | Follow the manufacturer’s instructions closely when connecting panels to ensure structural integrity and alignment during the build. |
| 4. Waterproof the Roof | Apply quality roofing materials and sealants to protect against moisture damage, which is essential for the longevity of your log cabin. |
| 5. Conduct Final Checks | Verify all connections are secure and doors/windows function properly to ensure the overall integrity of your log cabin. |
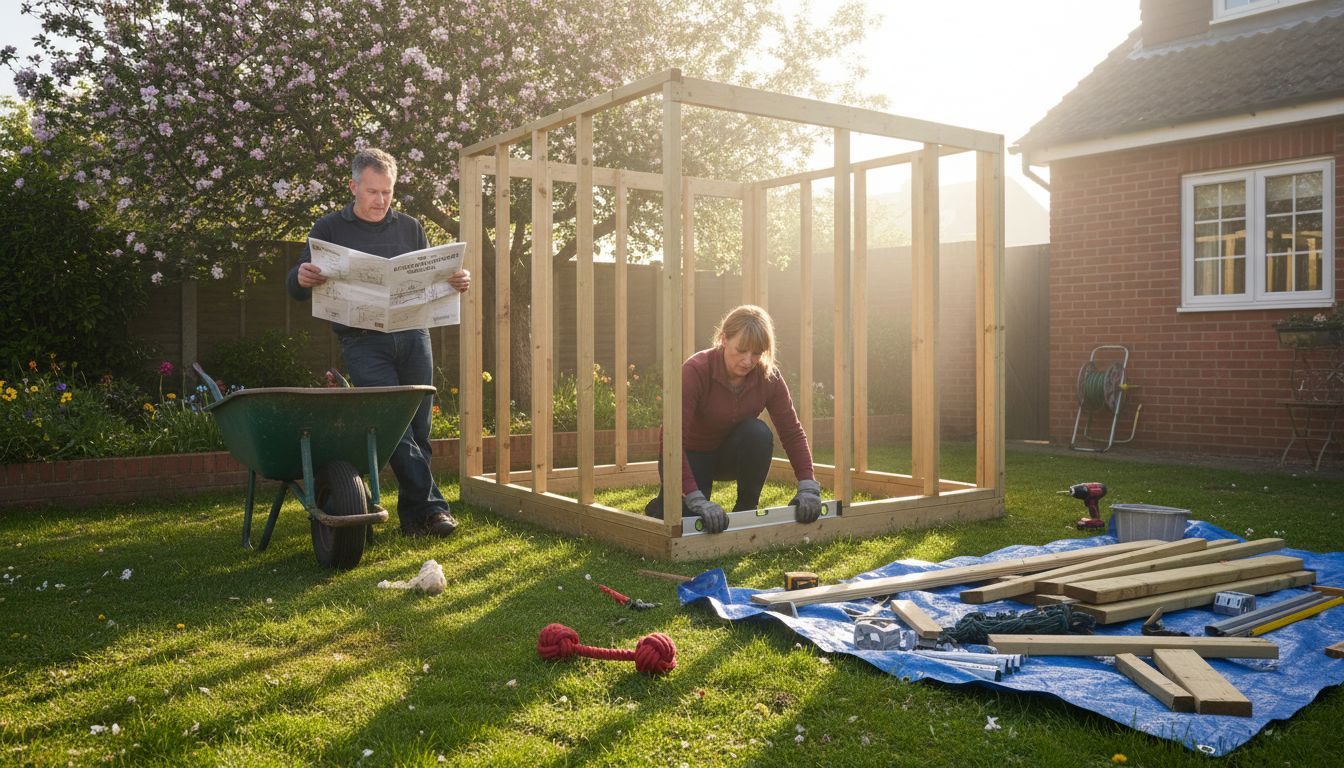
Step 1: Assess and prepare your garden site
Assessing and preparing your garden site is crucial before installing a garden log cabin. This initial step will help you avoid potential complications and ensure a smooth installation process.
Begin by thoroughly examining your garden’s terrain and measuring the proposed location for your log cabin. You’ll want to look for a level area with good drainage that receives appropriate sunlight. Ground conditions matter significantly. Clay soils, for instance, can create foundation challenges, while sandy or well-draining soils offer better stability. Use a spirit level to check the ground’s flatness and consider whether you might need to create a level base using hardcore, gravel, or concrete.
Consult your local planning guidelines to understand any restrictions. Local planning permissions can vary significantly regarding garden building placement, size, and height. Some areas require formal approval, while others permit permitted development rights. Check boundary distances carefully recommended distance from property lines is typically at least 2 metres to avoid potential disputes.
Measure your proposed site precisely and mark out the exact dimensions of your planned log cabin. Consider underground utilities like water pipes or electrical cables by contacting local utility services for a survey. Overhead obstacles such as tree branches or power lines are equally important to note.
Pro tip: Before digging or marking anything permanently, use wooden stakes and string to outline your cabin’s footprint. This visual guide helps you and any installers understand the exact placement and potential challenges.
Step 2: Lay a firm and level shed base
Creating a solid foundation is essential for your garden log cabin. A properly prepared base ensures stability, prevents water damage, and extends the lifespan of your garden building.
Start by marking out the precise area for your base. You’ll need to create a completely level surface that matches the exact dimensions of your log cabin. Concrete preparation requires careful planning and execution to ensure a stable foundation. Begin by removing any grass, weeds, and topsoil to a depth of approximately 100mm. Compact the ground thoroughly using a plate compactor or heavy roller to create a firm substrate.
Choose your base material carefully. Options include concrete slabs, poured concrete, or pre formed concrete bases. Concrete offers the most stable solution. If using poured concrete, create wooden formwork to contain the concrete and ensure it is perfectly level. Use a spirit level across multiple points to check for evenness. Pour the concrete carefully, working it into all corners and using a trowel to create a smooth surface. Allow sufficient time for the concrete to cure completely before attempting to install your log cabin.
Ensure proper drainage by creating a slight gradient away from the base. This prevents water accumulation and potential moisture damage to your log cabin. Consider adding a damp proof membrane underneath the concrete for additional protection against ground moisture.
Here’s a concise comparison of common garden base materials for log cabins:
| Base Material | Stability Level | Drainage Capability | Typical Cost Range |
|---|---|---|---|
| Concrete Slabs | Very high | Low | Moderate |
| Poured Concrete | Excellent | Moderate | Higher |
| Gravel/Hardcore | Good with correct prep | Excellent | Low |
| Timber Frame | Moderate (needs upkeep) | Variable | Moderate |
Pro tip: Always check the manufacturer’s specific recommendations for base preparation, as different log cabin designs may have unique foundation requirements.
Step 3: Assemble shed panels and framework
Assembling your garden log cabin panels and framework requires patience and careful attention to detail. This critical stage transforms your individual components into a solid garden structure.
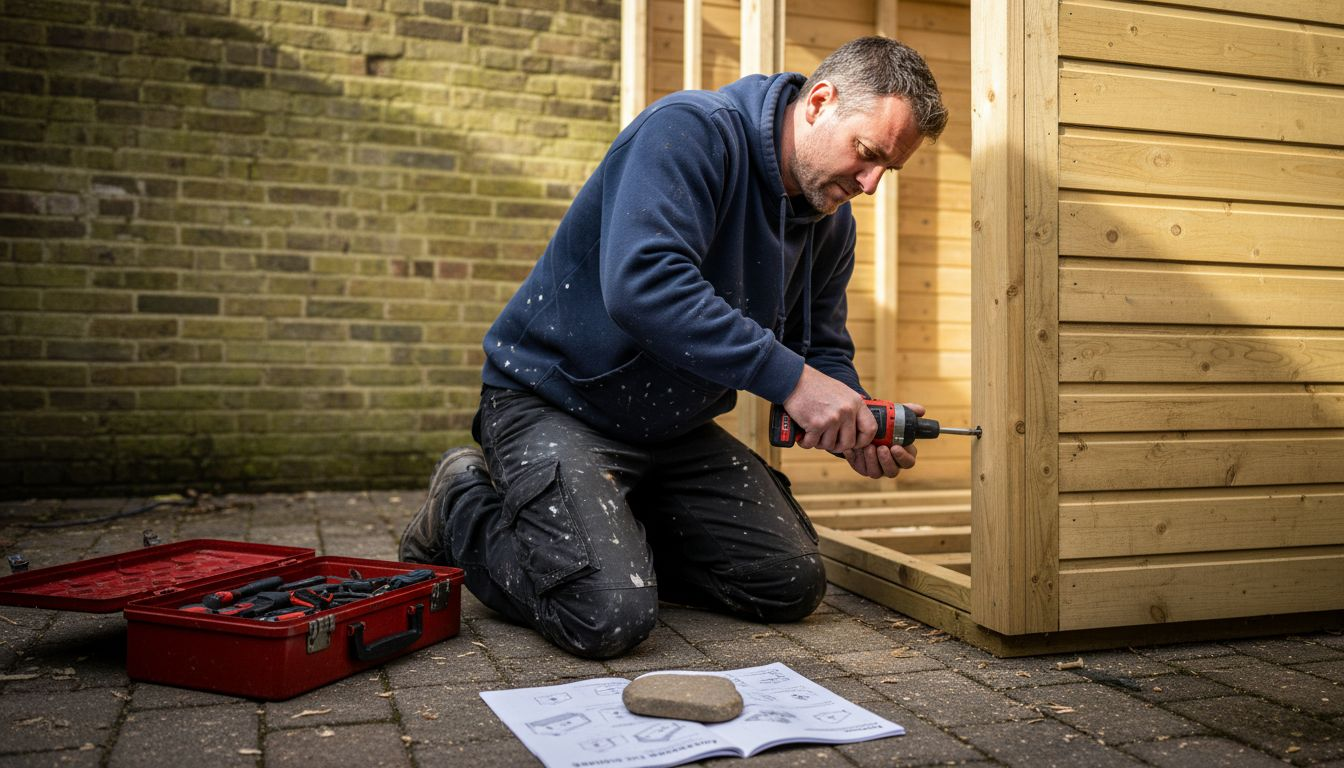
Begin by carefully unpacking all panels and checking them against your instruction manual. DIY garden shed kits offer straightforward assembly processes that make the installation more manageable. Sort your panels by type floor panels, wall panels, and roof sections. Lay them out systematically to ensure you understand the layout before beginning assembly. Start with the floor framework first, ensuring it sits perfectly level on your prepared base. Use a rubber mallet to gently tap panels into place and maintain proper alignment.
When connecting wall panels, work methodically and ensure each panel fits snugly against its neighbours. Use the recommended fixings supplied with your kit checking that screws or bolts are the correct length and type. Pay close attention to corner joints where precise alignment is crucial for structural integrity. Work slowly and check level and squareness frequently using a spirit level and carpenter’s square. Some log cabin kits have interlocking panel systems that make alignment easier ensure you understand how these connections work before starting.
As you progress with assembly, periodically step back and verify overall alignment. Slight adjustments during construction are much easier than trying to correct major misalignments later. Keep your workspace clean and organised, with tools readily accessible. Have a helper if possible particularly when lifting heavier panels or roof sections.
Pro tip: Always keep your instruction manual close at hand and follow the manufacturer’s specific assembly sequence exactly to ensure proper construction and maintain your warranty.
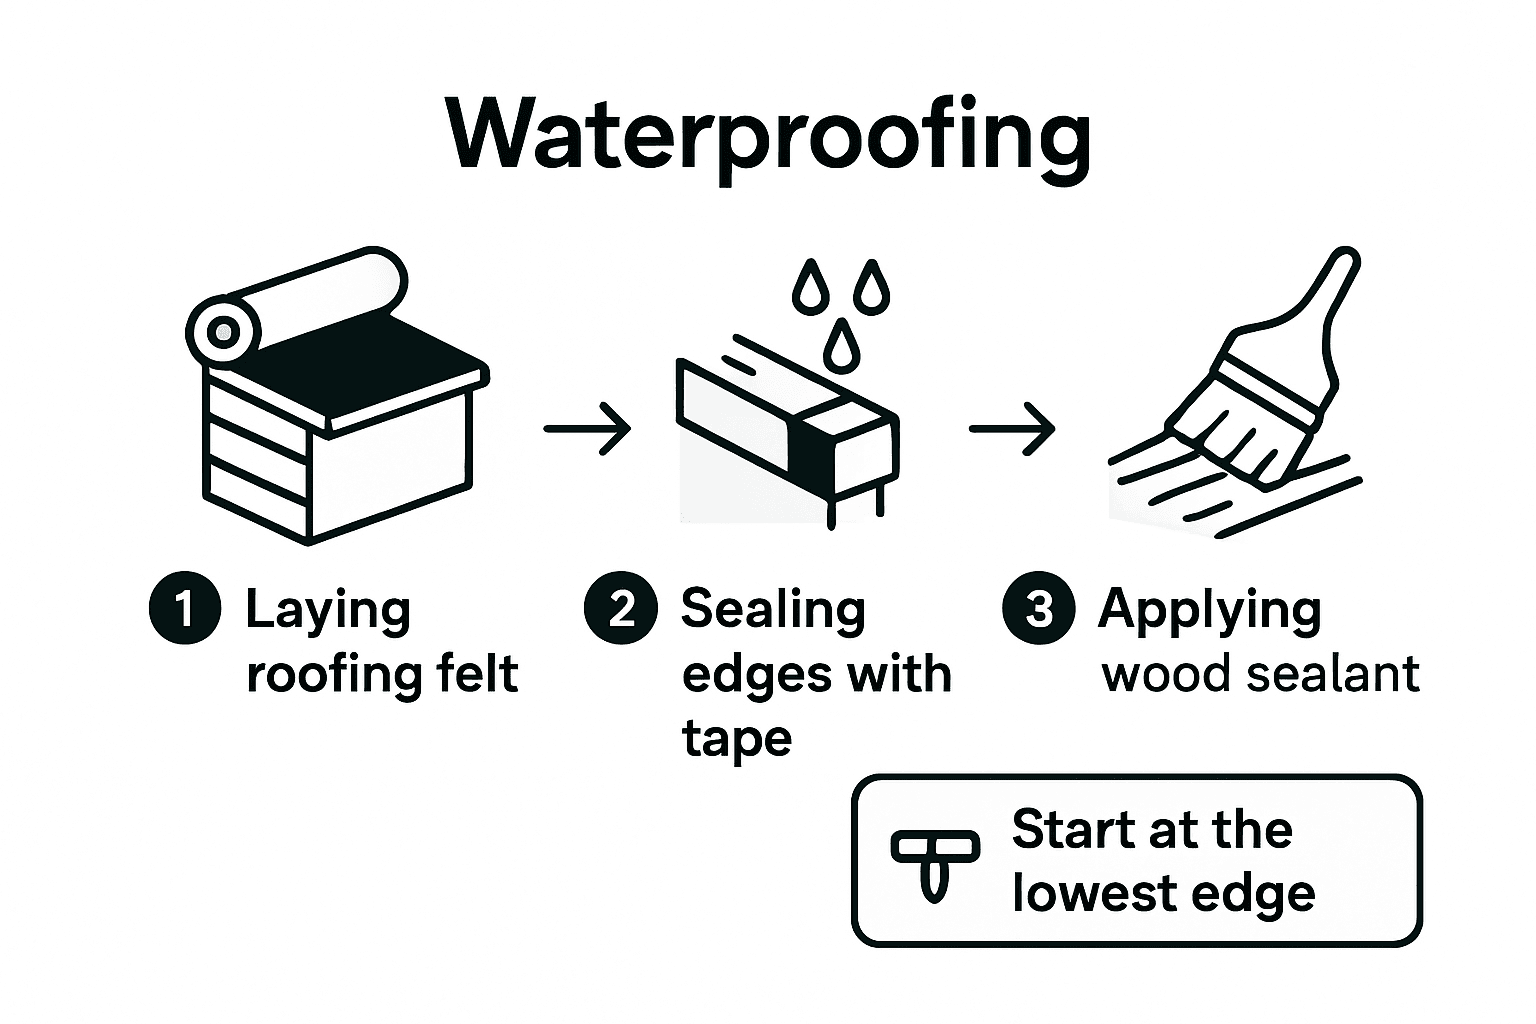
Step 4: Secure the roof and waterproof your shed
Securing and waterproofing your garden log cabin roof is a crucial step that protects your entire structure from potential moisture damage. This process ensures your investment remains sturdy and functional for years to come.
Waterproofing techniques are essential for maintaining log cabin integrity and preventing structural deterioration. Begin by carefully examining your roof panels for any gaps or potential entry points for water. Use high quality roofing felt or bitumen roof tiles designed specifically for garden buildings. Start at the bottom edge of the roof and work upwards, ensuring each layer overlaps slightly to create a watertight seal. Press the roofing material firmly into place using galvanised roofing nails or staples positioned at regular intervals.
Pay special attention to roof edges and corners where water might potentially penetrate. Apply a continuous strip of waterproof sealant along these critical areas to prevent moisture ingress. Check that roof panels are perfectly aligned and sit flush against each other. If your log cabin kit includes additional metal or rubber flashing, install these carefully around potential weak points such as joints or edges. Take time to smooth out any wrinkles or air bubbles in the roofing material to maintain a completely sealed surface.
Consider applying an additional layer of weatherproof protection by using exterior grade wood sealant on exposed wooden surfaces. This extra step helps prevent moisture absorption and protects the timber from potential rot or weather damage. Allow adequate drying time between each application of sealant or roofing material to ensure maximum effectiveness.
Pro tip: Always purchase slightly more roofing material than you think you will need to account for potential mistakes or complex roof configurations.
Step 5: Carry out final checks and fixings
Carrying out final checks and fixings is your opportunity to ensure your garden log cabin is perfectly assembled and ready to serve its purpose. This crucial stage guarantees the structural integrity and long term performance of your new garden building.
Precise site preparation and final verification are fundamental to successful shed installation and will prevent potential issues later. Begin by systematically walking around the entire structure and checking every connection point. Ensure all panels are securely fastened and sit perfectly flush against each other. Test each joint and connection by applying gentle pressure to identify any areas that might require additional screws or reinforcement.
Verify the overall structural alignment using a spirit level across multiple points including floor, walls, and roof. Check that doors and windows open and close smoothly without catching or jamming. Inspect the roofing material to confirm it is tightly secured and shows no signs of potential water penetration. Look carefully for any small gaps around window and door frames and use exterior grade sealant to close these potential entry points for moisture or draughts.
Carefully review all manufacturer instructions to confirm you have completed every recommended step. Some log cabin kits include specific final adjustment recommendations that can improve the building’s performance and durability. Tighten all fixings to their recommended torque settings ensuring they are neither too loose nor over tightened which could damage the timber or compromise the structural integrity.
To assist with planning, here is a summary of essential final checks before using your new log cabin:
| Check Area | Actions to Perform | Why It Matters |
|---|---|---|
| Structural Joints | Ensure all fixings are tight | Maintains building strength |
| Door & Window Fit | Test smooth opening/closing | Prevents jams and draughts |
| Roof Integrity | Confirm materials are secure | Protects against leaks |
| Sealing | Apply sealant to gaps | Blocks water and air ingress |
Pro tip: Keep all original installation documentation and take photographs of your completed log cabin from multiple angles as a reference for future maintenance or potential warranty claims.
Make Your Garden Shed Installation Effortless with Expert Solutions
Installing a garden shed can feel overwhelming when you face challenges like site assessment, laying a stable base, or creating a watertight roof. If you want to avoid costly mistakes and ensure your garden log cabin stands strong and water-resistant, choosing the right kit and support is essential. From bespoke options to clear instructions, our range addresses your key goals like perfect site prep, secure assembly, and reliable waterproofing.

Discover how our garden buildings combine quality materials with easy-installation designs. Visit https://logcabinkits.co.uk to explore customisable options that fit your space and preferences. Start your hassle-free build journey today by checking out our featured garden log cabins and learn why precise preparations and trustworthy kits lead to long-lasting satisfaction. Don’t delay – your garden retreat is only a click away!