

Garden cabin roofing: options, steps, and vital tips
TL;DR:
- Proper seam, edge, and penetration detailing are critical for a leak-proof garden cabin roof.
- EPDM rubber offers longer lifespan and better weather resistance than felt when correctly installed.
- Regular inspection and maintenance of seams and edges prevent costly long-term water ingress issues.
Picture this: you’ve just spent a weekend in your new garden cabin, only to find a damp patch spreading across the ceiling after the first heavy rain. Water drips onto your flooring, your insulation is soaked, and suddenly your dream retreat has become a very expensive problem. It’s more common than you’d think, and in most cases it comes down to one thing — the roof. Get the roofing right, and your cabin stays dry, cosy, and protected for years. This guide walks you through every stage, from choosing the right material to testing for leaks once the job is done.
Table of Contents
- Understanding roofing options for garden cabins
- Essential tools, materials, and preparation
- Step-by-step installation for watertight results
- Testing, troubleshooting, and maintaining your roof
- Summary of key steps and approach comparison
- What most guides miss: the overlooked details that make or break your roof
- Explore quality garden cabin solutions
- Frequently asked questions
Key Takeaways
| Point | Details |
|---|---|
| Choose wisely | Select roofing material based on lifespan, weatherproofing, and your roof’s pitch. |
| Prep is key | Good preparation prevents most issues—check surfaces and gather all tools before starting. |
| Seal every edge | Seams and edges need extra attention, with appropriate tape and flashing for a watertight result. |
| Inspect after installation | Test your roof for leaks right after installation and keep up with routine maintenance. |
Understanding roofing options for garden cabins
Before you begin, it’s essential to understand your roofing options and what each offers in terms of protection and long-term value.
The UK climate is demanding. Rain, wind, frost, and the occasional burst of strong sun mean your cabin roof needs to handle a lot. Choosing the wrong material — or the right material installed incorrectly — can lead to leaks within months. So let’s look at what’s actually available.
The four most common options for garden cabins are roof felt (also called bitumen felt), EPDM rubber membrane, roofing shingles, and green roofs. Each suits different cabin styles, budgets, and skill levels.
Our roofing materials guide goes into even more detail, but here’s a practical overview:
| Material | Typical lifespan | Cost (approx.) | DIY difficulty | UK weather suitability |
|---|---|---|---|---|
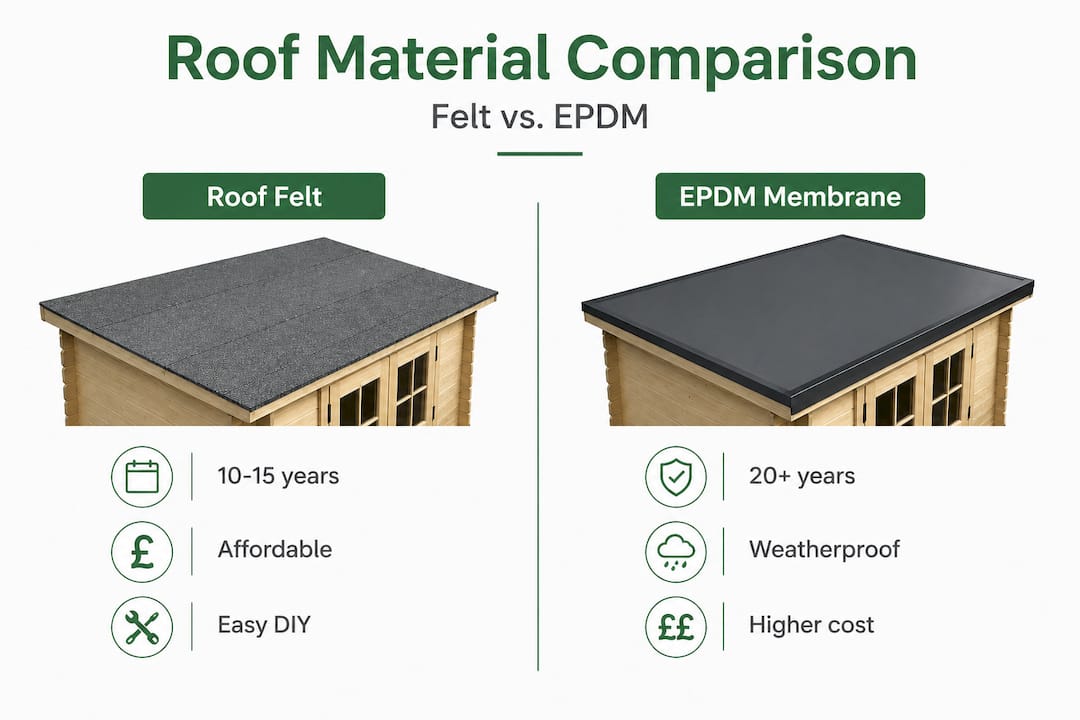
| Bitumen felt | 10 to 15 years | Low | Easy | Moderate |
| EPDM rubber | 20 to 30 years | Medium | Moderate | Excellent |
| Roofing shingles | 15 to 25 years | Medium/High | Moderate | Good |
| Green roof | 30+ years | High | Difficult | Excellent |
Bitumen felt is the most widely used option for flat and low-pitch cabin roofs. It’s affordable and readily available. However, watertightness depends on correct overlaps and layer staggering so seams don’t align — a detail many DIYers miss. Installation typically runs bottom to top, with each layer overlapping the one below it.
EPDM (Ethylene Propylene Diene Monomer) is a synthetic rubber membrane that’s become increasingly popular for garden cabins. It’s highly flexible, handles temperature changes well, and lasts considerably longer than felt. It does require careful seam and edge work, but we’ll cover that shortly.
Roofing shingles are a good option for pitched cabin roofs. They look attractive, come in a range of styles, and offer solid weather protection. They’re not ideal for flat or very low-pitch roofs, though.
Green roofs use a layer of growing medium and plants to protect the roof structure. They’re brilliant for insulation and wildlife, and they look fantastic. If you’re interested, our green roof options article covers everything you need to know. Bear in mind they need proper structural support and specialist drainage layers.
For most UK garden cabin owners working with a flat or gently sloped roof, EPDM is the strongest long-term choice. Felt works well too, especially if you’re on a tighter budget and willing to follow installation steps carefully.
Essential tools, materials, and preparation
Now you’ve chosen your material, it’s time to assemble your tools and plan the job properly — this is where many projects can go wrong before they start.
Preparation is genuinely where the outcome of your roof is decided. A well-prepared deck with clean edges, no moisture, and proper ventilation will give any roofing material the best possible foundation.
Here’s a practical table of what you’ll need for the two most common systems:
| Tool or material | Felt system | EPDM system |
|---|---|---|
| Sharp craft knife or roofing knife | Yes | Yes |
| Stiff brush for cleaning deck | Yes | Yes |
| Roofing nails or staple gun | Yes | No |
| Adhesive (contact or bonding) | Optional | Yes |
| EPDM primer | No | Yes |
| Seam tape | No | Yes |
| Roller (heavy, seam roller) | No | Yes |
| Lap sealant | No | Yes |
| Straight edge / chalk line | Yes | Yes |
| Ladder and safety equipment | Yes | Yes |
Before any material goes down, check your roof deck thoroughly. Look for:
- Soft or spongy boards — these indicate rot and must be replaced
- Gaps or movement between boards — these need to be secured or filled
- Moisture or damp patches — allow to dry fully before you start
- Protruding nails or screws — knock them flush or remove them
- Ventilation gaps — make sure airflow beneath the deck is not blocked
The roof maintenance tips section of our blog also covers deck inspection in more detail, which is worth a read before you start. As a rule, if your deck isn’t solid and dry, no amount of good quality roofing material will save you from leaks.
Pro Tip: Double-check your edge and seam details before installation begins. The vast majority of future leaks trace back to these two areas, not the main body of the roof.
Correct overlaps and layer staggering ensure seams don’t align and create weak points — and this applies equally to felt and EPDM. Get this wrong at the preparation stage and you’ll be fixing problems later.
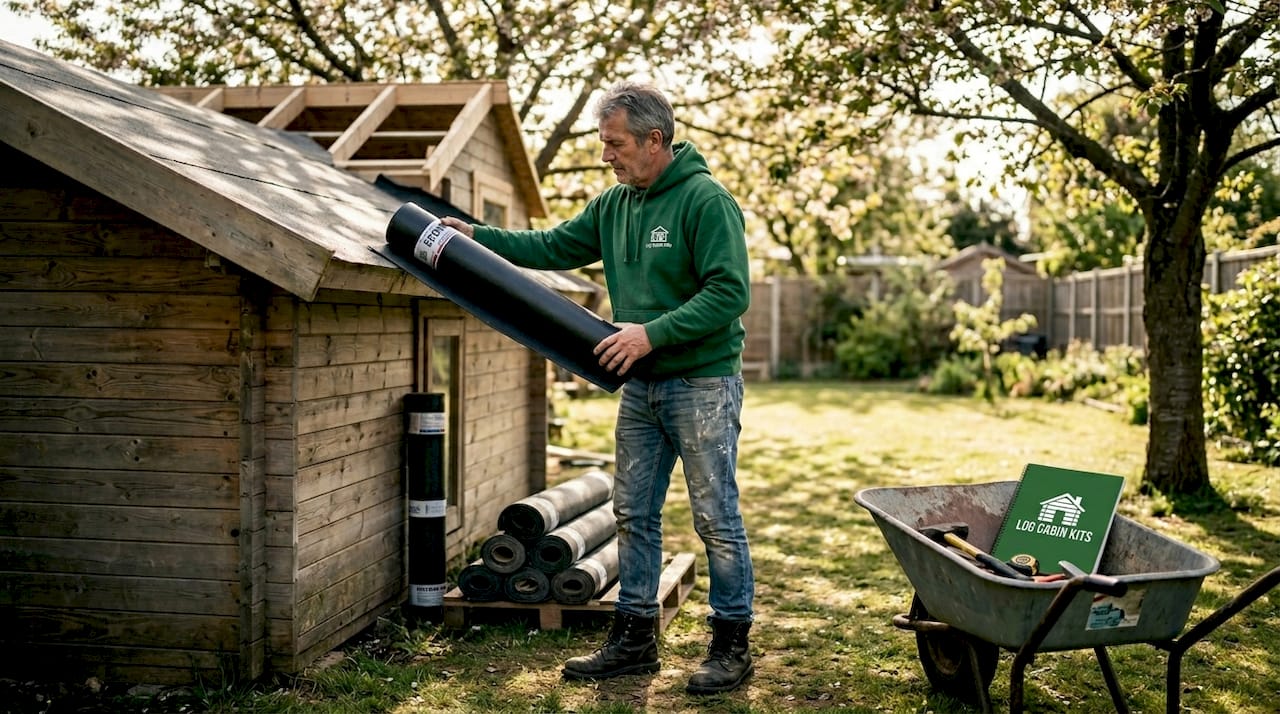
Step-by-step installation for watertight results
With your materials ready, let’s move to the crucial installation process that delivers a watertight finish.
Laying roof felt
- Start at the lowest edge. Roll out your first strip of felt across the bottom of the roof, leaving a slight overhang over the fascia. Nail or staple along the top edge.
- Work upwards, overlapping each row. Each subsequent strip should overlap the one below by at least 75mm (and ideally more for low-pitch roofs). This ensures water runs over — not into — the seams.
- Stagger your seams. Never let vertical joins on one layer line up with those on the layer above. Think of it like brickwork. This staggering is what waterproofing depends on for felt roofs.
- Deal with edges and corners carefully. At hips, ridges, and corners, cut felt cleanly and allow for generous folding. Secure firmly and add additional strips over these areas.
- Finish the ridge or top edge. Cap strips should overlap the main felt by a minimum of 150mm on each side.
Applying EPDM membrane
- Clean the deck thoroughly. Any dust, debris, or oil will prevent proper adhesion. Use a stiff brush and ensure the surface is completely dry.
- Roll out the EPDM. Lay it loosely across the deck, allowing it to relax for at least 30 minutes before bonding. This removes any stress in the material.
- Fold back half the membrane. Apply bonding adhesive evenly to both the deck and the underside of the membrane. Allow to tack off before carefully rolling the membrane back into place.
- Repeat for the second half. Work out any air bubbles with a soft broom as you go.
- Apply seam tape to all joints. Use a dedicated EPDM primer first, then press the seam tape firmly and roll with a seam roller. Seam and edge detailing is often where failures start, so don’t rush this step.
- Terminate and secure all edges. Use termination bars or trim to fix the membrane at the perimeter. Apply lap sealant at all edges and around any penetrations such as pipes or rooflights.
- Check everything before walking away. Press all seams firmly, confirm all edges are sealed, and look for any bubbles or lifted sections.
Thinking about why waterproofing matters so much? Our article on the importance of waterproofing explains the real long-term consequences for your cabin’s structure if moisture gets in.
Pro Tip: Always cut felt and EPDM with a sharp blade. Ragged edges don’t seal cleanly and create tiny gaps that let water in over time. A fresh blade makes a real difference.
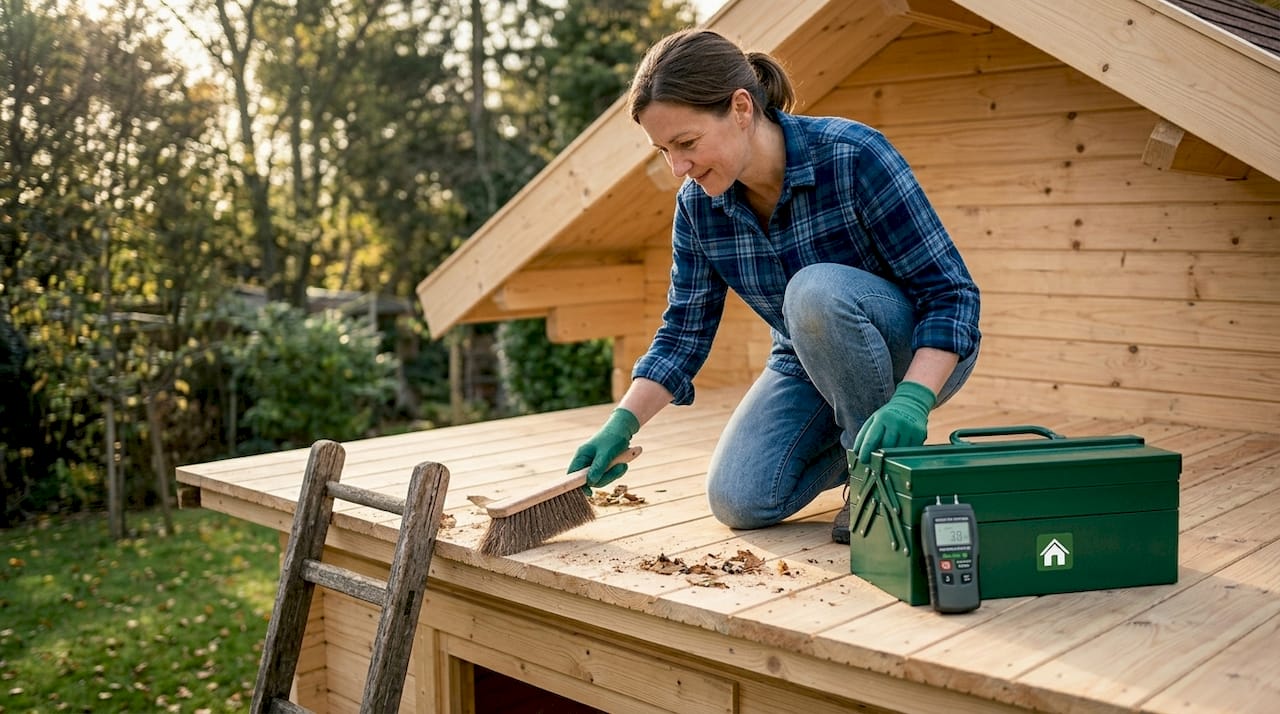
Testing, troubleshooting, and maintaining your roof
Once the roof is installed, your work isn’t over — testing and regular maintenance are vital for lasting results.
You don’t need to wait for rain to find out if your roof is watertight. There are several things you can do immediately after installation.
- Visual inspection from above. Walk the roof carefully (use a crawling board on felt) and look for any lifted seams, bubbles, or unsealed edges.
- Check from inside the cabin. Look at the ceiling boards and roof structure for any signs of moisture, staining, or daylight.
- Hose test. Run a garden hose slowly over the roof, starting at the lowest point and working upwards. Have someone inside watching for any drips.
- Inspect all penetrations. Pipes, rooflights, and any fixings that pass through the roof membrane are high-risk areas. Check that sealant and flashing are fully bonded.
“Edge conditions and penetrations deserve special detailing because they concentrate water ingress risk; a sealant-only approach is often insufficient compared with compatible flashing and seam systems.”
This is a point worth taking seriously. Many homeowners use sealant alone around pipes or rooflights — it might hold for a season, but it rarely lasts. Proper flashing or EPDM detailing is always the better option.
For ongoing maintenance, here’s a sensible schedule to follow:
- Every spring and autumn: Clear leaves, moss, and debris from the roof surface and gutters. Check for any cracking or peeling on felt roofs.
- Annually: Inspect all seams and edges. Look for signs of shrinkage or lifting. Check termination bars and edge fixings.
- After any severe weather: Check for storm damage, lifted sections, or blocked drainage.
Our waterproofing tips and drainage advice articles give you more depth on both fronts.
Call in a professional if you notice:
- Persistent damp patches inside the cabin that you can’t trace
- Widespread bubbling or delamination of the roofing membrane
- Cracking or splitting along multiple seams
- Any structural movement in the roof deck beneath the membrane
Summary of key steps and approach comparison
Let’s wrap up the technical part by summarising the most critical steps and comparing the main approaches at a glance.
| Factor | Bitumen felt | EPDM membrane |
|---|---|---|
| Preparation complexity | Low to moderate | Moderate |
| Installation speed | Fast | Moderate |
| Seam sensitivity | High | High |
| Edge detailing difficulty | Moderate | Moderate to high |
| Lifespan with good installation | 10 to 15 years | 20 to 30 years |
| DIY friendly | Yes | Yes, with care |
| Best for pitch | Any low pitch | Flat to low pitch |
Here’s a numbered review of the main process stages for either system:
- Prepare — inspect and repair the deck, clear debris, check for moisture and ventilation
- Gather materials — source the correct roofing system, tools, adhesives, and safety equipment
- Install — work methodically, bottom to top for felt, bonding in sections for EPDM
- Detail — spend extra time on seams, edges, corners, and any penetrations
- Verify — carry out a visual check, hose test, and internal inspection before considering the job done
- Maintain — set a twice-yearly inspection routine and address any issues promptly
What most guides miss: the overlooked details that make or break your roof
You’ve now got the steps, but understanding why details matter is what separates a good roof from a great one.
Here’s something we see time and again. A homeowner follows general instructions carefully, lays the membrane neatly across the main body of the roof, and feels confident the job is done well. Then, six months later, there’s a damp patch in the corner of the cabin — right where the roof meets the wall upstand, or around the cable entry for an electrical connection.
The main surface of a garden cabin roof almost never fails first. The failure point is almost always an edge, a corner, a pipe penetration, or a rooflight surround. These are the places where seam and edge detailing matters most, and they’re precisely the areas that generic step-by-step guides tend to gloss over.
The UK climate makes this worse. Freeze and thaw cycles in winter, combined with UV exposure in summer, cause roofing materials to expand and contract repeatedly. Edges and penetrations bear the most stress during this movement. A seam in the middle of a flat roof might hold perfectly; the same seam at a corner or termination point is under far more strain.
Our honest advice? Budget extra time and material for these areas. If you have 10 metres of perimeter, treat every centimetre of it as the highest risk area on the job. Use primer, seam tape, and lap sealant correctly. Consider adding an extra strip of EPDM over corners before applying the main membrane — it’s a small additional cost that dramatically reduces the risk of failure.
Reading up on weatherproofing strategies for garden cabins more broadly will also help you think about the whole building envelope, not just the roof in isolation.
Most leaks are avoidable. The shortcuts that save 20 minutes during installation often lead to hours of investigation and repair later. The detail work isn’t glamorous, but it’s genuinely where the quality of a long-lasting roof is decided.
Explore quality garden cabin solutions
Whether you’re ready to go it alone or want to speak to the experts, there are excellent options available for every budget and skillset.
If you’ve read this guide and feel confident tackling your own roof, that’s brilliant — and you’re in a much better position now than when you started. But if you’d rather have a cabin that arrives with everything engineered to work together, including the roofing system, we’ve got you covered.

Our garden log cabins are designed and built for the UK climate, and our custom build log cabins give you full control over design, size, and roofing specification. All orders come with free UK delivery, and if you’d prefer a hands-off experience, our professional installation service means qualified fitters handle everything from the foundations to the ridge. Get in touch to discuss your project — we’re always happy to help you find the right solution.
Frequently asked questions
What is the best material for a garden cabin roof in the UK?
EPDM and quality roof felt are both excellent choices for UK garden cabins; EPDM offers greater longevity, while felt works well on low-pitch or flat roofs when overlaps and seam staggering are done correctly.
How do I stop my garden cabin roof from leaking?
Focus on seams and edges above all else — use primer and seam tape for EPDM, and ensure felt has wide, properly staggered overlaps, as edge and seam failures are the most common cause of leaks.
How long will a garden cabin roof last?
An EPDM roof correctly installed should last 20 years or more, while a quality felt roof typically lasts 10 to 15 years with proper installation and regular maintenance.
Can I install a garden cabin roof myself?
Yes, most UK homeowners can successfully install felt or EPDM with the right tools and careful attention to detail — just remember that seam and edge work requires patience and should never be rushed.
Recommended
- Garden Cabin Installation: Step-by-step Workflow Guide
- Essential Cabin Roof Maintenance Tips - Log Cabin Kits To Buy Online
- Garden Cabin Roofing Materials: UK Guide 2026
- Essential Log Cabin Roof Maintenance Tips | Log Cabin Kits
- HomeTowne Roofing Systems | Roofing Contractor | Clayton
- General Contracting Guide: Expert Steps for Arizona Homeowners