
What is cabin cladding: a complete guide for homeowners
TL;DR:
- Cabin cladding protects structures from weather and influences their appearance and longevity. Timber, metal, and vinyl are common materials, each with different lifespans and maintenance needs. Proper installation and maintenance are essential to maximize durability and avoid rot.
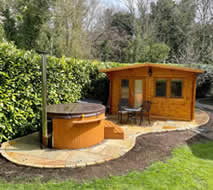
Cabin cladding is the protective outer covering fixed to the exterior walls of a cabin, designed to shield the structure from weather while defining its visual character. Also known as exterior cladding or external wall cladding in the building trade, it sits between your cabin’s structural frame and the elements outside. The right cladding choice affects how long your cabin lasts, how much maintenance it needs, and how good it looks in your garden. Whether you’re planning a new build or refreshing an existing structure, understanding your cabin cladding options is the best place to start.
What is cabin cladding and what materials are available?
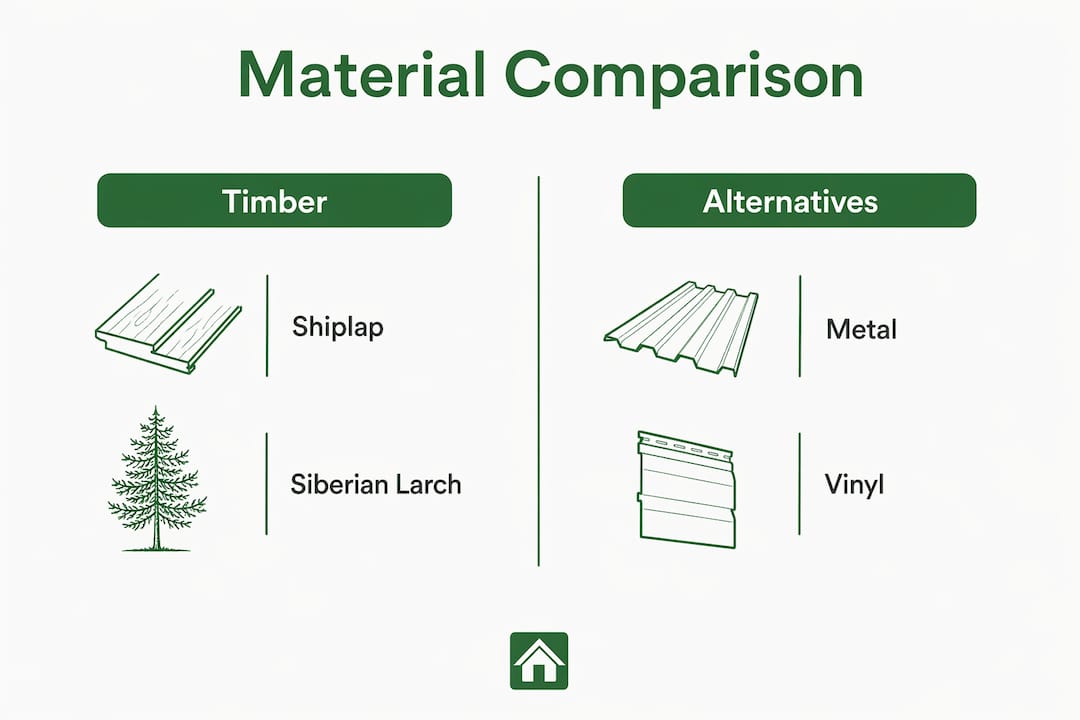
Cabin exterior cladding comes in several materials, each with a different balance of cost, durability, and appearance. Timber is the most popular choice for garden cabins in the UK, and for good reason. It looks natural, works well with garden settings, and allows natural movement and ventilation that helps maintain structural integrity under varying weather conditions.
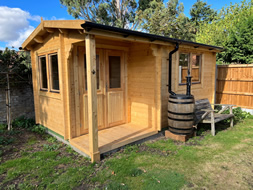
Timber cladding options
The most common timber profiles for cabin cladding are:
- Shiplap: Boards with a rebated edge that overlap slightly. Shiplap cladding offers a forgiving, popular option that balances protection and aesthetics, with durability improving when installed correctly. It suits most garden cabin styles and is widely available.
- Log lap: A rounded profile that mimics the look of stacked logs. It gives a more traditional, rustic finish and is a favourite for classic garden log cabins.
- Siberian larch: A naturally durable softwood that weathers to a silver grey over time. It resists rot better than many other softwoods and requires less frequent treatment.
- ThermoWood: Timber that has been heat-treated to improve stability and resistance to moisture. The process reduces the wood’s tendency to swell and shrink, making it a reliable choice for the British climate.
Alternative cladding materials
Not every homeowner wants timber. Two alternatives are worth knowing about.

Metal siding is growing in popularity for contemporary garden buildings. Maintenance-free metal cladding can retain its aesthetic finish for 40–60 years, far outlasting timber which typically needs re-staining every 2–3 years. That longevity makes it a strong long-term investment despite a higher upfront cost.
Vinyl cladding mimics the appearance of wood with a consistent finish. Vinyl log cabin siding offers minimal maintenance and good resistance to pests compared to real wood. It won’t rot, and it holds its colour well over time.
Quick material comparison
| Material | Typical lifespan | Maintenance level | Relative cost |
|---|---|---|---|
| Shiplap timber | 15–25 years with care | Moderate (re-stain every 2–3 years) | Low to medium |
| Siberian larch | 25–40 years | Low to moderate | Medium |
| ThermoWood | 30+ years | Low | Medium to high |
| Metal siding | 40–60 years | Very low | High |
| Vinyl | 20–30 years | Very low | Low to medium |
What are the benefits of cabin cladding?
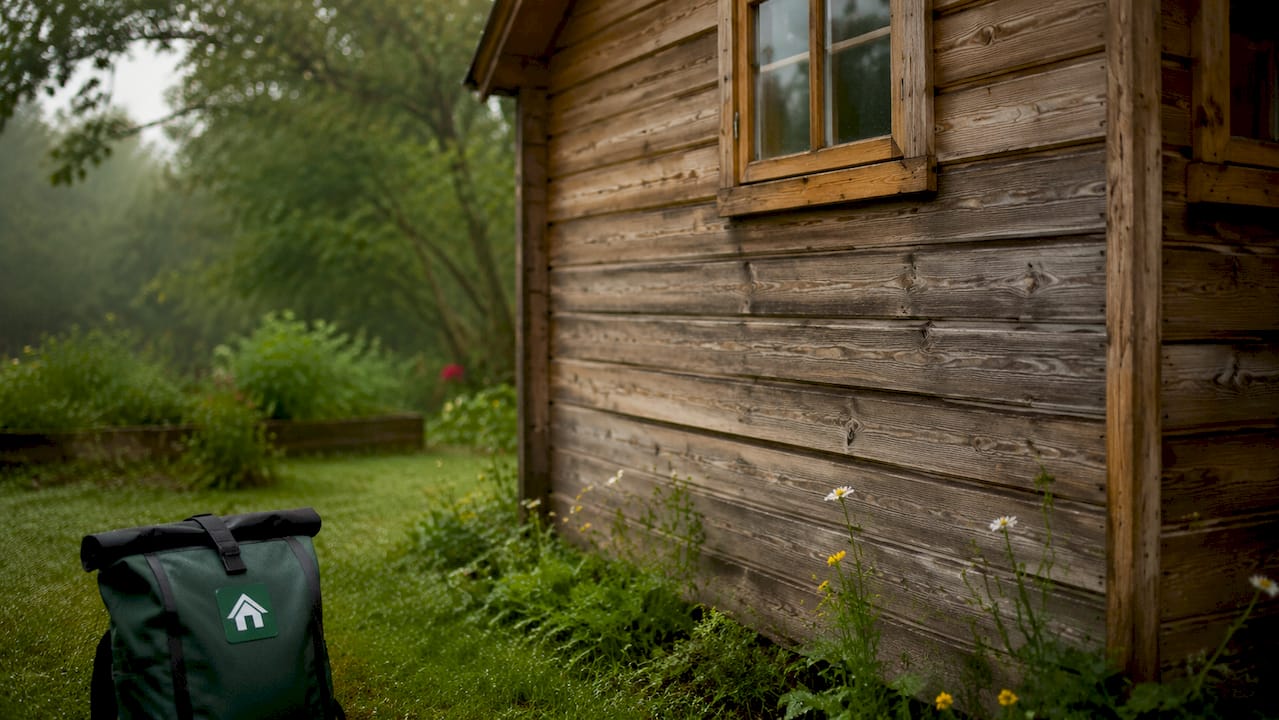
Good cladding does far more than make a cabin look attractive. Water ingress is the greatest enemy of garden buildings, and quality cladding is the primary defence against rot and swelling caused by moisture penetration. That single function alone justifies the investment.
The full list of benefits includes:
- Weather protection: Cladding deflects rain, wind, and UV rays from the structural walls beneath.
- Extended lifespan: By keeping moisture out, cladding prevents the rot and decay that shorten a cabin’s life.
- Thermal regulation: A well-clad cabin retains heat more effectively, making it usable year-round rather than just in summer.
- Improved appearance: Cladding defines the look of your cabin. The right profile and finish can complement your garden, your home’s exterior, or a specific design style. You can read more about how cladding shapes style and comfort in garden rooms.
- Reduced maintenance with the right material: Metal and ThermoWood cladding need very little attention once installed, freeing you from annual treatment chores.
Pro Tip: If you want year-round use from your cabin, pair good cladding with proper insulation behind it. Cladding alone won’t keep a cabin warm, but it creates the weather-tight shell that makes insulation effective.
For smaller garden cabins, the material choice matters even more. Every material defect shows more prominently on a compact structure, so materials that weather consistently with minimal intervention are the ideal choice. A small cabin with patchy, peeling cladding looks far worse than a large one with the same problem.
How to install cabin cladding: key steps and common mistakes
Installing cabin cladding correctly is just as important as choosing the right material. Poor installation undoes even the best timber or metal product within a few years.
-
Set the correct ground clearance. A minimum clearance of 150mm above finished ground level is critical to prevent moisture-related rot and prolong cladding longevity. Cladding that sits too close to the ground wicks moisture upward and deteriorates quickly.
-
Create a ventilated cavity. Fix a batten between the structural wall and the cladding boards. This gap allows air to circulate behind the cladding, drying out any moisture that gets in and preventing the damp conditions that cause rot.
-
Seal all end grains before fixing. Sealing the end grain of timber boards significantly extends wood life by reducing moisture uptake. This is the step most DIYers skip, and it’s one of the most damaging omissions. Apply a good quality end grain sealer before the boards go up.
-
Use the correct fixings. Stainless steel or hot-dipped galvanised nails and screws resist rust. Standard steel fixings corrode and leave staining streaks down your cladding within a couple of seasons.
-
Allow for expansion gaps. Timber moves with changes in temperature and humidity. Leave a small gap at board ends and between boards where specified by the manufacturer. Boards fixed too tightly will buckle as they expand.
-
Apply a finish before and after installation. Coat all faces and edges of timber boards with a quality preservative or stain before fixing. Apply a second coat once the boards are up. This seals every surface, not just the exposed face.
Pro Tip: Buy 10–15% more cladding than your measured area requires. Cutting around windows, doors, and corners creates waste, and having spare boards from the same batch means any future repairs will match perfectly.
Routine maintenance for timber cladding
Timber cladding needs checking once a year. Look for cracked boards, areas where the finish has worn through, and any signs of greying or mould. Re-apply stain or preservative every 2–3 years, or sooner if the finish looks thin. Clean the surface with a soft brush and mild detergent before applying any new coat.
Metal and vinyl cladding need far less attention. An annual wash with soapy water and a check for any loose fixings is usually all that’s required.
How do you choose the right cabin cladding for your project?
Choosing the right cladding comes down to four things: your local climate, your cabin’s style, your budget, and how much maintenance you’re prepared to do.
- Climate: The British climate is wet and variable. Timber species like Siberian larch and ThermoWood handle this well. If your garden is particularly exposed or shaded, a lower-maintenance material like metal may serve you better long-term.
- Style: Log lap suits a traditional cabin look. Shiplap works across a wider range of styles. For a contemporary garden building, smooth-profile timber, metal, or composite cladding tends to look cleaner. Take a look at chalet-style cabin design for ideas on matching cladding to cabin style.
- Budget: Timber shiplap is the most affordable starting point. ThermoWood and metal cost more upfront but reduce long-term maintenance spend. Factor in the cost of staining and treating timber every few years when comparing options.
- Maintenance appetite: If you’d rather spend weekends enjoying your cabin than maintaining it, choose metal or ThermoWood. If you enjoy a bit of seasonal upkeep and want the warmth of natural wood, standard timber is a perfectly good choice.
Talking to a specialist supplier before you commit is always worth doing. Logcabinkits works with homeowners to match cladding choices to their specific cabin design, garden setting, and budget, which takes a lot of the guesswork out of the decision.
Key takeaways
Cabin cladding is the single most important factor in how long your outdoor structure lasts and how good it looks year after year.
| Point | Details |
|---|---|
| Cladding protects against moisture | Water ingress is the main cause of rot; good cladding is your cabin’s primary defence. |
| Material choice affects maintenance | Timber needs re-staining every 2–3 years; metal cladding can last 40–60 years with minimal upkeep. |
| Ground clearance is non-negotiable | Keep at least 150mm between cladding base and ground level to prevent moisture damage. |
| Seal end grains before fixing | End grain sealing is the most commonly skipped step and the most damaging omission for timber longevity. |
| Match material to your climate and style | Siberian larch and ThermoWood suit the British climate; shiplap suits the widest range of cabin styles. |
Why the small details in cladding matter more than most people think
People often focus on the big decisions when planning a cabin: size, roof style, internal layout. Cladding tends to get chosen quickly at the end of the process, almost as an afterthought. In my experience, that’s where a lot of cabins go wrong.
The cabins that age well are the ones where the cladding was chosen with the same care as everything else. I’ve seen beautiful structures let down by cheap timber that was never properly sealed, or by boards fixed too close to the ground. The rot sets in within a couple of seasons, and what started as a minor oversight becomes a costly repair job.
The detail I always come back to is end grain sealing. It takes ten minutes and a small amount of product, but it makes a real difference to how long the timber lasts. Most DIY guides don’t even mention it. The same goes for ground clearance. A 150mm gap sounds like a small thing, but it’s the difference between cladding that lasts twenty years and cladding that starts failing in five.
If you’re choosing between materials and you’re not sure, lean toward the one that weathers consistently rather than the one that looks best in the showroom. A cabin that looks good on day one but needs constant attention will frustrate you. One that weathers gracefully and asks little of you will be a pleasure for years.
— Martin
Quality garden log cabins from Logcabinkits
Logcabinkits specialises in garden log cabins built with quality timber cladding as standard. Every cabin in the range is designed to handle the British climate, with cladding profiles and timber grades chosen for longevity and appearance.

If you want something tailored to your garden, Logcabinkits offers bespoke cabin design with full flexibility over size, cladding style, and finish. Whether you’re after a classic log lap look or a cleaner contemporary profile, the team can help you find the right fit. Browse the full range or get in touch for a no-pressure conversation about your project.
FAQ
What is cabin cladding used for?
Cabin cladding is the external covering fixed to a cabin’s walls to protect it from rain, wind, and moisture. It also defines the cabin’s visual style and contributes to thermal performance.
What is the best cladding material for a garden cabin in the UK?
Timber shiplap and Siberian larch are the most popular choices for the British climate, offering a good balance of protection, appearance, and cost. ThermoWood and metal cladding suit homeowners who want minimal long-term maintenance.
How often does timber cabin cladding need treating?
Timber cladding typically needs re-staining or re-treating every 2–3 years. Regular annual checks help you catch worn areas early before moisture gets in.
How do I stop cabin cladding from rotting?
Keep a minimum 150mm clearance between the cladding base and the ground, seal all timber end grains before fixing, and maintain a ventilated cavity behind the boards. These three steps prevent the majority of rot-related failures.
Can I install cabin cladding myself?
Yes, cabin cladding is a manageable DIY project for most homeowners. The key steps are correct ground clearance, end grain sealing, proper fixings, and leaving expansion gaps between boards.
Recommended
- blog step by step cabin insulation your complete diy guide | Specialist Garden Cabin Supplier
- blog garden cabin lighting guide uk homeowners handbook | Specialist Garden Cabin Supplier
- blog what is double glazing in cabins your full guide | Specialist Garden Cabin Supplier
- blog cabin electrical installation safe efficient guide | Specialist Garden Cabin Supplier