
Order Bespoke Cabin Partition Wall Kits With 25–40mm Slip Joints to Prevent Binding
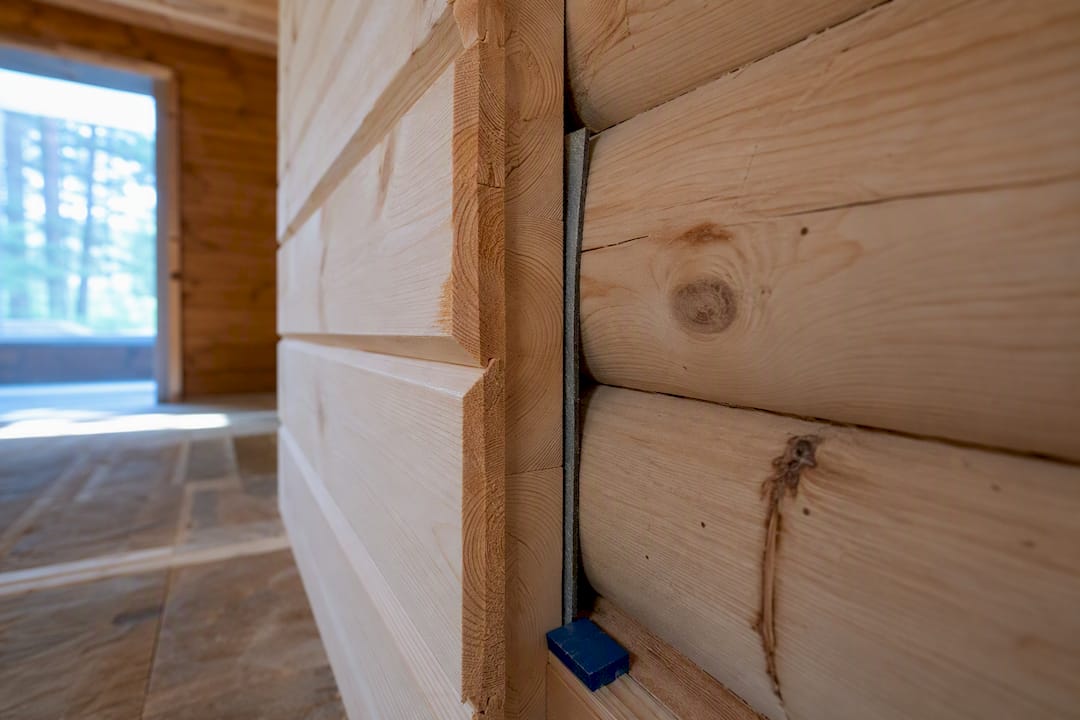
You can divide a self-build log cabin three ways: built-in log partitions, conventional stud partitions with slip joints, or modular internal panel kits. For most DIY homeowners, a stud partition or modular kit is the fastest, most forgiving route. Whichever you pick, settling and door fitting are the two things that make or break the finished room.
TL;DR:
- Stud partitions are the most popular choice for quick, insulated inside walls that can easily accommodate cables and pipes, with a typical spacing of 400mm or 600mm.
- Using slip joints at the top and leaving loose fittings is essential to allow for log cabin settling, preventing cracks and damage over time.
- Insulation batts and tongue-and-groove panel finishes improve room comfort and aesthetic compatibility with log cabins, with proper finishing and ventilation key for avoiding condensation.
- Ordering bespoke partitions from the supplier reduces risks associated with settling and incorrect fit, albeit at a higher cost than DIY options.
- Proper planning of door and finish placement before construction begins can significantly reduce retrofitting costs and complications during settlement.
Table of Contents
- Which partition wall kit cabins suit your project?
- What should you check before you buy?
- What materials and tools work best with log cabins?
- How do you actually install a partition without it binding later?
- How do you finish, insulate and soundproof a partitioned room?
- Should you order a bespoke partition or build your own?
- What do we see go right and wrong on real builds?
- Bespoke partitions and multi-room cabins from Logcabinkits
- Sources
Which partition wall kit cabins suit your project?
Every cabin owner ends up asking the same question: how do I split one big room into two without the whole thing looking bodged? The answer depends on your budget, your DIY confidence, and how much you care about matching the log look throughout.
Built-in log partitions use smaller log courses to build the dividing wall in the same style as the outer shell. They look brilliant and match the cabin perfectly, but they’re heavier work. You need to plan them in from the start, and they still need to cope with settling where they meet the outer walls.
Stud partitions are simpler. You build a standard timber frame wall, much like you’d find inside any house, and fix it in a way that lets the cabin move above it. This is the most popular choice because it’s quick, it insulates well, and it’s easy to run cables or pipes through.
Modular internal panel kits are pre-made panels that slot together on site. They’re the fastest to fit and give a tidy, repeatable finish, though they’re less flexible if you want an odd-shaped opening or a non-standard door position.
- Home office plus guest room: stud partition, since you’ll want sound control and maybe a socket or two
- Studio plus WC: modular panel kit for speed, with a stud section around the plumbing
- Annex within a multi-room log cabin: built-in log partition if you want the all-timber look throughout
What should you check before you buy?
Before you order anything, work through this list so you don’t end up with parts that don’t fit or a permit problem halfway through the build.
- Check your kit tier. According to guidance on log home package options, kits typically come as walls-only, structural shell, or complete, and only a complete package tends to include interior partitions as standard.
- Draw your room layout on paper first, marking door swings and window positions so you’re not guessing on site.
- Decide whether the partition will be freestanding or fixed at the sole plate, and plan a slip joint at the ceiling either way.
- Work out insulation needs, plus where any sockets, lighting or ventilation need to run through the wall.
- Check your site access. Delivery lorries and any cranage need clear space to reach the cabin base.
- Look into planning rules early, especially for larger cabins or if you’re adding a habitable annex. Our multi-room log cabin planning permission guide and the general planning permission guide cover the basics.
Pro Tip: Measure twice against the actual delivered wall length, not the drawing. Log courses settle slightly during transport and stacking, so real-world dimensions can be a few millimetres out from the plan.
What materials and tools work best with log cabins?
A partition inside a log cabin has to cope with something a house wall never does: the outer walls settling and shrinking over the first year or two. That changes what materials and fixings make sense.
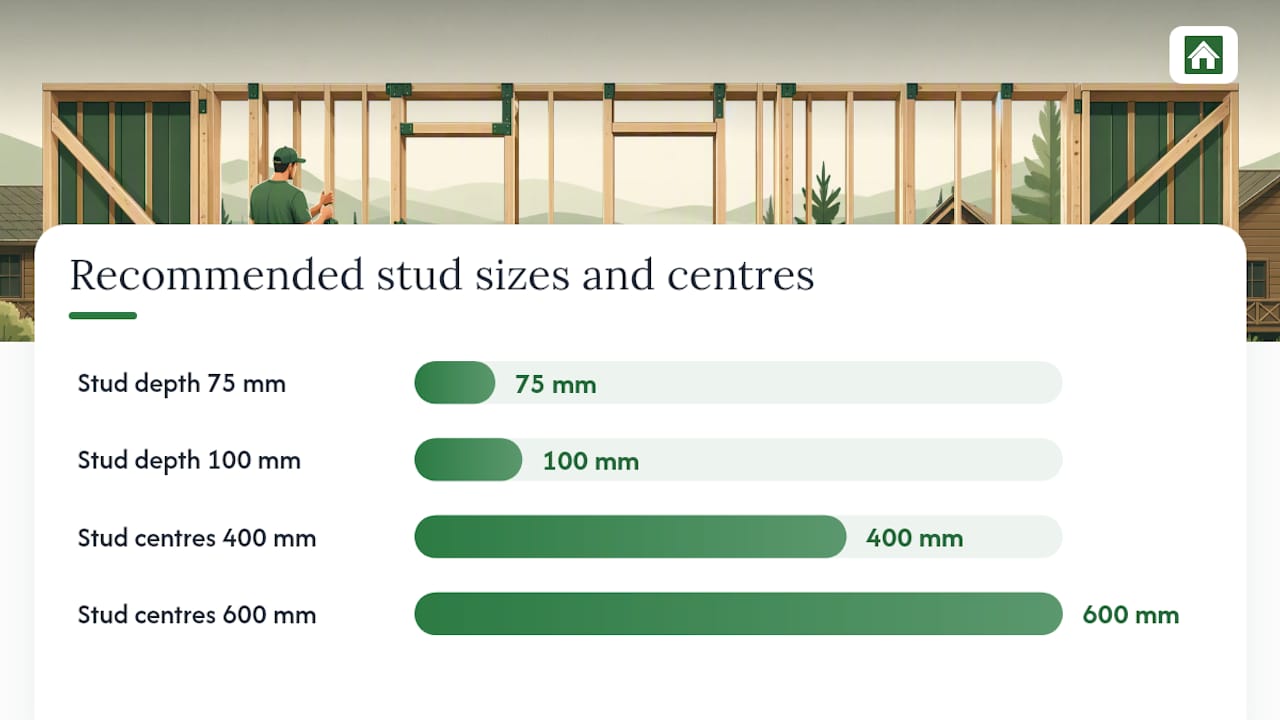
For stud walls, standard 75mm or 100mm timber studs work well, spaced at 400mm or 600mm centres. Fix the sole plate to the floor with screws rather than glue, so you can adjust it later if needed. At the top, don’t fix the head plate rigidly to the roof structure or ridge logs. Use a slotted bracket or slip-joint fixing that lets the logs move down without crushing your new wall.
For finishes, plasterboard gives a smooth, paintable surface and is the cheapest option. Tongue-and-groove timber panelling matches the cabin’s character better and hides minor settling gaps more forgivingly than plasterboard does.
- Timber studs (75mm or 100mm), sole plate screws, slotted top fixings
- Insulation batts sized to your stud depth
- Plasterboard or tongue-and-groove cladding
- Spirit level, stud finder, jigsaw, and a decent tape measure for scribing around uneven log profiles
Full technical background on wall thicknesses is covered in our cabin wall profile guide, which is worth a read before you order timber.
How do you actually install a partition without it binding later?
Getting the sequence right matters more than getting every cut perfect. Here’s the order that causes the fewest headaches.
- Prepare the floor first. Mark out the wall line and check the floor is level where the sole plate will sit.
- Build and fix the sole plate, leaving it free to be adjusted if the floor moves slightly during the first season.
- Frame the studs and fit the head plate with a slip joint at the top rather than a rigid fixing. As one detailed guide on interior partition techniques explains, partitions meeting exterior log walls need this gap to accommodate settling without binding.
- Size the slip joint generously. A gap of around 25 to 40mm covered with a sliding trim board usually copes with a full season of settling on a typical garden cabin.
- Never screw or bolt fixed cabinets, shelving or door frames directly into the exterior log walls. The same source on cabinetry and settling advises fixing to the internal stud frame instead, or using slotted fixings that can slide.
- Fit door frames with an allowance above the head, covered by trim, rather than tight to the structure. If you’re new to hanging doors, this step-by-step guide to installing an interior door is a useful reference for getting the frame square and the door swinging properly.
- Add insulation, then close up with your chosen finish, leaving trim boards loose enough to slide as the cabin settles.
Pro Tip: If a door starts sticking at the top a few months after building, that’s settling doing exactly what it should. Trim the frame, don’t force the fixings tighter.
Watch for two classic mistakes: a partition that’s rigidly fixed top and bottom, which binds and cracks as the logs shrink; and built-in units screwed straight into exterior logs, which pull loose or split as the wall moves. If you’re not confident cutting slip joints yourself, it’s worth calling in a joiner for that one detail rather than the whole job.
How do you finish, insulate and soundproof a partitioned room?
Once the frame’s up, the finish decides how the room actually feels day to day.
- Plasterboard suits a painted, house-like finish and is the quickest to decorate
- Tongue-and-groove panelling suits a rustic look and disguises small settling movements better
- Standard insulation batts fitted between studs cut heat loss between rooms noticeably
- A vapour-permeable membrane on the warm side helps stop condensation building up inside the wall
Soundproofing a light stud wall is realistic without going overboard. Adding a layer of acoustic insulation and staggering the studs, or fitting an extra layer of plasterboard, makes a noticeable difference for home offices and media rooms. Our detailed soundproofing guide for multi-room cabins walks through which measures suit light partitions specifically, since heavy structural soundproofing isn’t necessary or practical here. Keep an eye on ventilation too. A partitioned room with no airflow is where condensation tends to show up first, so a trickle vent or extractor pays for itself.
Should you order a bespoke partition or build your own?
If you’d rather not guess your way through slip joints and settling allowances, ordering bespoke partitioning from the cabin supplier takes that risk off your plate. A bespoke package can include pre-cut openings, pre-hung doors, and the slip-joint detailing already built in.
To get an accurate quote, send the supplier:
- A rough layout drawing showing where each wall goes
- Your finish preferences (plasterboard, panelling, or matching log)
- Door and window positions, plus any service runs you already know about
Lead times for bespoke partitions run alongside your main cabin build, so there’s rarely a big delay if you plan early. It costs more than a DIY stud wall, but it removes the guesswork on settling allowances, which is exactly where most DIY partitions go wrong. Browse the multi-room log cabins range to see what’s possible before you commit to a layout.
What do we see go right and wrong on real builds?
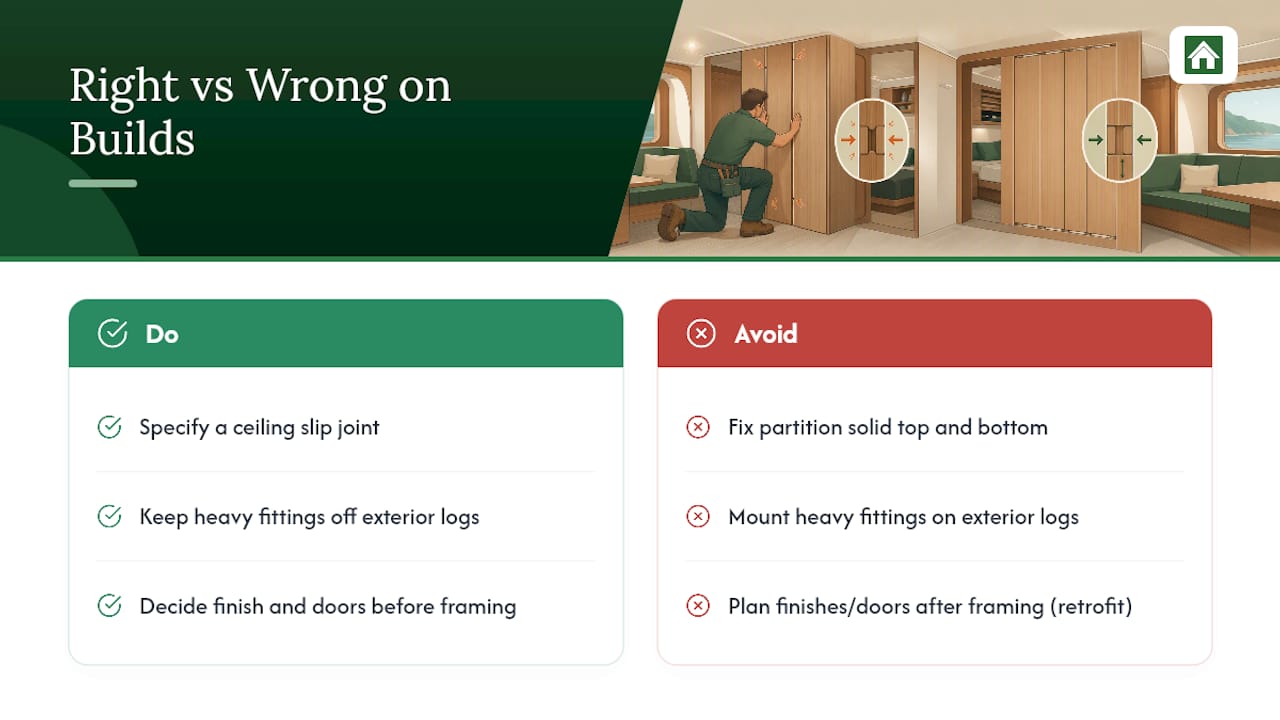
Most questions we get boil down to one thing: people underestimate settling. Owners often want a partition fixed solid, top and bottom, because it feels more secure. It isn’t. The safest builds always specify a slip joint at the ceiling and keep heavy fittings off the exterior log walls.
The biggest win is deciding your finish and door positions before the frame goes up, not after. Retrofitting always costs more than planning it in.
— Martin
Bespoke partitions and multi-room cabins from Logcabinkits
Logcabinkits builds partitioning into its multi-room range as standard, so you’re not stuck retrofitting a stud wall into a shell that was never designed for one. Our bespoke design service can pre-cut openings, pre-hang doors, and prepare the slip joints before the kit even leaves the workshop.
To get a quote, send us a rough sketch of your layout, your preferred finish, and where you’d like doors and windows placed. Browse the full multi-room log cabins range or the standard garden log cabins collection to see base layouts you can adapt. If you’d rather start from a completely custom brief, our bespoke cabin design page is the best place to send your sketch and get the conversation started.
Sources
See our installation guide and wall profile guide for more detail, plus the package options overview for kit tiers.
- Odds and Ends: Do-it-Yourself Log Home / Cabin — interior partition techniques
- Log Home Package Options: Walls-only, Structural Shell, or Complete Kit