

Blog

The British weather is relentless. Rain, frost, UV rays, and damp all take their toll on timber, and your log cabin is right in the firing line. Without proper protection, wood can crack, fade, and rot far sooner than it should. Painting your cabin is one of the most effective things you can do to keep it looking great and standing strong for years to come. In this guide, we’ll walk you through everything you need, from choosing the right paint to applying the final coat, so you can tackle the job with confidence.
Table of Contents
- Why painting your log cabin matters
- What you’ll need: tools and materials checklist
- Preparing your log cabin for painting
- Step-by-step: painting your log cabin like a pro
- Aftercare and maintenance: keep your painted cabin looking fresh
- What most guides miss: getting the real finish and lasting results
- Enhance your log cabin with expert support
- Frequently asked questions
Key Takeaways
| Point | Details |
|---|---|
| Preparation is vital | Thorough cleaning and sanding ensure paint adheres well and lasts longer. |
| Right materials matter | Use quality exterior wood paints and appropriate tools for the best finish. |
| Multiple coats protect | Apply at least two thin coats for a durable, weatherproof surface. |
| Regular maintenance | Inspect and clean annually to preserve your cabin’s painted look. |
Why painting your log cabin matters
Your log cabin faces a tough challenge every single day. The UK climate throws everything at it: heavy rain, cold winters, summer UV, and persistent damp that encourages mould and mildew to take hold. Left untreated, timber absorbs moisture and begins to swell, crack, and eventually rot. That’s not just an eyesore. It’s an expensive problem.
Paint forms a physical barrier between your timber and the elements. It locks out moisture, reflects UV rays, and prevents the surface conditions that mould needs to grow. As noted in our guide to weatherproofing your cabin, painting is essential for protecting log cabins from UK weather and can genuinely extend the life of your structure by years.
Here’s what a good paint job actually does for your cabin:
- Seals timber against rain and frost penetration
- Blocks UV damage that causes fading and surface cracking
- Prevents mould and mildew from taking hold on damp wood
- Refreshes the look of your cabin, giving it a clean, unified appearance in your garden
- Reduces long-term costs by avoiding major repairs down the line
Routine repainting every few years is far cheaper than replacing rotted boards or treating deep mould damage. Our cabin exterior care guide covers this in more detail, but the short version is: a little effort now saves a lot of money later.
Did you know? A well-maintained paint finish can add up to 15 years to the life of a log cabin compared to one left untreated.
Pro Tip: Don’t wait until you see visible damage. Repainting on a schedule keeps problems from ever starting.
Now that you know why painting is crucial, let’s get prepared.
What you’ll need: tools and materials checklist
Getting the right tools and paint before you start makes the whole job smoother. Using the right paint and tools is the foundation for a quality finish, as we explain in our guide to restoring your log cabin. Don’t cut corners here.
Essential tools:
- Medium and fine grit sandpaper (80 and 120 grit)
- Exterior paintbrushes (2 inch and 4 inch)
- Short-pile roller and tray for large flat sections
- Dust mask and safety goggles
- Painter’s tape and dust sheets
- Bucket, sponge, and exterior wood cleaner
- Caulk and caulking gun for sealing gaps
Paint types to consider:
| Paint type | Sheen level | Durability | Drying time | Best for |
|---|---|---|---|---|
| Exterior wood paint | Satin or gloss | High | 4 to 6 hours | Bold colour, full coverage |
| Wood stain | None to low | Medium | 2 to 4 hours | Natural wood look |
| Wood preservative | None | Medium to high | 1 to 2 hours | Base protection layer |
| Microporous paint | Satin | Very high | 4 to 6 hours | Breathable, long-lasting finish |
Microporous paint (paint that allows timber to breathe while keeping moisture out) is often the best choice for log cabins in the UK because it reduces the risk of peeling and blistering. You can also check our cabin cleaning routine for advice on keeping surfaces in good condition between repaints.
Pro Tip: Before committing to a colour, test it on a small hidden section of your cabin and leave it to dry fully. Colours often look different once dry and in natural light.
Gathered your supplies? Next, let’s prepare your log cabin for painting.
Preparing your log cabin for painting
Preparation is honestly where most DIY paint jobs succeed or fail. Proper preparation is key to a smooth, lasting finish, and it’s worth taking your time here. Our guide to spring cleaning your log cabin has some great pointers that apply here too.
Follow these steps before you pick up a brush:
- Clear the area. Move furniture, plant pots, and any items away from the cabin walls. Lay dust sheets on the ground to protect your patio or decking.
- Inspect the timber. Look for cracks, splits, or soft spots that indicate rot. Repair or replace damaged sections before painting.
- Seal any gaps. Use exterior-grade caulk to fill gaps around windows, doors, and joints. This stops moisture getting in behind your new paint.
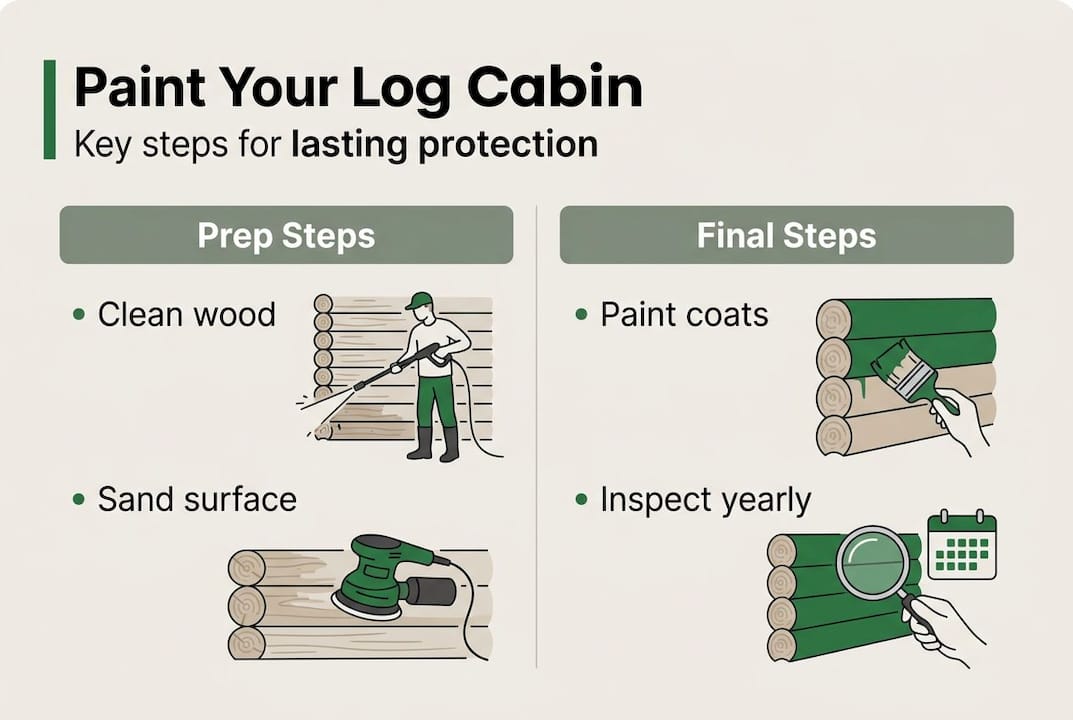
- Sand the surface. Use 80 grit sandpaper to remove old flaking paint or rough patches, then follow with 120 grit for a smooth finish. Always sand in the direction of the wood grain.
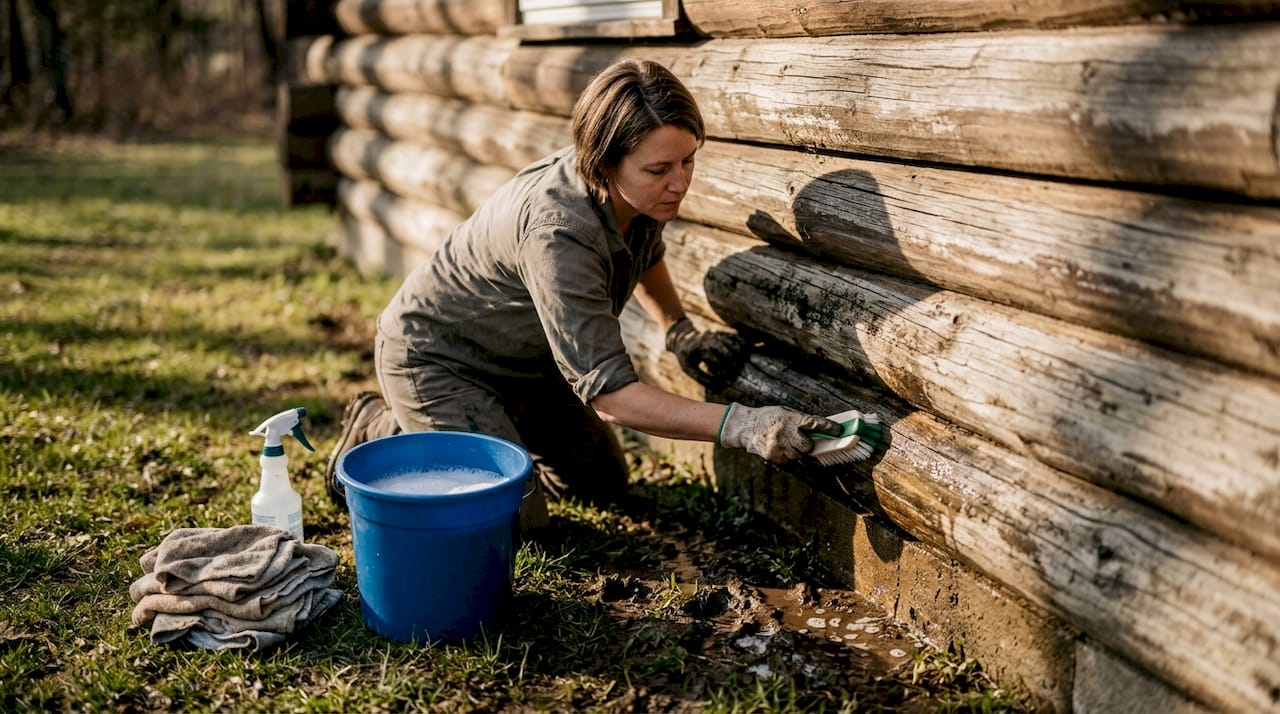
- Clean thoroughly. Wash the entire surface with a wood cleaner to remove dirt, algae, and mildew. Rinse well and allow to dry completely.
- Check the forecast. Only paint in dry, mild conditions. Aim for temperatures above 10°C and no rain expected for at least 24 hours.
Safety warning: Always wear a dust mask when sanding, especially on older cabins that may have been treated with chemical preservatives. Eye protection is also strongly recommended.
Our autumn log cabin maintenance guide is worth reading if you’re planning a pre-winter refresh, as it covers seasonal prep in more detail.
Pro Tip: Don’t rush the drying stage after cleaning. Painting onto damp wood is one of the most common causes of peeling and poor adhesion.
With your surface ready, it’s time to start painting.
Step-by-step: painting your log cabin like a pro
Now for the satisfying part. Follow these steps and you’ll get a finish that looks great and lasts. As we cover in our spring log cabin maintenance guide, multiple thin coats deliver the best protection, far better than one thick coat that’s likely to drip and peel.
- Cover up. Use painter’s tape around windows, doors, and any trim you don’t want painted. Double-check your dust sheets are in place.
- Cut in edges first. Use a smaller brush to paint around windows, corners, and edges before tackling the larger flat sections.
- Apply the first coat. Work from top to bottom using a roller for large areas and a brush for detail. Keep a wet edge to avoid lap marks.
- Allow to dry fully. Don’t rush this. Check the manufacturer’s guidance on drying time before applying the next coat.
- Lightly sand between coats. A very light sand with fine grit paper helps the second coat bond properly.
- Apply the second coat. Repeat the process, again working top to bottom. Most paints require at least two coats for full protection.
| Step | Action | Drying time | Weather note |
|---|---|---|---|
| First coat | Full coverage, top to bottom | 4 to 6 hours | Dry, above 10°C |
| Light sand | Fine grit between coats | N/A | Dry conditions |
| Second coat | Full coverage, even strokes | 4 to 6 hours | No rain for 24 hours |
| Final check | Inspect for missed spots | Allow overnight | Dry and mild |
For a really even finish, always keep the brush or roller moving and avoid going back over areas that have started to dry. Our guide on how to maintain garden cabin beauty has more tips on keeping that fresh look going long-term.
Once you’ve completed painting, it’s important to check your work and keep it looking good.
Aftercare and maintenance: keep your painted cabin looking fresh
A great paint job is only as good as the care you give it afterwards. Regular cleaning and minor repairs extend the life of your cabin paintwork significantly, as we explain in our log cabin cleaning advice. Building a simple routine makes all the difference.
Key aftercare habits:
- Clean the exterior twice a year using a soft brush and a mild, diluted wood cleaner. Avoid pressure washers, which can strip paint and force water into the timber.
- Inspect after heavy storms or prolonged wet weather. Look for any areas where paint has lifted, cracked, or peeled.
- Touch up small areas promptly. Don’t wait for a full repaint. A small brush and a tin of matching paint can sort minor damage in minutes.
- Check window and door seals annually. Failed caulk lets moisture in and can cause paint to bubble and peel from behind.
- Plan a full repaint every 3 to 5 years, depending on your cabin’s exposure and the paint type used.
It’s also worth checking your roof maintenance tips at the same time, since roof and wall care often go hand in hand.
Pro Tip: Use gentle, pH-neutral cleaners on painted surfaces. Harsh chemicals can break down the paint film over time, leaving the timber exposed.
Let’s wrap up with some perspective on what really matters for a successful paint job.
What most guides miss: getting the real finish and lasting results
Here’s something we see time and again: people spend money on decent paint, follow the steps, and still end up with a finish that starts peeling within a year. The culprit is almost always rushed preparation or a cheap brush that leaves streaks and uneven coverage.
Quality paint is worth every penny, but it cannot compensate for a poorly prepared surface. Skipping the sanding, painting onto slightly damp wood, or ignoring a gap that needs sealing will undermine even the best product on the market.
It’s also worth being honest about the limits of DIY. Awkward corners, high gable ends, or cabins with significant rot may genuinely benefit from a professional eye. Our professional installation page covers options if you’d rather hand the tricky bits over to someone with the right kit.
Finally, manage your expectations. Even a perfect paint job in the UK will need attention every few years. That’s not a failure. That’s just timber in a wet climate. Build it into your routine and it never becomes a big job.
Enhance your log cabin with expert support
Feeling inspired to give your cabin a fresh new look? Whether you’re refreshing an existing structure or thinking about something entirely new, we’re here to help.

Browse our garden log cabin gallery for real-life inspiration from finished cabins across the UK. If you’re considering a new build or an upgrade, our bespoke cabin design service lets you create something truly personal. And if you’d like a cabin built exactly to your spec, explore our custom build log cabins range. Get in touch and we’ll help you find the perfect solution, whatever your garden and budget.
Frequently asked questions
How often should I repaint my log cabin?
Most log cabins in the UK benefit from repainting every 3 to 5 years, though cabins in exposed or coastal locations may need attention more frequently depending on the paint type used.
Can I paint over old paint or stain?
Yes, but thorough sanding and cleaning are essential first to ensure the new coat bonds properly and gives you a smooth, even finish.
What is the best weather to paint a log cabin?
Dry, mild days with temperatures above 10°C and no rain forecast for at least 24 hours give you the best conditions for a lasting result.
Do I need to use a primer before painting?
Primer is usually recommended for bare or newly sanded wood, and it’s also a good idea if you’re making a significant colour change, as it helps the topcoat cover evenly.
How do I maintain the painted finish?
Clean twice a year with gentle products and inspect regularly for any flaking or damage, touching up small areas as soon as you spot them to prevent moisture getting in.


