
Although machined perfectly straight and uniform at point of manufacture, it is inevitable that wall logs left to their own devices will alter shape due to changing moisture content and temperature.
The result of these deviations from a perfectly straight log means that during construction, the tongue and groove boards don't always marry up as accurately as they should - don't fret (!) This really isn't a problem. As the walls increase in height and therefore weight, they will settle into their final resting place.
To encourage this correct placement, I use two methods to settle the boards into place, in both cases using a soft faced mallet :

- Wall "Shudder"
During construction and particularly when the walls are at eaves height, a positive blow with the mallet over areas of the wall that you can see are not sitting well will have the desired effect of settling the wall.
Work across the wall both from inside the cabin and from outside until you are happy the wall is settled in place.

- Log Ends Tap
My second method involves tapping the log ends to encourage settlement. Select a corner to commence proceedings and stand in the outside of the cabin. Start at the second lowest log of your chosen wall and tap down on the bevel edge in a downward motion.
 This method is also useful when getting the wall logs to end up at the same height at the top of the wall. If you can get the walls level, this will make the roof construction far easier
Note - it is worth selecting a white faced mallet so that it does not leave black "scuff" marks on the timber.
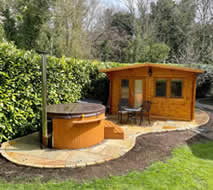
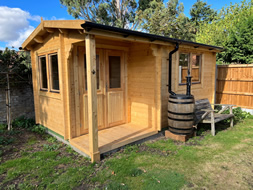
Take a look at our timber cabins here
Take a look at our timber garage units here