
The role of floor joists in cabins: a 2026 guide
TL;DR:
- Properly sized and correctly spaced floor joists are essential for supporting a cabin’s weight, preventing sagging, bouncing, or squeaking over time. They create a level, stable platform that handles various loads, provides space for insulation and utilities, and protects against moisture-related decay when properly ventilated. Choosing the right timber grade and ensuring accurate installation, including moisture management, helps extend the lifespan and performance of the cabin floor.
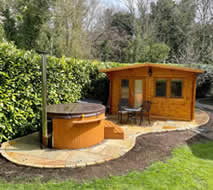
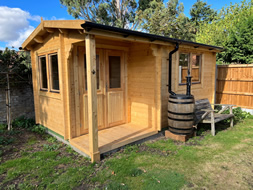
Floor joists are the horizontal timber members that form the structural backbone of a cabin floor, carrying the weight of everything above them and transferring those loads safely to the supporting beams or foundation below. Without properly sized and spaced joists, a cabin floor will sag, bounce, or creak within a few years of use. The role of floor joists in cabins goes well beyond simply holding up the floorboards. They determine how level your floor feels underfoot, how well it handles heavy furniture or foot traffic, and how long the whole structure lasts. Whether you are planning a bespoke garden log cabin or upgrading an existing build, understanding how joists work will save you time, money, and headaches.
How floor joists structurally support cabin floors
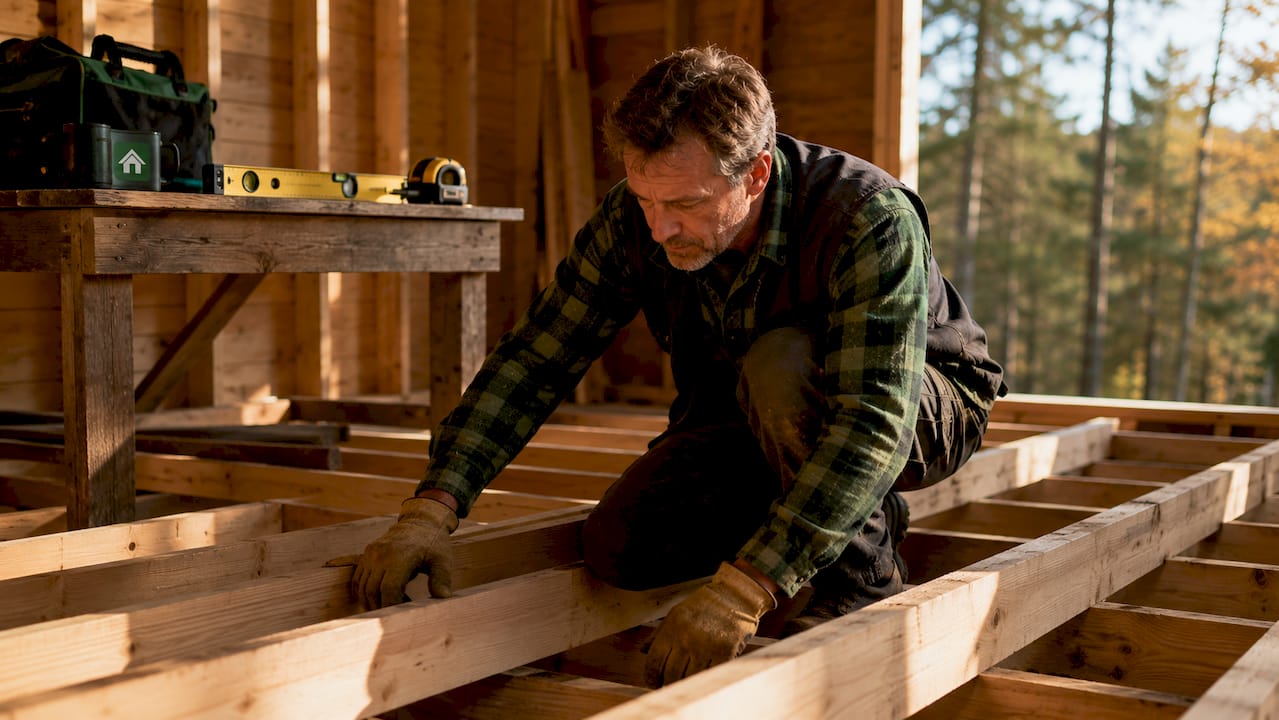
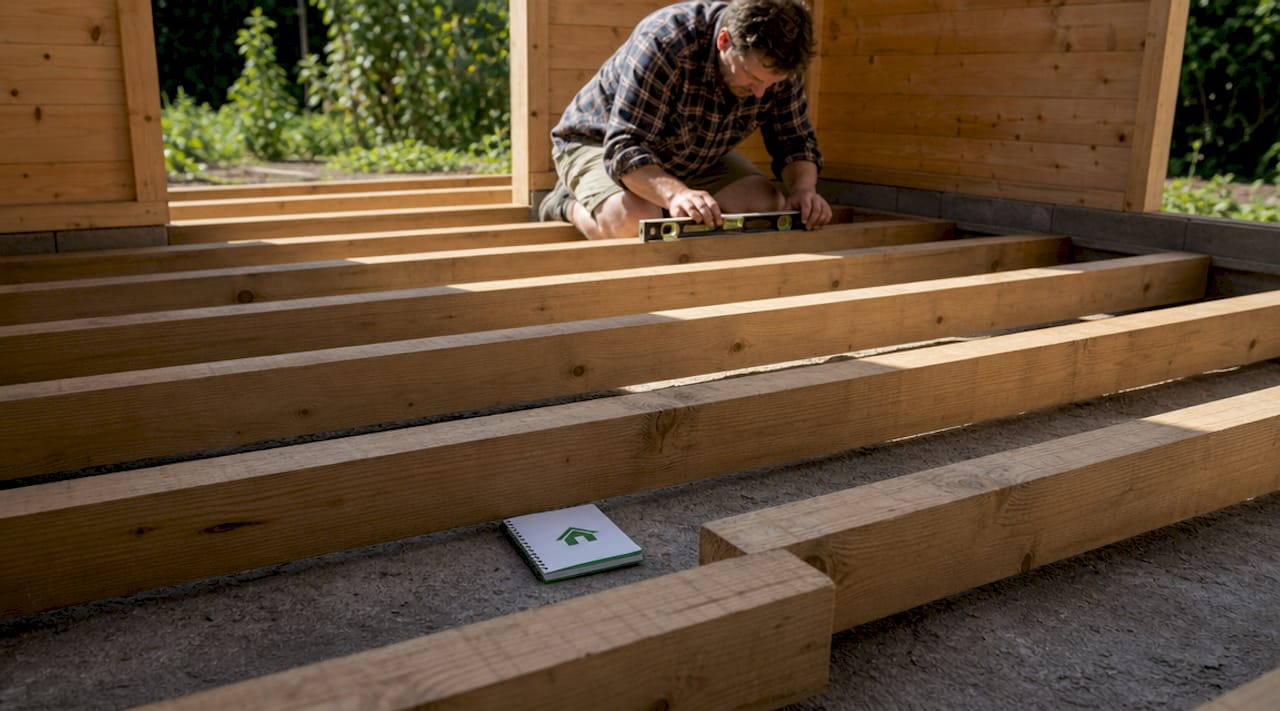
Floor joists span horizontally between supporting beams or walls, creating a rigid platform that holds the subfloor and finished floor above. Every load placed on the floor, whether that is a sofa, a wood-burning stove, or a group of people, travels down through the floorboards, into the joists, and then outward to the beams or walls at each end. This load path is what keeps the floor stable and prevents it from deflecting under pressure.
In cabins elevated on piers, joists rest on beams which span across the piers to create a stable floor platform. The alignment of each joist directly above a supporting beam or pier is not optional. Misalignment concentrates load unevenly, which leads to floor settlement and unevenness over time.
One detail that many self-builders overlook is the connection between the joist end and the supporting structure. Joist hangers attached to LVL or girder systems are critical to load transfer and reduce the end rotation that causes squeaks and deflection. Metal joist hangers are inexpensive and straightforward to fit, yet they make a measurable difference to how stiff and quiet the finished floor feels.
Here is a quick summary of what good joist installation looks like in practice:
- Joists sit perpendicular to the supporting beams, evenly spaced along the full length of the floor
- Each joist end is secured with a joist hanger or direct bearing on a beam or wall plate
- Joists are kept straight and level during installation, checked with a spirit level before fixing
- Blocking or bridging is fitted between joists at mid-span on longer runs to prevent twisting
- All timber is treated or graded appropriately for the cabin’s intended use and location
Pro Tip: Before you fix any joists permanently, dry-lay them across the beams and check for any bowing or warping. A twisted joist will create a high spot in your floor that no amount of subfloor sanding will fully correct.
Why joist spacing and sizing matter for cabin floors
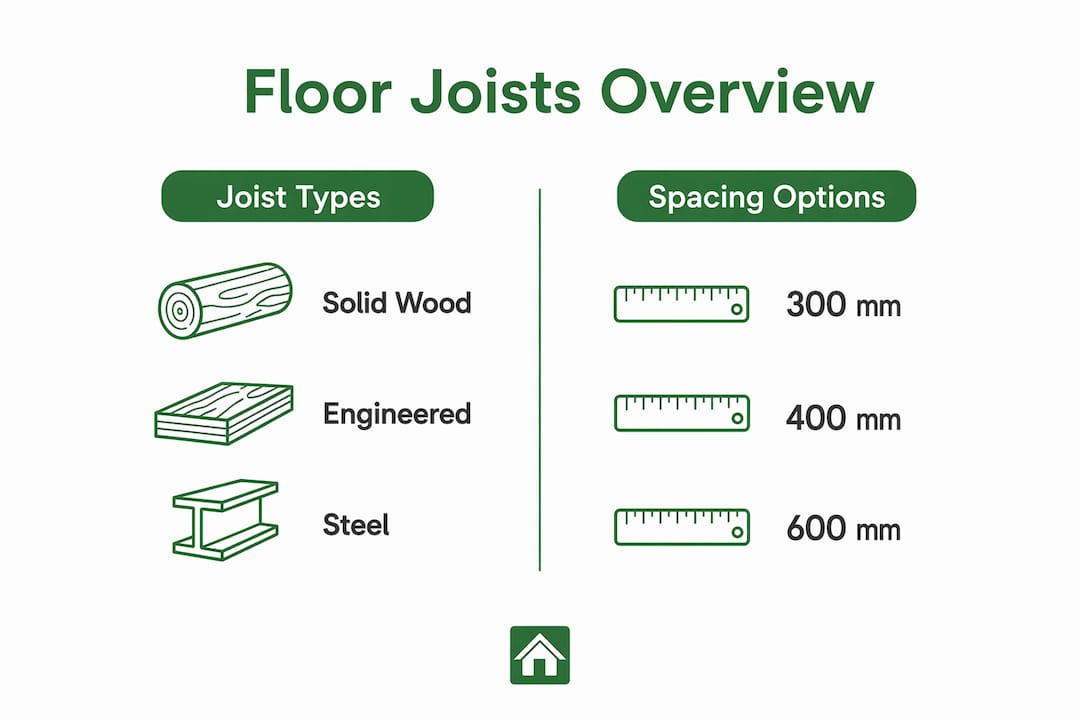
Joist spacing is one of the most consequential decisions in cabin floor design, and it is also one of the most misunderstood. Typical floor joist spacing is 16 inches on centre, which translates to roughly 400 mm in metric terms. Wider spacing of 24 inches (approximately 600 mm) increases the load each individual joist must carry and reduces the allowable span, meaning you either need larger joists or additional support beams to compensate.
The relationship between spacing and span is tightly coupled. Wider spacing increases load per joist and lowers the allowable span, which means you cannot simply space joists further apart without adjusting their size or adding more support. For a small garden log cabin with modest loads, 400 mm centres with 47 x 150 mm C16 timber joists will typically perform well. For a larger bespoke cabin used as a home office or studio, moving to C24 grade timber or reducing centres to 300 mm gives you noticeably better stiffness underfoot.
The flooring material you choose also influences the spacing decision. Ceramic tiles and natural stone are rigid and heavy, and they crack if the subfloor flexes even slightly. These materials demand tighter joist spacing and a thicker, stiffer subfloor panel to prevent movement.
| Joist spacing | Minimum subfloor thickness | Suitable flooring |
|---|---|---|
| 300 mm centres | 18 mm OSB or plywood | Tile, stone, hardwood, vinyl |
| 400 mm centres | 18 mm OSB or plywood | Hardwood, engineered wood, vinyl |
| 600 mm centres | 22 mm OSB or plywood | Engineered wood, vinyl, carpet |
Pro Tip: If you are planning to lay ceramic or porcelain tiles in your cabin, drop your joist centres to 400 mm as a minimum and use 18 mm tongue-and-groove plywood rather than OSB. The extra rigidity prevents tile grout from cracking within the first year.
The design role of floor joists beyond structural support
The function of floor joists in a cabin is not purely structural. They also create the flat, level platform that makes subfloor installation straightforward, and they provide the space between the floor deck and the ground for insulation, moisture management, and utilities.
Moisture management in raised cabin floors is one of the most overlooked aspects of joist design. Timber joists exposed to ground moisture will decay over time, and once rot sets in, the repair cost is significant. In UK garden log cabins, the standard approach is to use a damp-proof membrane or vapour barrier between the foundation and the joists, combined with adequate ventilation beneath the floor deck.
The joist bays, the spaces between individual joists, serve several practical purposes beyond structural ones:
- Insulation: Rigid foam board or mineral wool batts fit neatly between joists, dramatically improving the thermal performance of the cabin floor
- Ventilation: In pier-supported or raised cabins, airflow beneath the floor deck helps keep timber dry and reduces the risk of condensation
- Utilities routing: Electrical cables and water pipes can be run through joist bays cleanly, keeping them protected and out of sight
- Vapour control: A vapour barrier fitted above the insulation and below the subfloor prevents warm, moist air from condensing inside the floor structure
You can read more about protecting your floor structure in Logcabinkits’ guide to waterproofing your log cabin, which covers practical steps for keeping moisture out of the floor build-up.
Keeping the joist bays well ventilated is especially relevant in the UK, where ground moisture levels are high for much of the year. A cabin floor that breathes correctly will outlast one that is sealed tight without adequate airflow by many years.
What types of floor joists work best in garden log cabins?
Choosing the right joist type for your cabin comes down to span, budget, and how much you want to do yourself. There are two main categories worth knowing about.
Solid sawn timber joists are the most common choice for garden log cabins in the UK. They are cut directly from structural timber and graded to either C16 or C24 standards. C16 is suitable for most standard cabin floor applications, while C24 grade timber offers higher bending strength and is the better choice for longer spans or heavier loads. Solid timber joists are easy to cut on site, widely available, and straightforward to connect using standard joist hangers or direct bearing.
Engineered wood joists, such as LVL (laminated veneer lumber) and I-joists, offer advantages for larger or more complex cabin builds:
- LVL joists are dimensionally stable and resist warping, which is useful in damp UK conditions
- I-joists allow longer clear spans with less timber, reducing the number of intermediate beams needed
- Both types are manufactured to consistent dimensions, making layout and installation more predictable
- Engineered joists typically cost more than solid sawn timber but can reduce overall labour time on larger projects
For most bespoke garden log cabins, solid C16 or C24 timber joists are the practical and cost-effective choice. Engineered options become worth considering when your cabin spans more than around 4 metres without intermediate support, or when you want to minimise floor depth for a low-profile build. If you are unsure which timber grade suits your project, Logcabinkits’ article on choosing the right timber is a useful starting point.
Key takeaways
Floor joists are the structural and functional core of any cabin floor, and getting the sizing, spacing, and moisture protection right from the start prevents costly problems later.
| Point | Details |
|---|---|
| Structural load path | Joists transfer all floor loads through beams or walls to the foundation below. |
| Spacing affects performance | 400 mm centres suit most cabins; tile or stone floors need tighter spacing and thicker subfloor panels. |
| Connections matter | Joist hangers reduce end rotation and prevent squeaks and deflection in the finished floor. |
| Moisture protection is non-negotiable | Vapour barriers and ventilation beneath raised cabin floors protect timber joists from decay. |
| Joist type affects span and cost | C16 and C24 solid timber suits most garden cabins; LVL or I-joists suit longer spans or complex builds. |
Why I think most cabin floor problems start before a single board is laid
I have seen a lot of cabin floors over the years, and the ones that develop problems, whether that is a persistent squeak, a soft spot near the centre, or tiles cracking after one winter, almost always trace back to decisions made during the joist stage rather than the finish floor stage.
The most common mistake is treating joist spacing as a rough guide rather than a precise measurement. If your joists wander even slightly off their intended centres, the subfloor panels will not land on joist edges cleanly, and that is where floor bounce and squeaks originate. It is not the flooring that fails. It is the subfloor panel spanning a gap it was never designed to span.
The second thing I would flag is moisture. In the UK, a cabin sitting on piers or a low concrete base is exposed to ground moisture for most of the year. I have seen perfectly good C24 joists turn soft within five years simply because the builder skipped the vapour barrier to save a small amount of money. That saving costs far more to put right later. Logcabinkits covers this well in their guide to monitoring moisture levels, and it is worth reading before you start any floor build.
My honest advice is to spend the extra time getting the joist layout right before you move on. Snap chalk lines, check your levels twice, and fit the joist hangers properly. The floor you build on top of that framework will reward you for it.
— Martin
Build your cabin on a solid foundation with Logcabinkits

At Logcabinkits, every bespoke garden log cabin is designed with a properly engineered floor structure from the ground up. Whether you need a compact studio or a larger custom build, the floor joist layout is specified to suit your cabin’s size, intended use, and site conditions. You can browse the full range of garden log cabins to find a design that fits your space, or explore the custom build options if you want a floor system tailored to specific load or span requirements. If you would prefer someone else to handle the installation, the professional installation service takes the guesswork out of the whole process.
FAQ
What is the role of floor joists in a cabin?
Floor joists are horizontal structural members that support the subfloor and finished floor, transferring all loads to the supporting beams or foundation below. They also create a flat platform for flooring installation and provide space for insulation and utilities.
How far apart should floor joists be in a garden log cabin?
The standard spacing is 400 mm on centre for most cabin floors, though 600 mm centres are possible if you use thicker subfloor panels. Heavier flooring materials like ceramic tiles require 400 mm centres as a minimum to prevent cracking.
What timber grade should I use for cabin floor joists?
C16 graded timber suits most standard garden log cabin floors, while C24 is the better choice for longer spans or heavier loads. Engineered options like LVL are worth considering for spans over approximately 4 metres.
How do I protect floor joists from moisture in a raised cabin?
Fit a damp-proof membrane or vapour barrier between the foundation and the joists, and make sure there is adequate ventilation beneath the floor deck. Treating the timber with a preservative before installation adds a further layer of protection.
Why does my cabin floor squeak?
Squeaks usually come from subfloor panels moving against joist edges rather than from the finish floor itself. The fix is to check that joists are at the correct centres, that subfloor panels are fastened securely to every joist, and that joist hangers are fitted correctly at each end.
Recommended
- blog garden cabin lighting guide uk homeowners handbook | Specialist Garden Cabin Supplier
- How To Build A Log Cabin - DIY Installation Pointers
- blog the role of log cabin thickness explained | Specialist Garden Cabin Supplier
- blog why cabins need air gaps your complete guide | Specialist Garden Cabin Supplier