
Wood treatment in log cabins: your 2026 care guide
TL;DR:
- Proper treatment of log cabins involves using breathable stains that flex with wood movement to prevent cracking and peeling. Regular inspection, thorough preparation, and a three-coat system can extend protection for up to five years. Maintaining low interior humidity and addressing surface issues early help preserve the exterior finish over time.
Wood treatment in log cabins is defined as the process of applying breathable, penetrating finishes to protect timber against moisture, UV radiation, and the natural expansion and contraction of logs. Without it, untreated wood greys, cracks, and rots within a few seasons. The good news is that with the right products and preparation, you can keep your cabin looking great and structurally sound for years. This guide walks you through everything you need to know, from choosing the correct stain to knowing when it’s time to recoat.
What makes wood treatment in log cabins different from other timber structures?
Log cabin wood care is not the same as treating a fence panel or a garden gate. Logs are thick, round, and constantly moving. They absorb and release moisture with every change in temperature and humidity, which means the wood expands in summer and contracts in winter. A finish that cannot flex with that movement will crack and peel.
This is why breathable, penetrating stains are the correct choice for log cabins, not film-forming varnishes. Varnishes sit on the surface and form a hard shell. When the wood moves underneath, the shell breaks. Penetrating oil-based or water-based stains soak into the grain, move with the wood, and regulate moisture exchange at the same time.
UV degradation is the other major threat. Sunlight breaks down the lignin in wood, turning it grey and brittle. Log-specific stains contain UV blockers that slow this process while remaining flexible enough to handle wood movement. UV protection and moisture regulation work together. You cannot prioritise one and ignore the other.
- Film-forming varnishes: Sit on the surface, crack with wood movement, trap moisture underneath
- Penetrating oil-based stains: Soak into the grain, flex with the wood, allow moisture to escape
- Penetrating water-based stains: Similar breathability to oil-based, faster drying, lower odour
- Clear sealers: Offer minimal UV protection, better suited to interior timber
Pro Tip: Choose a stain that is specifically labelled for log cabins or exterior log homes. General exterior wood stains are often formulated for flat, stable timber and may not cope with the movement and absorption rates of round or D-shaped logs.
How to prepare your log cabin wood before treatment
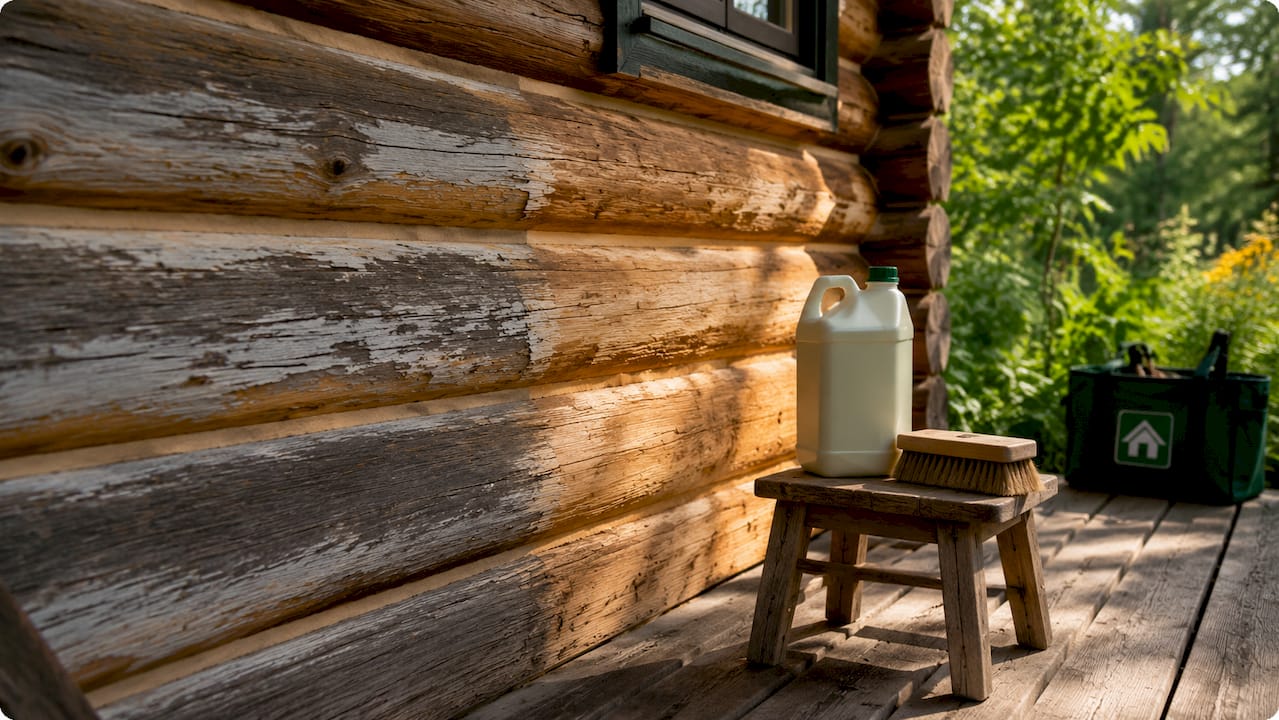
Preparation is the single most important step in the whole process. A stain applied to dirty, damp, or poorly cleaned wood will fail early, no matter how good the product is. Incomplete surface cleaning reduces stain adhesion and can cause the finish to peel within a single season.
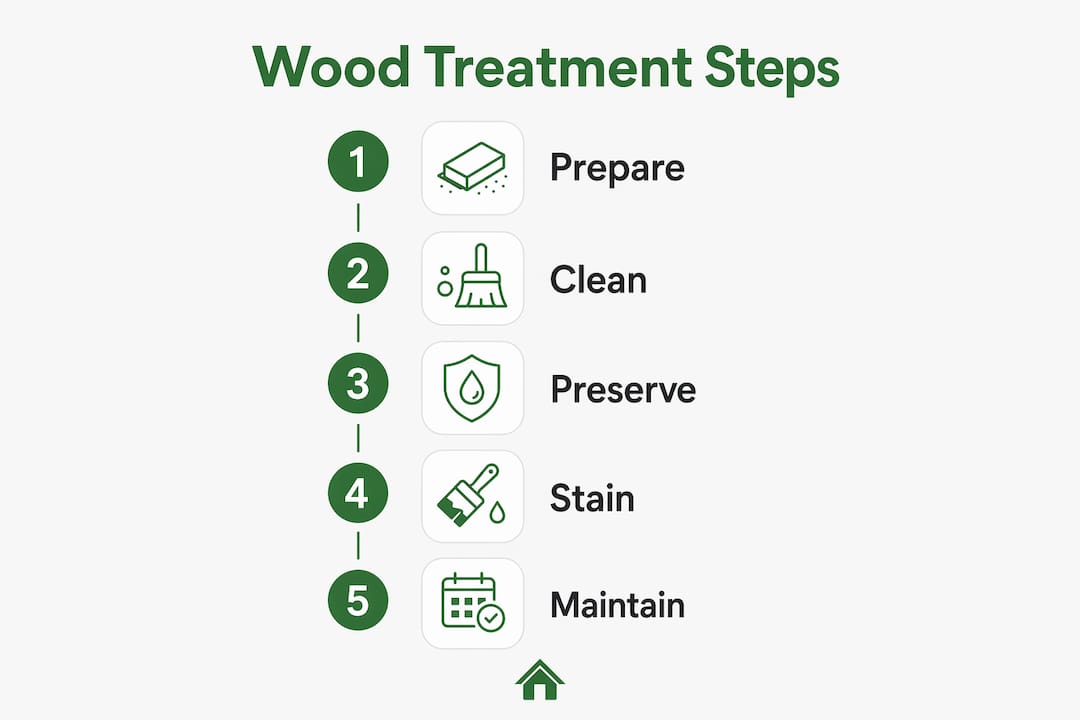
Follow these steps before you open a tin of stain:
- Inspect the wood thoroughly. Check for rot, soft spots, and areas where moisture has been sitting. Probe suspect areas with a screwdriver. If the wood is soft, it needs repair before treatment, not just a coat of stain.
- Remove all old, peeling, or flaking stain. Spot cleaning is not enough. If the existing finish is failing in patches, the whole surface needs stripping. Media blasting removes old stain, mould spores, and UV-damaged wood fibres without harming the logs when done correctly.
- Clean the surface. Wash off dirt, algae, and grime using a low-pressure wash or a specialist log cabin cleaner. Scrub with a stiff brush to open the grain.
- Avoid high-pressure power washing. High-pressure washing forces water deep into the wood, swells the fibres, and accelerates decay. Keep any pressure washer nozzle well back from the surface, or skip it entirely.
- Allow the wood to dry fully. Timber must be dry before stain is applied. Damp wood prevents penetration and traps moisture under the finish. Allow at least two to three dry days after cleaning before you start.
Pro Tip: If your cabin wood looks grey and fuzzy, that is UV damage to the surface fibres. A wood brightener or oxalic acid cleaner will restore the natural colour and open the grain before you stain. Skipping this step means your stain sits on dead fibres rather than healthy wood.
What are the best wood treatment products and methods for log cabins?
The best approach to preserving log cabin wood is a three-coat system. A proper three-coat application extends maintenance-free protection to approximately five years on clean, dry timber. Skipping the base coat drops that to two to three years. That is a significant difference for the effort involved.
The three coats work like this:
- Coat 1 (preserver base coat): A wood preservative that soaks deep into the grain, killing any existing mould or fungal spores and priming the wood for the stain layers above.
- Coat 2 (first stain layer): An exterior log stain applied once the preserver has dried. This builds the colour and UV protection.
- Coat 3 (second stain layer): Applied after the first stain has dried, this seals and deepens the finish for long-term durability.
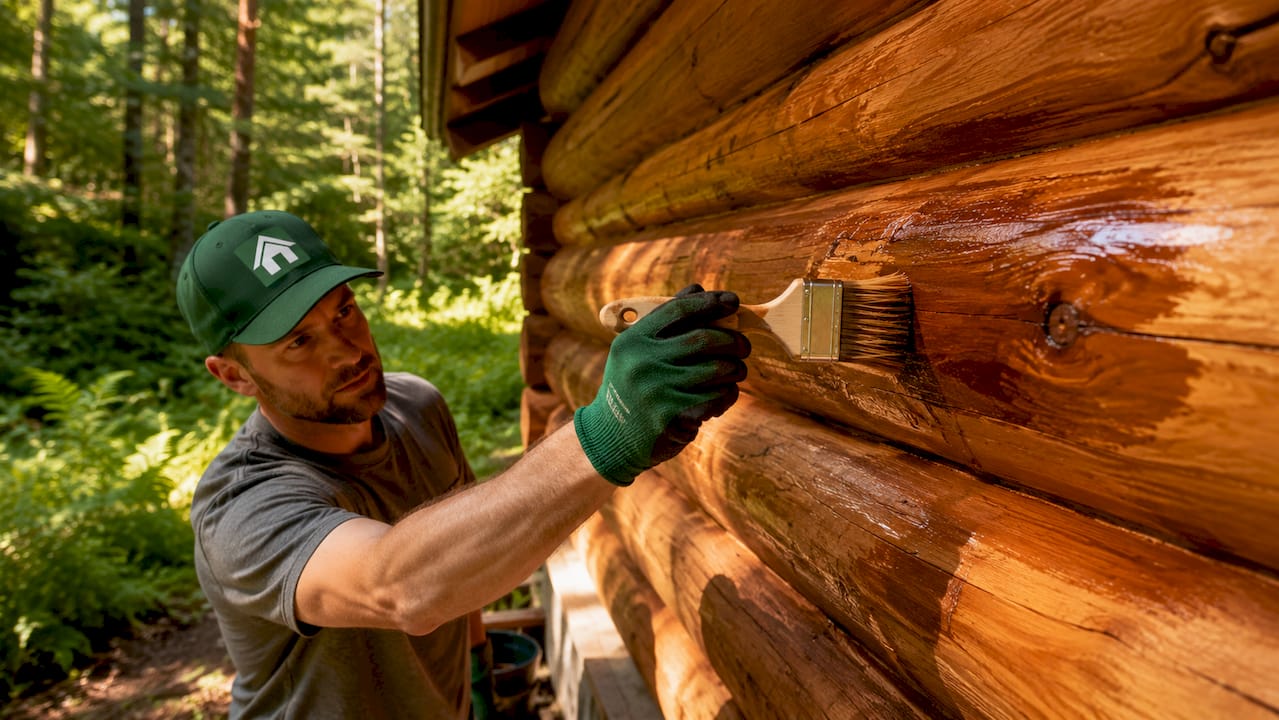
Application method matters as much as product choice. Back-brushing the stain into the wood grain improves penetration and long-term performance compared to spraying or rolling alone. Logs have an uneven, textured surface. Brushing works the stain into every groove and checks the grain is fully saturated rather than just coated on top.
| Treatment type | Breathability | UV protection | Flexibility | Best for |
|---|---|---|---|---|
| Penetrating oil-based stain | High | Good | High | All log cabin exteriors |
| Penetrating water-based stain | High | Good | High | Cabins in lower-odour settings |
| Film-forming varnish | Low | Moderate | Low | Not recommended for log cabins |
| Clear sealer | High | Minimal | High | Interior timber only |
| Wood preservative (base coat) | High | None | High | First coat before staining |
Apply stain in dry weather, ideally when temperatures are between 10°C and 25°C. Avoid applying in direct sunlight, as the stain dries too quickly and does not penetrate properly. Early morning or overcast days give the best results.
Pro Tip: Always apply stain to one wall at a time and work from top to bottom. This prevents drips from landing on already-dried sections and keeps the finish even.
How to maintain and inspect a treated log cabin
Treatment is not a one-off job. Regular inspection and early recoating before visible failure appears delays costly repairs and keeps the wood in good condition. The signs that your cabin needs attention are easy to spot if you know what to look for.
Warning signs to watch for:
- Water no longer beads on the surface (the stain has stopped repelling moisture)
- Colour has faded noticeably, especially on south-facing or west-facing walls
- Small surface cracks or checks have appeared in the wood
- The finish looks dull, chalky, or patchy in areas
- Any soft or spongy areas when you press the wood
Top maintenance tips:
- Inspect your cabin every spring and autumn. Catching problems early is far cheaper than dealing with rot.
- Manage interior humidity and keep it between 20% and 30%. High interior humidity increases log expansion and puts stress on the exterior finish.
- Keep gutters clear and check that rainwater drains away from the base of the cabin. Moisture sitting near logs is the main cause of long-term wood deterioration.
- Touch up sun-facing walls before they need a full recoat. South and west walls take the most punishment and often need attention a year or two before the rest of the cabin.
- Do not wait until the finish has completely failed. Recoating over a sound but fading finish is straightforward. Recoating over peeling, cracked, or rotten wood requires full preparation again and costs far more time and money.
A well-maintained cabin on a three-coat system typically needs a maintenance coat every three to five years on sheltered walls and every two to three years on exposed elevations. Keep a simple log of when you last treated each wall. It takes two minutes to note down and saves a lot of guesswork later.
Key takeaways
Effective wood treatment in log cabins depends on breathable stains, thorough preparation, and consistent maintenance rather than any single product or one-off application.
| Point | Details |
|---|---|
| Use breathable stains | Penetrating oil-based or water-based stains flex with wood movement and prevent cracking. |
| Follow the three-coat system | A preserver base coat plus two stain layers delivers up to five years of protection. |
| Prepare the surface properly | Clean, dry, and strip old coatings before applying any new treatment. |
| Back-brush the stain | Brushing stain into the grain achieves deeper penetration than spraying or rolling alone. |
| Inspect and maintain regularly | Check for fading and water beading loss every spring and autumn to catch problems early. |
What I have learnt from years of watching cabins age well and badly
The cabins that hold up best over ten or fifteen years are almost never the ones with the most expensive stain. They are the ones whose owners treated preparation as seriously as the stain itself. I have seen beautiful cabins ruined within three years because someone painted over damp wood or skipped the base coat to save time. The finish looked fine for a season, then lifted in sheets the following spring.
The other thing that surprises people is how much interior humidity matters. Most cabin owners focus entirely on the outside, which makes sense. But if you are running a dehumidifier or keeping the cabin well ventilated, you are reducing the amplitude of the expansion and contraction cycles inside the logs. That directly protects the exterior finish. It is one of those things that sounds indirect but makes a measurable difference to how long your treatment lasts.
My honest advice is to treat the south-facing wall as your early warning system. It takes the most UV and the most rain. When that wall starts to look tired, the rest of the cabin is probably not far behind. Touch it up early and you buy yourself another year or two before a full recoat. That is not laziness. That is sensible, targeted maintenance.
If you are treating a cabin for the first time or starting fresh after stripping old stain, do not rush the drying time between coats. Two or three dry days between each coat feels like a long wait, but it is the difference between a finish that lasts five years and one that fails in eighteen months.
— Martin
Logcabinkits cabins: built for the long term
Treating your cabin well starts with having a cabin worth treating. At Logcabinkits, every garden log cabin is built from quality timber and designed to take a proper treatment programme from day one.

Whether you are looking for a standard model or a fully bespoke cabin design tailored to your garden, Logcabinkits has options to suit. The team can also point you in the right direction on external treatment application so your cabin gets the right start. Browse the full range and find a cabin that fits your space and your plans.
FAQ
What is the best wood treatment for a log cabin exterior?
A penetrating oil-based or water-based stain applied as a three-coat system (preserver plus two stain coats) gives the best long-term protection. This approach delivers up to five years of maintenance-free cover on clean, dry timber.
How often should I treat my log cabin wood?
Most cabins need a maintenance coat every three to five years on sheltered walls and every two to three years on exposed, sun-facing elevations. Inspect every spring and autumn for early signs of fading or water absorption.
Can I use varnish on a log cabin?
Varnish is not recommended for log cabin exteriors. It forms a hard surface film that cracks when the wood expands and contracts, trapping moisture underneath and accelerating decay.
Why does log cabin wood turn grey?
Greying is caused by UV degradation, which breaks down the lignin in the wood surface. A log-specific stain with UV blockers prevents this. If greying has already occurred, a wood brightener restores the colour before you apply fresh stain.
Does interior humidity affect my cabin’s exterior finish?
Yes. Keeping interior relative humidity between 20% and 30% reduces the expansion and contraction cycles in the logs, which directly reduces stress on the exterior finish and extends its lifespan.
Recommended
- blog the role of floor joists in cabins a 2026 guide | Specialist Garden Cabin Supplier
- blog the purpose of tongue and groove logs explained | Specialist Garden Cabin Supplier
- blog best decking options log cabin retreat | Specialist Garden Cabin Supplier
- blog how to create log cabin workspace comfort productivity | Specialist Garden Cabin Supplier