
Modular garden room process: UK homeowner’s guide
TL;DR:
- Modular garden rooms are a straightforward way to add usable space to a home, with faster installation and greater customization options. Proper planning, including permission, site assessment, and budgeting, is crucial to ensure a smooth build process. The construction mainly involves factory-fabricated panels assembled on a prepared base, followed by finishing touches like electrical, plumbing, and interior design for year-round comfort.
Thinking about adding a garden room but not sure where to start? You’re not alone. The modular garden room process can feel like a mystery at first, especially if you’ve never built anything beyond a flat-pack bookcase. The good news is that modular garden rooms are genuinely one of the more straightforward ways to add usable space to your home. They’re faster than traditional builds, far less disruptive, and you get far more say in the design than most people expect. This guide walks you through every stage, from the very first planning steps right through to the finishing touches.
Table of Contents
- Key takeaways
- The modular garden room process: planning first
- From factory to your garden: the installation process
- Finishing your garden room after assembly
- Common mistakes to avoid
- My honest take on the modular garden room journey
- Explore bespoke garden rooms from Logcabinkits
- FAQ
Key takeaways
| Point | Details |
|---|---|
| Plan before you build | Sort planning permission, site access, and measurements before anything else to avoid costly delays. |
| Speed is a real advantage | Small modular rooms install in one day; larger builds typically take about a week. |
| Internal measurements matter | Always ask for internal dimensions, not external, to understand your true usable space. |
| Finishing touches take time | Electrical, plumbing, and interior fitting work happens after assembly and needs its own timeline. |
| Customisation is wide open | You can adjust size, cladding, glazing, insulation, and layout to match your exact needs. |
The modular garden room process: planning first
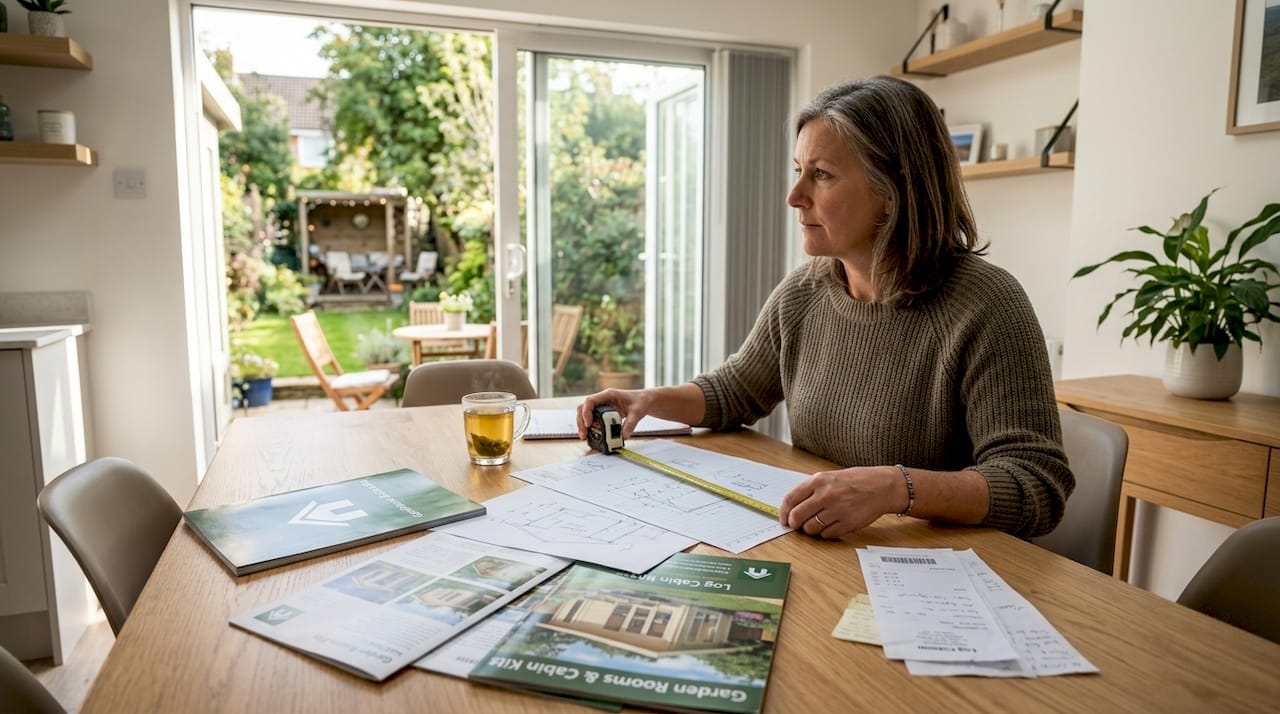
Before a single panel gets delivered to your garden, there’s a fair bit of groundwork to cover. Getting this stage right makes everything else much smoother.
Planning permission: do you need it?
Most modular garden rooms fall under Permitted Development rights, which means you don’t need formal planning permission. But there are limits. Planning permission is generally needed if your building exceeds 2.5 metres in height within 2 metres of your boundary, covers more than 50% of your garden, or is intended for use as a self-contained living space or business premises. If you’re in a conservation area or a listed property, different rules apply.
When in doubt, check with your local planning authority before you spend any money. You can also read more about permitted development rights to get a clear picture of where you stand. If you do need permission, the approval process typically takes 8 to 13 weeks, so factor that into your timeline from day one.
Site evaluation: what to check in your garden
Walk your garden with a critical eye before committing to a design. Think about:
- Access for delivery. Panels need to reach the site, so gateways, side passages, and overhanging trees all matter.
- Ground conditions. Soft or uneven ground will need more work on the base.
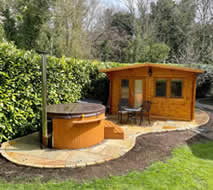
- Sunlight and orientation. A south-facing room will feel warmer and brighter year-round.
- Proximity to boundaries. This affects both planning rules and neighbourly relations.
- Utilities. Think about where electricity and water connections will come from.
Sizing and budget: setting realistic expectations
Prices start at around £10,000 for a compact garden room and can reach £150,000 for a large, fully self-contained studio. Most family-sized rooms with good insulation and electrics sit somewhere in the £20,000 to £50,000 range. Set a budget that includes the base preparation, utilities, and interior fitting, not just the structure itself.
One thing that catches many buyers off guard is the difference between internal and external measurements. Internal measurements indicate usable space more accurately, and wall thickness can make a significant difference to the floor area you actually get. Always ask for both figures when reviewing quotes. For more help with this, the space planning guide on the Logcabinkits website is worth a read.
Pro Tip: Get three quotes before committing. Prices vary significantly between suppliers, and the cheapest quote doesn’t always include base preparation or delivery, which can add thousands to the total cost.
From factory to your garden: the installation process
Once your preparation is done and your design is confirmed, the build phase begins. This is where modular garden rooms really shine compared to traditional construction.
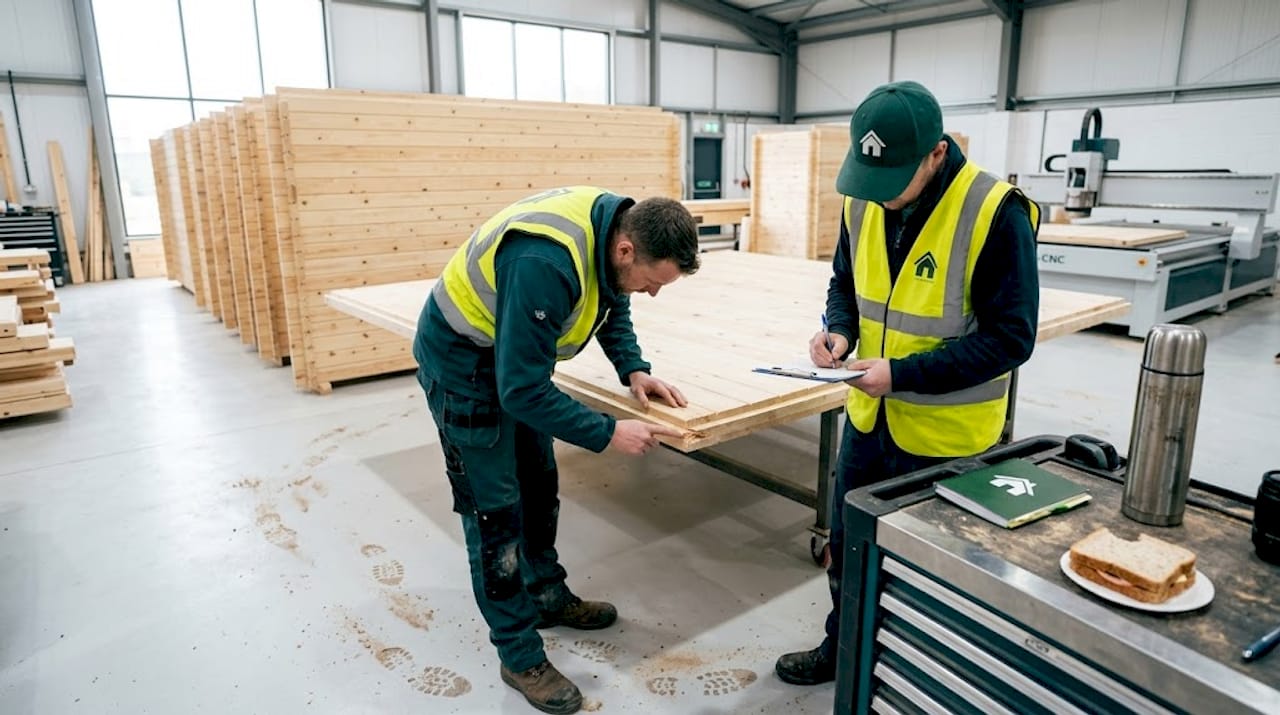
How panels are made
Modular panels are fabricated in a controlled factory environment. Precision CNC machinery enables rapid panel fabrication, cutting timber and board materials to exact tolerances. This level of accuracy is genuinely hard to replicate on a rainy building site, and it’s a big reason why factory-controlled modular construction delivers faster installation than on-site timber framing. Every panel arrives ready to assemble.
Typical installation timeline
| Room size | Estimated installation time |
|---|---|
| Small (up to 3m x 3m) | 1 day |
| Medium (3m x 4m to 4m x 5m) | 2 to 3 days |
| Large (5m x 5m and above) | Up to 1 week |
| Traditional build equivalent | 2 to 4 weeks |
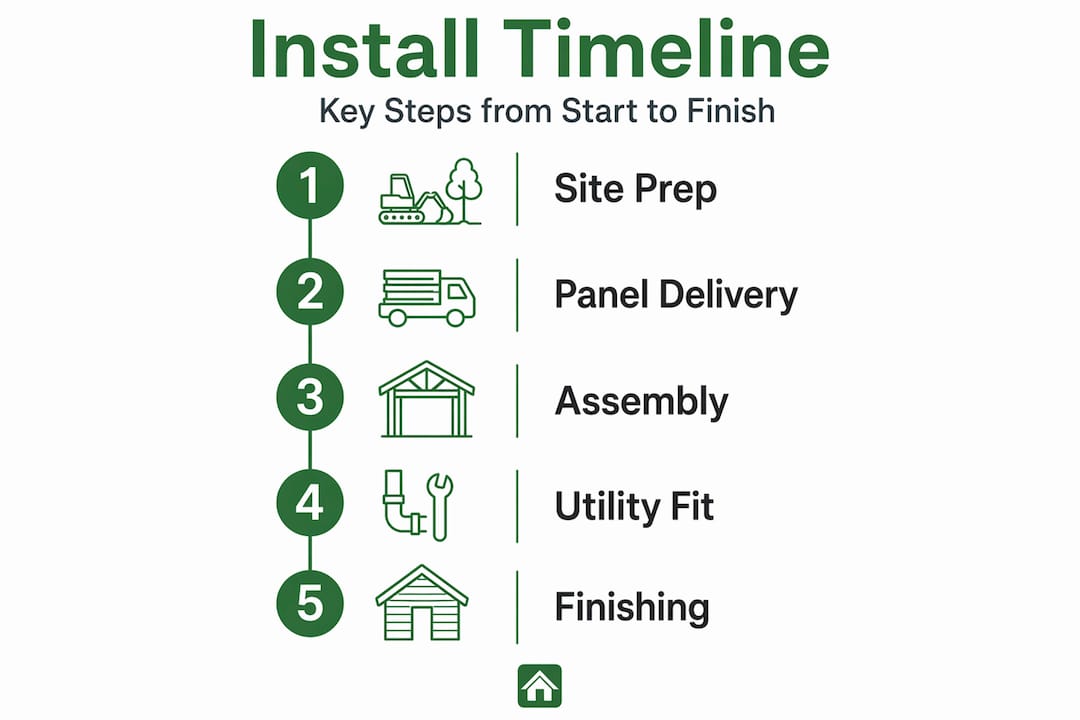
The installation steps, in order
- Base preparation. A concrete slab, screw pile foundation, or treated timber deck is laid first. Foundation quality is crucial for structural longevity and avoiding future movement or repairs.
- Delivery and access check. Panels are designed to be manoeuvrable through tight access points. Transport logistics limit module sizes, so if your garden has a narrow side gate, this is discussed during the design stage.
- Panel assembly. Wall, floor, and roof panels are assembled in sequence. Joints are sealed to create a weathertight structure.
- Roofing and weatherproofing. Roof panels are fitted and sealed. Exterior weatherproofing is applied to all joints and flashings.
- Windows and doors. Glazed units are fitted once the main structure is up.
- Exterior cladding. The cladding layer is applied or confirmed as part of the panel system.
Pro Tip: Visit the site on delivery day if you can. It’s a great opportunity to check the work at each stage and raise any questions with the installation team directly.
Finishing your garden room after assembly
The structure going up is only part of the story. What happens after the main assembly is what turns a timber box into a room you’ll genuinely love using.
Here’s what the post-installation phase typically covers:
- Electrics. A qualified electrician runs cables and fits sockets, lighting, and any heating units. This usually requires a Part P certificate for compliance.
- Plumbing. If your garden room will have a sink, kitchenette, or toilet, a plumber needs to connect it to your mains supply and drainage. Not every room needs this, but it’s worth deciding early.
- Insulation performance. High-quality insulation ensures year-round usability, keeping the space warm in winter and cool in summer. This is what separates a well-built garden room from a seasonal outbuilding.
- Interior finishing. Flooring, internal wall lining, skirting boards, and painted surfaces all go in at this stage. For ideas on how to design this space well, take a look at the garden room interior design guide.
- External cladding and maintenance. Whether your room uses timber, composite, or rendered cladding, all exterior surfaces need periodic maintenance. Timber cladding typically needs re-treating every two to three years.
- Landscaping and access paths. Winding paths create a sense of transition that works well for a studio or retreat, while a straight path suits a home office used multiple times a day. Think about what kind of use your room will get before laying anything.
Getting the finishing touches right is what makes your garden room feel like a proper room rather than an afterthought. Take your time here. It’s not the stage to rush.
Common mistakes to avoid
Every project has its pitfalls. Knowing about them in advance means you won’t be the one learning the hard way.
“The most common mistake isn’t picking the wrong design. It’s starting the project without checking planning requirements, measuring the garden properly, or budgeting for the base and utilities. Sort those three things first and the rest tends to fall into place.”
Here are the issues that come up most often:
- Assuming you don’t need planning permission. Even if your build falls under Permitted Development, it pays to double-check. Check with your local authority or read the planning permission UK guide before committing.
- Not measuring access properly. A 1.8 metre gate sounds wide until you try to carry a 2.4 metre roof panel through it. Measure every access point and share those measurements with your supplier.
- Confusing internal and external dimensions. A room quoted at 5 metres by 4 metres externally might only give you 4.5 metres by 3.5 metres internally, depending on wall thickness. That’s nearly a square metre of lost floor space.
- Underestimating base preparation costs. The base is the most critical part of the build. Skimping on it can mean the structure moves, doors stop closing, and moisture gets in. Budget properly.
- Leaving utility connections as an afterthought. Electrical and plumbing connections are much easier to plan before the room goes up than after. Think about where cables and pipes will run from the outset.
- Skipping weatherproofing details. Joints, flashings, and roof seals need to be done properly. For guidance on keeping external structures watertight, weatherproofing advice for external buildings is a useful reference.
My honest take on the modular garden room journey
I’ve spoken with a lot of homeowners who assumed the build would be the complicated part. In my experience, it rarely is. The installation itself genuinely can be completed in a day for a smaller room, and that always surprises people. What actually takes the time is everything that happens before and after.
What I’ve found is that the homeowners who are most satisfied with their garden rooms are the ones who spent real time on the design brief before anything was ordered. They knew exactly how they’d use the space, how much natural light they wanted, whether they needed power or heating from day one, and what they were willing to spend on the interior fit-out. That clarity shapes every decision that follows.
The other thing I’d say is this: don’t underestimate how much the customisation options matter. The difference between a standard off-the-shelf cabin and one that’s been adjusted to your exact garden dimensions and personal requirements is huge. It’s not just aesthetics. A room that fits your space properly, faces the right direction, and has the right insulation for how you’ll use it year-round is a completely different experience to one that’s just been dropped in and left.
Work closely with your installation team. Ask questions at every stage. The process is genuinely manageable when you understand what’s coming next.
— Martin
Explore bespoke garden rooms from Logcabinkits
If you’re ready to take the next step, Logcabinkits makes it easy to find a garden room that fits your space and your budget.

Browse the full range of timber garden buildings or explore the bespoke cabin design service to get a room built precisely to your requirements. From adjusting standard sizes to specifying your own layout, glazing, and cladding, Logcabinkits works with you at every stage. As a dedicated UK supplier with real expertise in custom builds, the team can help you get from initial idea to finished room without the stress. Get in touch for a tailored quote today.
FAQ
How long does the modular garden room process take?
For a small room, on-site assembly can be completed in a single day. Larger rooms typically take up to a week, compared to two to four weeks for traditional builds. Add in planning and base preparation, and the full project usually spans several weeks to a few months.
Do I need planning permission for a modular garden room?
Most modular garden rooms fall under Permitted Development and don’t require planning permission. However, permission is needed if the building exceeds 2.5 metres in height near a boundary, covers over half your garden, or will be used as a self-contained living or business space.
What’s the difference between internal and external garden room dimensions?
External dimensions include the wall thickness, which means the internal usable floor area is smaller. Always ask for internal measurements when comparing quotes, as these reflect the space you’ll actually have to use.
What custom garden room features can I choose?
You can typically specify size, cladding type, glazing configuration, roof style, insulation grade, flooring, internal layout, and whether to include electrical or plumbing connections. Bespoke builds allow far more flexibility than standard off-the-shelf models.
How much does a modular garden room cost in the UK?
Prices start at approximately £10,000 for a compact room and can reach £150,000 for a large, fully equipped studio. Most mid-range garden rooms with good insulation and electrics fall between £20,000 and £50,000, depending on size and specification.