
How to install cabin flooring: a complete DIY guide
TL;DR:
- Choosing moisture-resistant materials like engineered wood and luxury vinyl planks ensures cabin floors withstand humidity fluctuations. Proper subfloor preparation, including moisture checks and leveling, is critical to prevent future failure of the flooring. Most floating floors can be installed DIY, but complex subfloor issues or heating systems require professional help for best results.
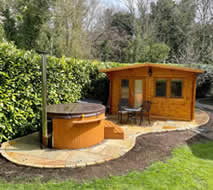
Installing cabin flooring correctly means choosing moisture-resistant materials, preparing a flat and dry subfloor, and following the right fitting method for your chosen floor type. Garden cabins face bigger humidity swings than standard rooms, which makes moisture management the single most important factor in any cabin floor installation guide. Get this right and your floor will look great and last for years. Rush it and you will be pulling boards up within a season. This guide walks you through every stage, from picking the best cabin flooring ideas to laying the final plank.
What materials work best for cabin flooring?
Engineered wood and luxury vinyl planks are the top choices for cabin floors. Both cope well with the humidity swings that solid wood cannot handle. Solid hardwood expands and contracts too much in a cabin environment, which leads to gaps in winter and buckling in summer.
Here is a quick breakdown of the main options:
- Engineered wood: Real wood veneer on a stable core. Looks warm and natural. Handles moisture better than solid wood. Works well in living areas and home offices.
- Luxury vinyl planks (LVP): Fully waterproof, comfortable underfoot, and very easy to fit. A strong choice for any cabin room, including those with damp-prone subfloors.
- Stone and porcelain tiles: Durable and moisture-resistant, making them ideal for entryways, kitchens, and utility areas. Use epoxy grout in damp spots to extend their life.
- Mixed materials: Design experts recommend combining stone or tile in high-traffic zones with engineered wood or rugs in living spaces. This balances practicality with a warm, rustic feel.
The right choice depends on how you use the cabin. A home office or studio suits engineered wood. A garden room that doubles as a utility space benefits from LVP throughout.
Pro Tip: If you are fitting flooring in a cabin that sits directly on a concrete base, LVP with built-in underlayment is the fastest and most forgiving option.
How do you prepare a cabin subfloor before fitting?
Subfloor preparation is the step most DIY homeowners skip or rush. A poor subfloor causes more flooring failures than any other single factor. The floor above is only as good as what sits beneath it.
Follow these steps before you lay a single plank:
- Check for moisture. Place a sheet of polythene flat on the subfloor and tape the edges. Leave it for 24 hours. If condensation forms underneath, you have a moisture problem that needs fixing first.
- Lay a vapour barrier. On concrete slabs, use a vapour-proof membrane before any underlayment goes down. This stops ground moisture wicking up into your floor.
- Level the surface. Use a long spirit level to find any dips or high spots. Dips greater than 3mm over 1.8 metres need filling with a self-levelling compound. High spots need sanding or grinding down.
- Sort the crawl space. If your cabin sits on joists with a void beneath, make sure that space is ventilated. Trapped damp air under the floor causes rot and warping over time. The role of floor joists in keeping your subfloor stable is worth understanding before you start.
- Choose the right underlayment. Foam underlayment suits most floating floors. Acoustic underlayment reduces noise in multi-room cabins. Some LVP products come with underlayment already attached, so check before you buy a separate roll.
Pro Tip: Self-levelling compound is easier to use than it sounds. Pour it into low spots, spread it roughly, and it finds its own level. Let it cure fully before laying anything on top, usually 24 hours.
Step-by-step: installing floating floors in a cabin
Floating floors, including LVP and engineered wood with click-lock systems, are the best fit for most DIY cabin projects. They do not need glue or nails, and they flex slightly with the subfloor rather than fighting it.
Before you start
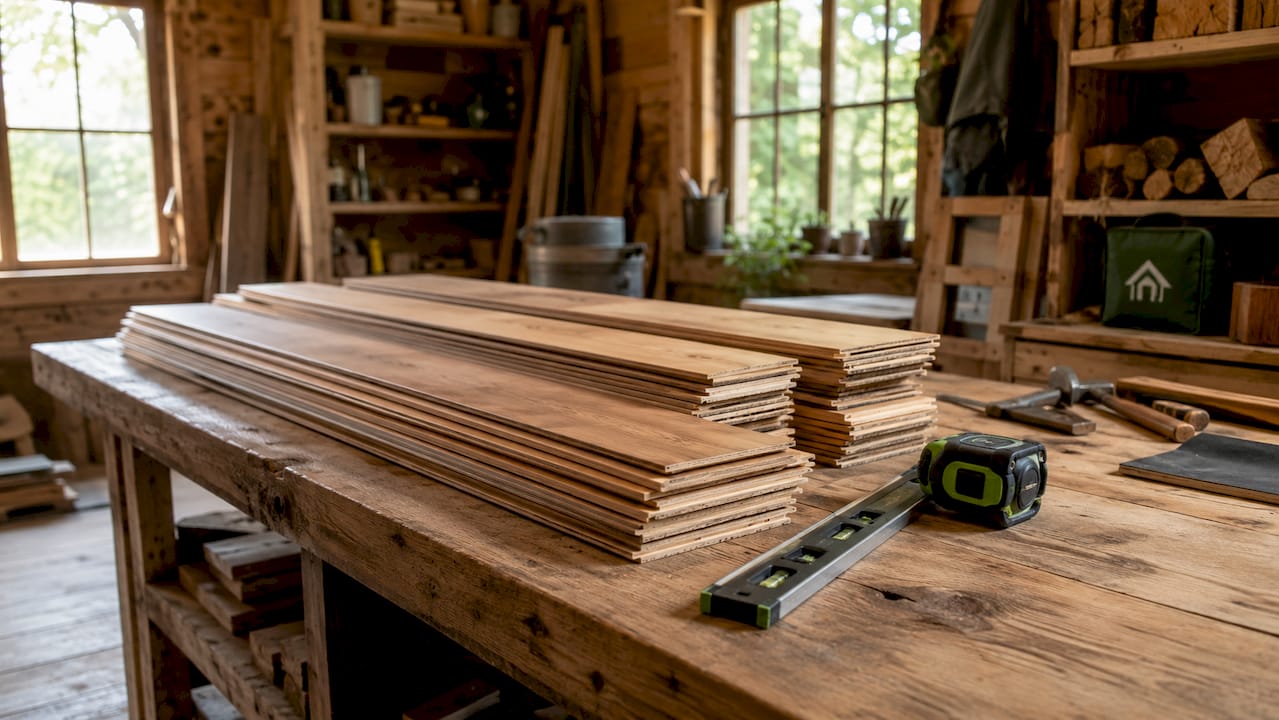
- Store your planks flat and face-up in the cabin for 5–7 days before fitting. This lets the material acclimate to the room’s humidity, which prevents warping and gaps after installation.
- Check the room temperature is between 15°C and 25°C during fitting.
- Gather your tools: tape measure, pull bar, tapping block, jigsaw or mitre saw, spacers, and a rubber mallet.
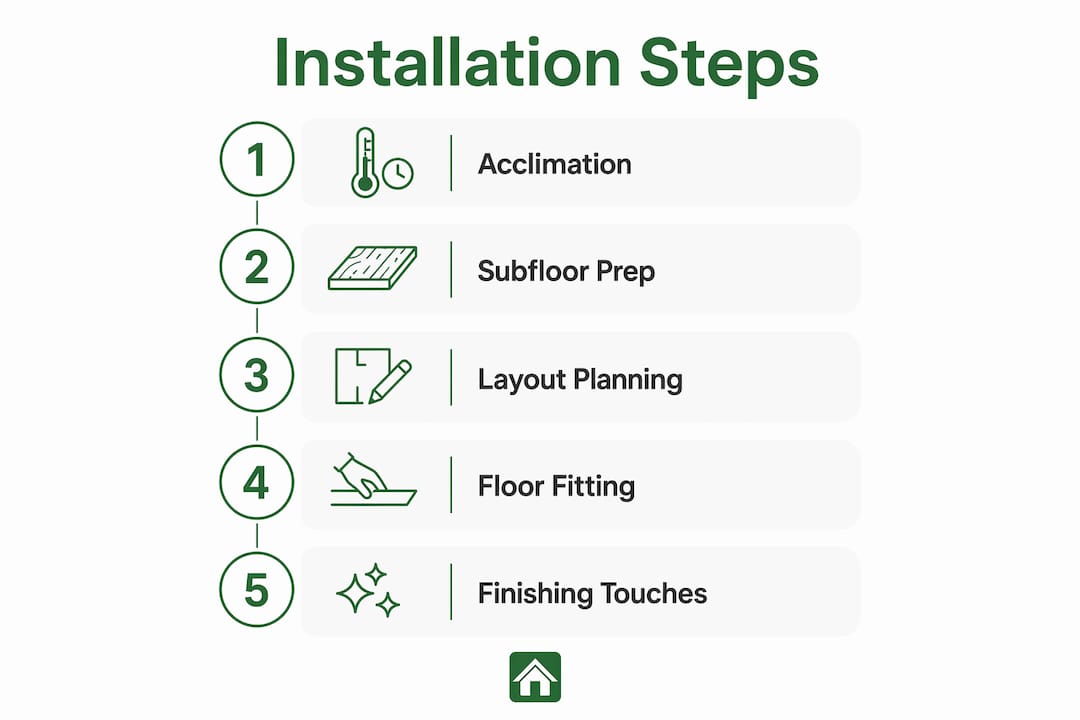
The installation steps
- Plan your layout. Lay a dry run of planks across the room without clicking them together. Aim for the first row to be at least half a plank wide. Narrow slivers at the wall look untidy.
- Place spacers. Put 10mm spacers along every wall before you start. This expansion gap is not optional. Without it, the floor has nowhere to go when it expands in warm weather and it will buckle.
- Lay the first row. Start along the longest straight wall. Click planks end to end. Cut the last plank to fit, keeping the offcut for the next row.
- Continue row by row. Stagger the end joints by at least 300mm between rows. This gives the floor structural strength and looks better.
- Cut around obstacles. Use a jigsaw for doorways, pipes, and corners. Cut a paper template first for awkward shapes, then transfer it to the plank.
- Seal the edges. Once all planks are down, remove the spacers and fit skirting boards or beading to cover the expansion gap. Do not fill the gap with sealant. The floor must still move freely.
| Stage | Key action | Common mistake |
|---|---|---|
| Acclimation | Store flat in room for 5–7 days | Fitting straight from the delivery van |
| Subfloor prep | Level and lay vapour barrier | Skipping the moisture check |
| Layout planning | Dry run before clicking | Starting with a narrow first row |
| Expansion gap | 10mm spacers at all walls | Forgetting gaps at doorways |
| Edge finishing | Fit beading or skirting | Filling the gap with sealant |
Floating vinyl flooring with built-in underlayment can be completed in a few hours with basic tools. That speed makes it a popular choice for weekend cabin projects.
When should you call a professional?
Most floating floor installations are well within DIY reach. Some situations genuinely need a specialist, though, and knowing the difference saves you time and money.
- Severely uneven subfloors. If your cabin floor slopes by more than 10mm across the room, self-levelling compound alone may not be enough. A professional can assess whether the joists need attention first.
- Radiant underfloor heating. Not all flooring types work with radiant heat. Some materials buckle or gap under heating cycles. Always check the product’s heat-cycle rating before buying. If you are fitting over an existing heating system, a professional can confirm compatibility.
- Custom or intricate layouts. Herringbone patterns, diagonal runs, and mixed-material borders all require precise cutting and planning. One miscalculation early on compounds across the whole floor.
- Structural subfloor problems. Soft spots, rot, or movement in the subfloor need fixing before any floor goes down. This is structural work, not cosmetic.
“The biggest mistake DIYers make is treating a complex subfloor problem as a cosmetic one. No amount of good flooring will hide a floor that moves underfoot.”
If you are unsure, Logcabinkits offers a professional installation service for cabin projects of all sizes.
Common mistakes and how to avoid them
Even careful DIY homeowners run into problems. Most cabin flooring issues trace back to a handful of avoidable errors.
- Skipping acclimation. Fitting planks straight from the packaging is the fastest route to warping and gaps. Always allow the full 5–7 day acclimation period before you start.
- No moisture barrier. A missing vapour membrane on a concrete subfloor leads to damp rising into the floor. The damage is slow but permanent.
- Wrong expansion gap size. Too small and the floor buckles in summer. Too large and the beading cannot cover it neatly. Stick to the 10mm standard for most floating floors.
- Misaligned rows. If your first row is not straight, every row after it compounds the error. Use a chalk line to set a true starting line across the room.
- Neglecting maintenance. Cabin floors need regular sweeping and occasional damp mopping with a pH-neutral cleaner. Avoid soaking the floor. Standing water damages even waterproof LVP over time if it finds its way into the edges.
Pro Tip: After fitting, walk the entire floor and press down on each plank. Any hollow-sounding spots suggest the subfloor beneath is not fully flat. Address these before fitting skirting boards.
For more on keeping your cabin in good shape year-round, the cabin insulation guide covers moisture control from the walls inward.
Key takeaways
Successful cabin flooring installation depends on moisture management, proper acclimation, and a flat subfloor before a single plank is laid.
| Point | Details |
|---|---|
| Choose moisture-resistant materials | Engineered wood and LVP outperform solid wood in cabin humidity conditions. |
| Prepare the subfloor first | Check for damp, lay a vapour barrier, and level any dips before fitting. |
| Acclimate for 5–7 days | Store planks flat in the room to stabilise moisture content and prevent warping. |
| Use click-lock floating systems | These flex with the subfloor and are the most DIY-friendly installation method. |
| Leave a 10mm expansion gap | Every wall needs a gap so the floor can move freely with seasonal temperature changes. |
My honest view on cabin flooring after years of seeing it done
I have seen a lot of cabin floors laid over the years, and the ones that fail almost always fail for the same reason. Not bad materials. Not poor technique. Just impatience.
Homeowners buy good quality LVP, read the instructions, and then fit it the same afternoon the delivery arrives. Three months later the boards are lifting at the edges because they never had time to settle into the cabin’s humidity. The 5–7 day acclimation rule feels like a chore when you are keen to get started. It is not. It is the single step that separates a floor that lasts a decade from one that needs replacing in a year.
The other thing I would say is this: do not underestimate how much the subfloor matters. A beautiful engineered wood floor on a damp, uneven base will always disappoint. Spend the extra day levelling and waterproofing. You will not regret it.
On material choice, I lean towards LVP for most garden cabin projects. It is practical, it looks good, and it genuinely does not care about moisture. Engineered wood is lovely where the conditions are right, but LVP gives you more margin for error. For a cabin that sees varied use across the seasons, that margin matters.
— Martin
Planning a cabin to go with your new floor?
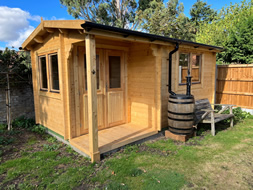
If you are fitting out a cabin from scratch, the flooring is just one part of the picture. Logcabinkits offers a wide range of quality timber garden cabins built for year-round use, from compact garden rooms to fully bespoke cabin designs tailored to your exact space and spec.

Every cabin in the range is designed with a solid, level base in mind, which makes flooring installation straightforward from the start. Whether you want a standard layout or something built to your own measurements, the team at Logcabinkits can help you get the structure right before you lay a single plank. Browse the full range or use the cabin selection wizard to find the right fit for your garden.
FAQ
What is the best flooring for a garden cabin?
Engineered wood and luxury vinyl planks are the best choices for garden cabins. Both handle humidity fluctuations better than solid wood and are straightforward to fit using click-lock systems.
How long does cabin flooring need to acclimate?
Store planks flat and face-up in the cabin for 5–7 days before fitting. This lets the material adjust to the room’s humidity and prevents warping or gaps after installation.
Do I need a vapour barrier under cabin flooring?
Yes, on concrete subfloors a vapour-proof membrane is necessary. It stops ground moisture rising into the floor and causing long-term damage to the boards above.
Can I install cabin flooring myself?
DIY installation is feasible for floating floors like LVP and engineered wood. Complex subfloor problems, radiant heating systems, or intricate layouts are better handled by a professional.
What expansion gap should I leave around cabin flooring?
Leave a 10mm gap at every wall and fixed obstacle. This gives the floor room to expand in warm weather without buckling. Cover the gap with skirting boards or beading once the floor is laid.