
Garden Office Wi‑Fi: Pick the Right Fix by Distance and Cabin Specs
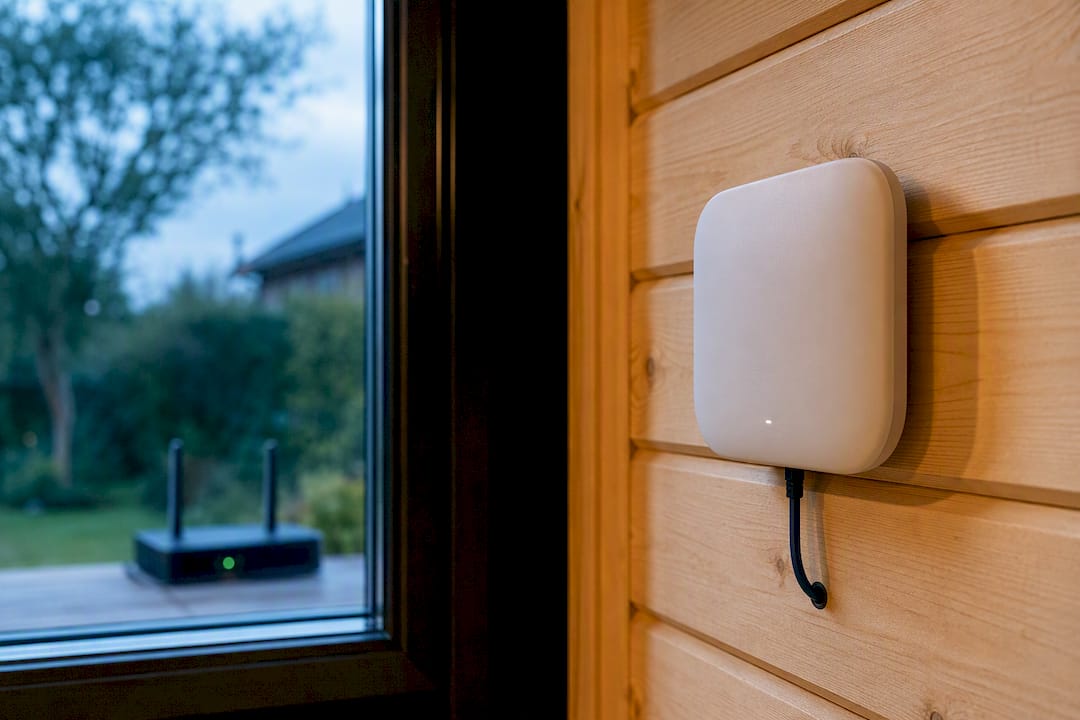
The most reliable way to get fast, stable wifi in a garden office is to run an outdoor Cat6 or Cat6a cable to an access point inside the building. Where trenching isn’t possible, a point-to-point wireless bridge is the next best option, with outdoor mesh units covering the middle ground. Quick fixes like extenders or powerline adapters only really work over short distances or as a temporary test.
TL;DR:
- Running an outdoor Cat6 or Cat6a cable to an access point inside the office provides the most reliable and stable wifi connection, especially over longer distances.
- For distances under 10 meters and standard timber walls, a mesh node or wifi extender may suffice, but beyond 30 meters or with insulated walls, trenching or point-to-point wireless bridges are recommended.
- External-grade, armoured ethernet cabling can deliver full gigabit speeds up to 100 meters, requiring proper trenching, conduit, and weatherproofing with Power over Ethernet support.
- Point-to-point bridges work well at mid-range distances with clear line of sight or partial obstructions, offering dedicated high-speed links with proper alignment.
- Wireless extenders and powerline adapters often fail to meet garden office needs due to reduced throughput and signal blocking by insulation or garden wiring.
Table of Contents
- Quick shortlist by distance: which fix to try first
- Wired ethernet: why it’s the gold standard and how to do it
- Point-to-point bridges: a practical non-wired alternative
- Outdoor access points and mesh: kit, placement and power
- Why extenders and powerline kits often disappoint in garden offices
- Practical checklist for planning and testing an installation
- Costs and timing: realistic budgets and why during-build is cheaper
- Practical cabin-spec advice from Logcabinkits
- One rule I follow when preparing garden offices
- How Logcabinkits helps you build wifi in from the start
- Sources
Quick shortlist by distance: which fix to try first
Distance is the single biggest factor in getting good garden office broadband, and it’s the first thing to measure before you buy anything.
- Under 10 metres, standard timber walls and glazing: a mesh node in a rear-facing window, or a decent extender, often does the job.
- 10 to 30 metres, or walls with foil-backed insulation: step up to an outdoor-rated access point or weatherproof mesh unit, mounted on the house or the office itself.
- Over 30 metres, or if this connection matters for your work: go for an armoured ethernet run or a point-to-point wireless bridge.
- No fixed broadband nearby, or you want a backup: Starlink can work as an independent connection or a failover if your main link drops out.
Following a distance-based decision rule like this saves you buying kit that was never going to solve the problem in the first place. It also stops you blaming the wrong thing when a signal drops. Nine times out of ten it’s not your router, it’s the thick fabric wall or the 20 extra metres of garden between you and the house.
Wired ethernet: why it’s the gold standard and how to do it
An external-grade Cat6 or Cat6a cable, run underground to an access point inside your office, gives you full gigabit speed and holds it over distances up to around 100 metres. Nothing wireless can promise that.
Standard Cat6 is fine for a short indoor run, but once a cable is going outside and underground, you want armoured or external-grade cable that’s built to resist water, rodents and ground movement. Here’s how a typical run comes together:
- Dig a trench alongside your power cable route, keeping the two separated as required.
- Lay the cable inside conduit, with warning tape above it so nobody hits it later with a spade.
- Bring the cable through a sealed, weatherproof entry point into the cabin.
- Terminate it into a small switch or patch panel feeding a Power over Ethernet (PoE) access point.
PoE means the access point gets its power straight from the ethernet cable, so you’re not relying on a trailing extension lead plugged into a socket by the window. If the trenching involves anything tricky like tree roots, existing drains, or crossing a patio, it’s worth bringing in an electrician or a groundworks contractor rather than guessing.
Pro Tip: Match the SSID name and password on your garden office access point to your main house router. Your laptop and phone will roam between them automatically, instead of you having to manually switch networks every time you walk down the garden.
Point-to-point bridges: a practical non-wired alternative
A point-to-point (PtP) bridge uses two directional radios, one on the house, one on the office, aimed straight at each other. That’s a very different thing from a repeater or booster, which just rebroadcasts a weaker signal. A PtP link gives you a dedicated connection with no shared, half-speed hop in the middle.
- 60 GHz systems with a clear line of sight can deliver a full gigabit connection, symmetrical in both directions.
- 5 GHz systems cope better with partial obstructions like a tree branch, though you’ll trade some throughput for that flexibility.
- Units mount on a pole or wall bracket and are usually powered over PoE, keeping cabling simple at both ends.
- Careful alignment matters more than most people expect. A few degrees out and your speed can fall off a cliff.
Professional PtP installs commonly deliver several hundred Mbps in real-world use, and a well-aligned 60 GHz link is often cost-efficient when digging up the garden isn’t an option. A simple link installed by a professional often costs in the hundreds of pounds rather than thousands, though alignment is fiddly enough that it’s worth paying someone who does it regularly.
Outdoor access points and mesh: kit, placement and power
An outdoor access point or mesh node earns its keep at mid-range distances, especially once foil-backed insulation or low-E double glazing gets involved. Those materials reflect radio signals almost as effectively as they reflect heat, which is great for your energy bills and terrible for your wifi.
When choosing kit, check for:
- An IP65 or higher rating, so it can genuinely sit outdoors.
- PoE support, so you’re not running a separate power cable.
- Multi-gigabit ethernet ports if you’re feeding it from a fast internal connection.
- Wifi 6 or wifi 7 support, and compatibility with your existing mesh brand.
Products worth researching include the TP-Link Deco X50-Outdoor, the standard TP-Link Deco X50, and the ASUS ZenWiFi BD4 Outdoor. All three are built for exactly this job.
Placement matters as much as the hardware. Mount the unit on the house facing your office glazing, or on the office wall itself, rather than hiding it behind a foil-backed panel where it will do almost nothing. Insulation this effective is one reason high-spec garden buildings so often need a proper access point rather than relying on the house router alone.
Why extenders and powerline kits often disappoint in garden offices
Extenders and powerline adapters look like the cheap, easy answer. They rarely deliver what a garden office actually needs.
- A typical wifi extender rebroadcasts the signal it receives, which commonly halves your usable throughput and can create a separate network name that confuses roaming devices.
- Powerline adapters send data over your home’s electrical wiring, but garden offices are frequently on a separate feed from the house consumer unit, and performance across that gap is inconsistent at best.
- Even ignoring both problems, insulated walls and low-E glazing will still block signal regardless of how good the upstream kit is.
If you’ve already tried an extender and found it patchy on video calls, that’s not bad luck. It’s the technology reaching its limit.
Practical checklist for planning and testing an installation
Before you order anything, walk the route with a tape measure and a notepad.
- Measure the actual distance and check for a clear sight line between house and office.
- Find your nearest power point and consumer unit, and sketch a likely cable route.
- Decide whether you’ll use PoE or local power, then mark where the cable will enter the office wall.
- Test provisional access point placements, checking signal strength and running speed tests at each spot.
- Confirm roaming works properly by matching SSID and password across both access points.
Pro Tip: If the link is business critical, or the terrain looks awkward, get a professional site survey before you dig. An hour of their time can save you a wasted trench.
Costs and timing: realistic budgets and why during-build is cheaper
Budgets vary depending on the route you take. A basic point-to-point bridge often installs for a few hundred pounds. Armoured ethernet trenching costs more once labour and reinstatement are included, and a full hybrid install with an access point and proper testing sits at the top end.
- Wireless bridges suit tight budgets or gardens where digging is difficult.
- Trenching costs more upfront but pays for itself over years of reliable, full-speed connectivity.
- Laying cable while your garden building is being constructed is far cheaper than digging up a finished lawn later, since the trench is already open and labour is shared with the main build.
Practical cabin-spec advice from Logcabinkits
Getting garden office wifi right often starts before the cabin even arrives. How a building is specified changes how well it holds a signal.
- Double glazing and insulation improve comfort, but thick, well-insulated walls also block radio waves more than thin timber ones.
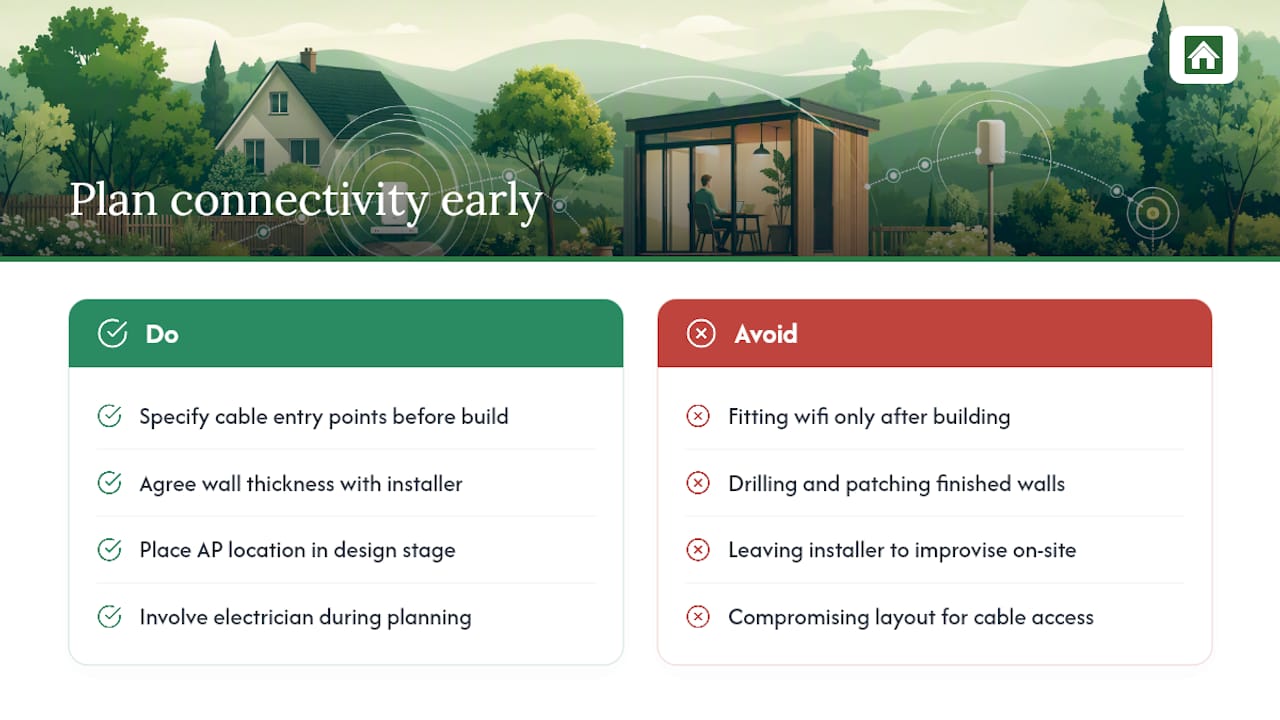
- Plan your cable entry point and access point mounting position at the design stage, not after the walls are up.
- A bespoke cabin design can include a pre-agreed cable entry point, saving you drilling through a finished wall later.
- Window placement matters too. Positioning glazing to face the house gives a wireless bridge or mesh unit a clearer path if you ever need one.
One rule I follow when preparing garden offices
If you can trench once, do it properly the first time. Digging a garden twice, once for the building and again for the cable, costs more in time and mess than doing both together ever would.
The most useful habit I’ve picked up from watching these projects go wrong: test your signal strength at the exact spot where the access point will actually sit, not somewhere convenient nearby. A metre can be the difference between a strong connection and a frustrating one.
— Martin
How Logcabinkits helps you build wifi in from the start
Fitting wifi into a garden office after it’s built usually means drilling, patching and compromise. Ordering a cabin that’s designed with cabling in mind from day one avoids all of that.
Logcabinkits builds bespoke garden log cabins with cable entry points, wall thicknesses and window layouts agreed before construction starts, so your electrician or installer has a clean route to work with rather than a finished wall to fight. Whether you’re after a compact garden office, a larger multi-room cabin with a separate meeting space, or a garden pavilion style build, the design can be adjusted to suit exactly where your access point and cabling need to sit. If double glazing and insulation are on your list, it’s also worth checking our guide on how double glazing affects comfort and connectivity.
Ready to plan a build that’s set up properly from the start? Browse our garden log cabin range or get in touch about a bespoke design built around your connectivity needs.
Sources
For deeper technical detail, see guidance on extending wifi to an outbuilding, point-to-point bridge performance, and professional installer services for site surveys and testing.
- Extend WiFi to outbuilding, garden office, garage, shed | InstallationsAtHome
- Garden Office WiFi | Fast & Reliable | WiFi Squad
- Getting internet coverage in your garden room | Grand Designs Magazine
- Weak Wi‑Fi: Mesh vs Extenders, and the garden office | BroadbandSwitch