
What is tongue and groove? A clear guide for DIYers
TL;DR:
- Tongue and groove is an interlocking joint used in flooring, wall paneling, and outdoor cladding to create a weather-resistant, seamless surface. It features a protruding tongue that fits into a matching groove on the adjacent board, providing strength, concealment of fixings, and faster installation. Proper precision and patience are essential to avoid damage and ensure a long-lasting, visually appealing fit.
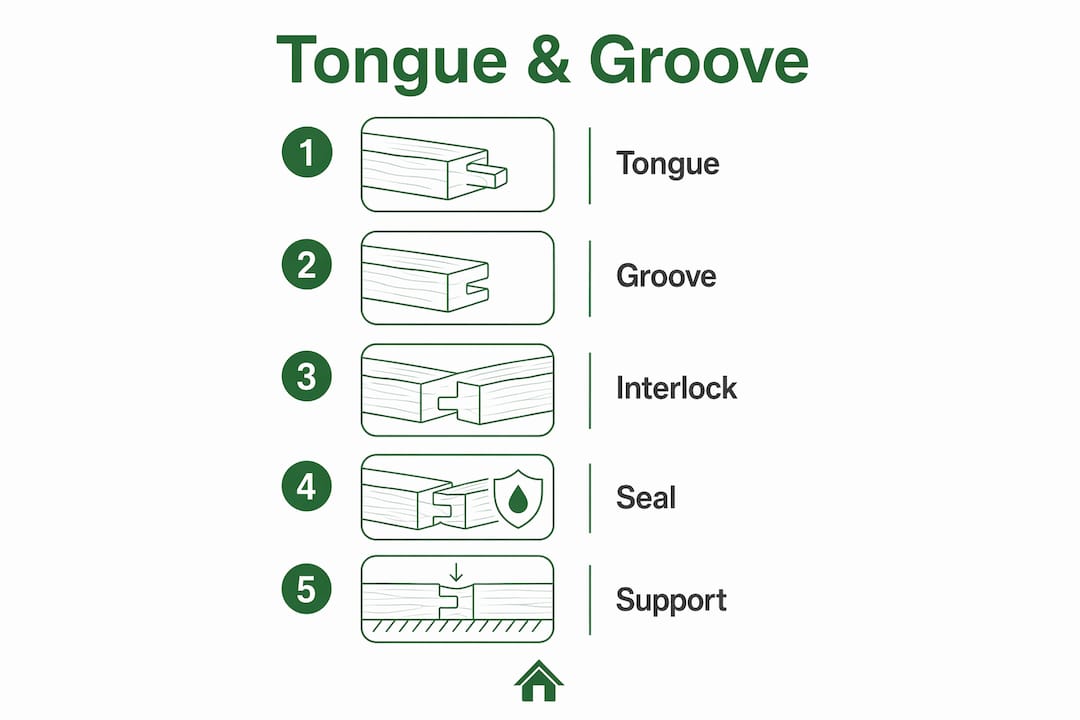
Tongue and groove is defined as an interlocking joint where one board carries a protruding ridge (the tongue) along its edge, and the adjacent board carries a matching recessed slot (the groove), so the two lock together tightly. This classic woodworking joint is used across flooring, wall panelling, ceiling cladding, and garden buildings. The result is a surface that conceals fixings, resists water ingress, and looks clean and continuous. If you are planning any kind of timber project, understanding how tongue and groove works will save you time, money, and a fair few headaches.
What is tongue and groove and how does it work mechanically?
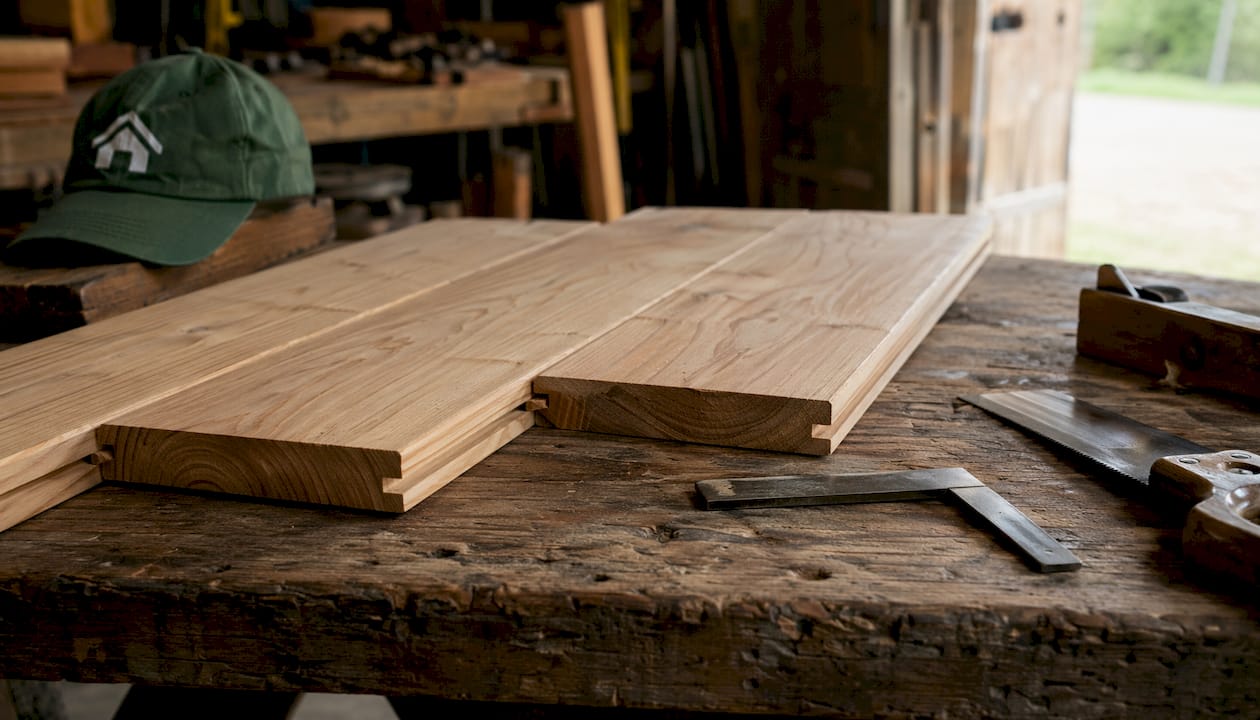
Tongue and groove is an interlocking edge profile where one board features a protruding tongue and the adjacent board a recessed groove, creating a tight surface that conceals fixings and resists water ingress. The tongue sits proud of the board face, running the full length of the edge. The groove is milled to match it exactly, so the two slide together without gaps.
When the boards interlock, the joint does several things at once. It prevents the boards from separating sideways. It stops water from tracking between them. It also transfers load evenly across the surface, which matters enormously in flooring.
The table below breaks down each part of the joint and what it does.
| Joint part | Description | Function |
|---|---|---|
| Tongue | Protruding ridge along one board edge | Slots into the groove of the next board |
| Groove | Recessed slot along the adjacent board edge | Receives the tongue for a tight fit |
| Board face | The visible surface of the installed board | Creates the finished, seamless appearance |
| Secret nail point | The base of the tongue, angled through | Hides the fixing beneath the next board |
| End match | Tongue and groove cut at board ends too | Allows joining between support studs |
End-matched boards are worth knowing about. Standard tongue and groove profiles only interlock along the long edges. End-matched T&G boards carry the same profile on the short ends too, which means you can join boards between joists or studs rather than only over them. That reduces waste and speeds up the whole job.
What are the key benefits of tongue and groove in construction and DIY projects?
Tongue and groove delivers real, measurable advantages over simpler jointing methods. Using tongue and groove joints for flooring and panelling can reduce installation time by up to 40% compared to traditional methods. That is a significant saving on any project, whether you are fitting a floor yourself or paying someone else to do it.
The benefits go well beyond speed. Here is what makes tongue and groove the preferred choice for so many applications.
- Weather resistance. T&G cladding creates a formidable barrier against driving rain, making it far more effective than flat-edge butt joints in the UK climate. The overlapping profile means water cannot track straight through the joint.
- Concealed fixings. Secret nailing through the tongue hides the fixing point beneath the next board. The result is a clean face with no visible nail heads or screws.
- Structural strength. The interlocking profile distributes load across multiple boards rather than concentrating it at a single point. This is particularly useful in flooring, where foot traffic creates repeated stress.
- Aesthetic continuity. Boards sit flush and tight, creating a smooth, unbroken surface. This matters for wall panelling and ceiling cladding where the visual finish is the whole point.
- Faster fitting. Boards click together and self-align, so you spend less time measuring and adjusting.
Pro Tip: When choosing a profile for exterior use, pick a deeper tongue and groove rather than a shallow one. A deeper interlock gives more surface contact and handles the UK’s wet winters far better.
What are the main challenges and installation considerations for tongue and groove?
Tongue and groove provides a much stronger and tighter fit than simple butt joints, but it requires more precision during cutting and fitting to prevent tongue damage. The tongue is the most vulnerable part of the board. If you force a board into place or knock it at the wrong angle, the tongue can split or snap off. Once that happens, the joint is compromised and the board is usually unusable.
Getting the installation right comes down to preparation and technique. The points below cover the most common pitfalls.
- Check moisture content before you start. T&G is a joining method, not a product, and success depends on board moisture content and subfloor preparation. Boards that are too wet will shrink and gap after fitting. Boards that are too dry will swell and buckle.
- Prepare the subfloor properly. Any unevenness in the subfloor transfers directly to the finished surface. Level it before you lay a single board.
- Do not glue full-length joints. Experienced installers avoid gluing full-length T&G joints because wood movement can cause damage. Timber expands and contracts with temperature and humidity. A glued joint has nowhere to go.
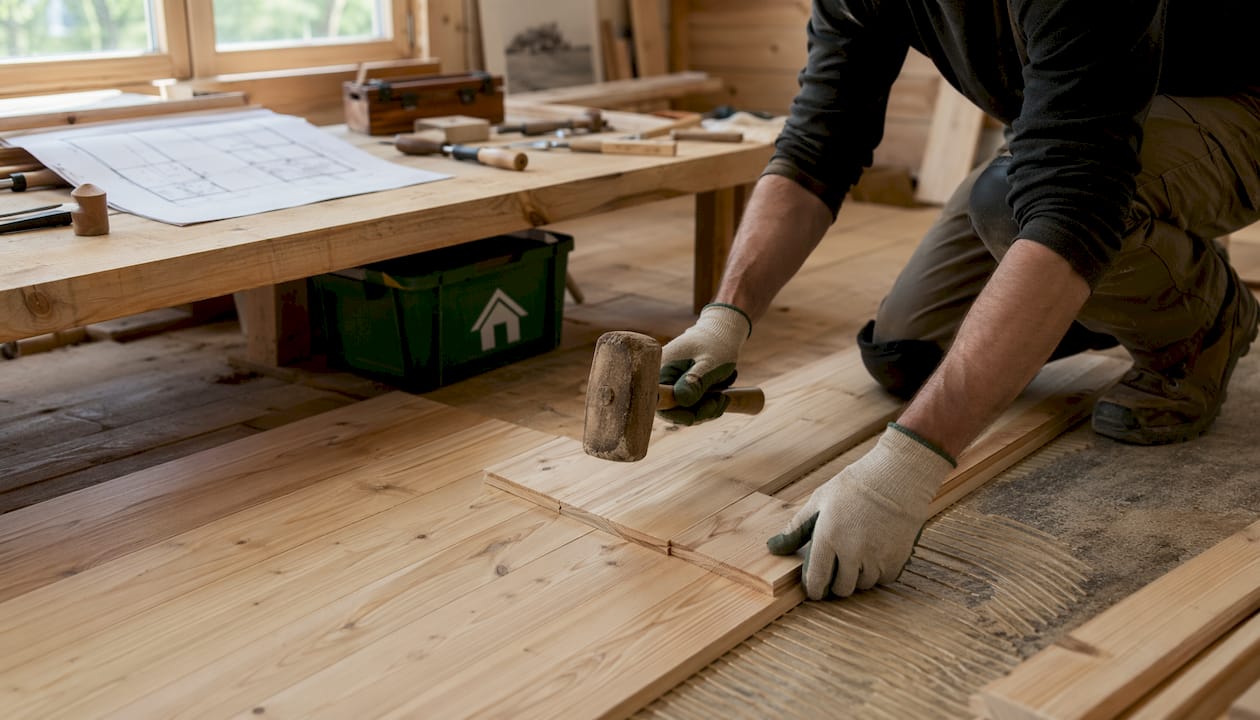
- Use secret nailing through the tongue. Angle the nail through the base of the tongue at roughly 45 degrees. The next board covers the fixing completely.
- Allow for thermal expansion in exterior applications. Outdoor timber moves more than interior timber. Leave a small gap at the ends of runs to accommodate this movement.
- Handle boards carefully. Carry boards flat, not on their edges. Dropping a board on its tongue will damage it before you even start.
Pro Tip: Always check the manufacturer’s guidance on adhesives before applying any glue to T&G joints. Some engineered boards have specific requirements that differ from solid timber. Getting this wrong can void any warranty.
What are common applications and variations of tongue and groove in building projects?
Tongue and groove appears in more places than most people realise. Its combination of strength, weather resistance, and clean finish makes it useful across a wide range of projects, from interior rooms to outdoor garden buildings.
The most common applications are:
- Flooring. T&G flooring boards interlock to create a stable, load-bearing surface. The role of floor joists beneath the boards is to support the span between fixings, and T&G boards spread the load between them effectively.
- Wall panelling. Fitted horizontally or vertically, T&G boards create a warm, textured wall finish. Victorian and Edwardian homes used it extensively in hallways and bathrooms.
- Ceiling cladding. Lightweight T&G boards are ideal for ceilings because the concealed fixing method means no visible screws or nails.
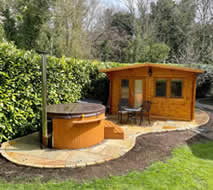
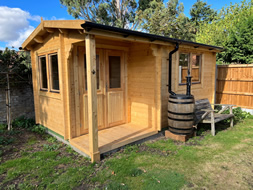
- Exterior cladding. T&G cladding is a popular choice for garden rooms, summerhouses, and outbuildings. Profile choice matters here for accommodating thermal expansion in outdoor settings.
- Garden buildings. Log cabins and summerhouses use T&G construction for both the walls and the floor. The interlocking profile adds rigidity to the whole structure.
The table below compares the two most common installation orientations.
| Orientation | Best use | Key consideration |
|---|---|---|
| Horizontal | Exterior cladding, traditional panelling | Water runs along the joint, so profile depth matters |
| Vertical | Interior panelling, feature walls | Easier to keep boards plumb; less weather exposure |
Bespoke garden buildings from Logcabinkits use tongue and groove throughout their structures, from the floor to the walls. The cladding profile you choose affects both the look and the weather performance of the finished building. Thicker logs with a deeper T&G profile, such as those used in 90mm glulam cabins, offer noticeably better insulation and structural rigidity than thinner alternatives.
Key takeaways
Tongue and groove is the most practical interlocking timber joint for flooring, cladding, and panelling because it combines speed of installation, weather resistance, and a clean finish in a single profile.
| Point | Details |
|---|---|
| Definition | One board’s tongue slots into the adjacent board’s groove, locking them together tightly. |
| Installation speed | T&G joints can reduce fitting time by up to 40% compared to non-interlocking methods. |
| Weather resistance | The interlocking profile creates a barrier against driving rain, making it ideal for UK exteriors. |
| Key installation rule | Never glue full-length T&G joints. Wood movement will cause damage over time. |
| Best practice | Secret nail through the tongue at 45 degrees for a clean, fixing-free face. |
Why patience is the real skill in tongue and groove work
I have watched a lot of DIY projects go sideways at the fitting stage, and tongue and groove is where impatience does the most damage. The joint looks simple. Two boards, one tongue, one groove. People assume it will just click together and they can crack on. Then they force a board, snap a tongue, and spend the next hour trying to salvage a piece of timber that cost them good money.
The truth is that the precision required to cut and fit T&G boards well is not complicated, but it does demand that you slow down. Check your moisture readings before you start. Let boards acclimatise in the room or space where they will be fitted for at least 48 hours. That single step prevents more problems than any tool or technique I can recommend.
I also think people underestimate how much the profile choice matters for outdoor projects. A shallow tongue and groove looks fine in a showroom. Put it on a garden building in a wet British winter and you will see gaps appear within a season. Deeper profiles, particularly on quality garden log cabins, hold their shape and their seal far longer. Spend a little more on the right profile upfront and you will not be resealing or replacing boards in three years.
The aesthetic reward for getting it right is genuinely satisfying. A well-fitted T&G floor or wall panel looks like it was always there. No gaps, no visible fixings, just a clean, continuous surface. That is what the joint was designed to deliver, and when you take your time, it does exactly that.
— Martin
Tongue and groove garden buildings from Logcabinkits
If you have been reading about tongue and groove and thinking about a garden building project, Logcabinkits builds every cabin with T&G construction at its core.
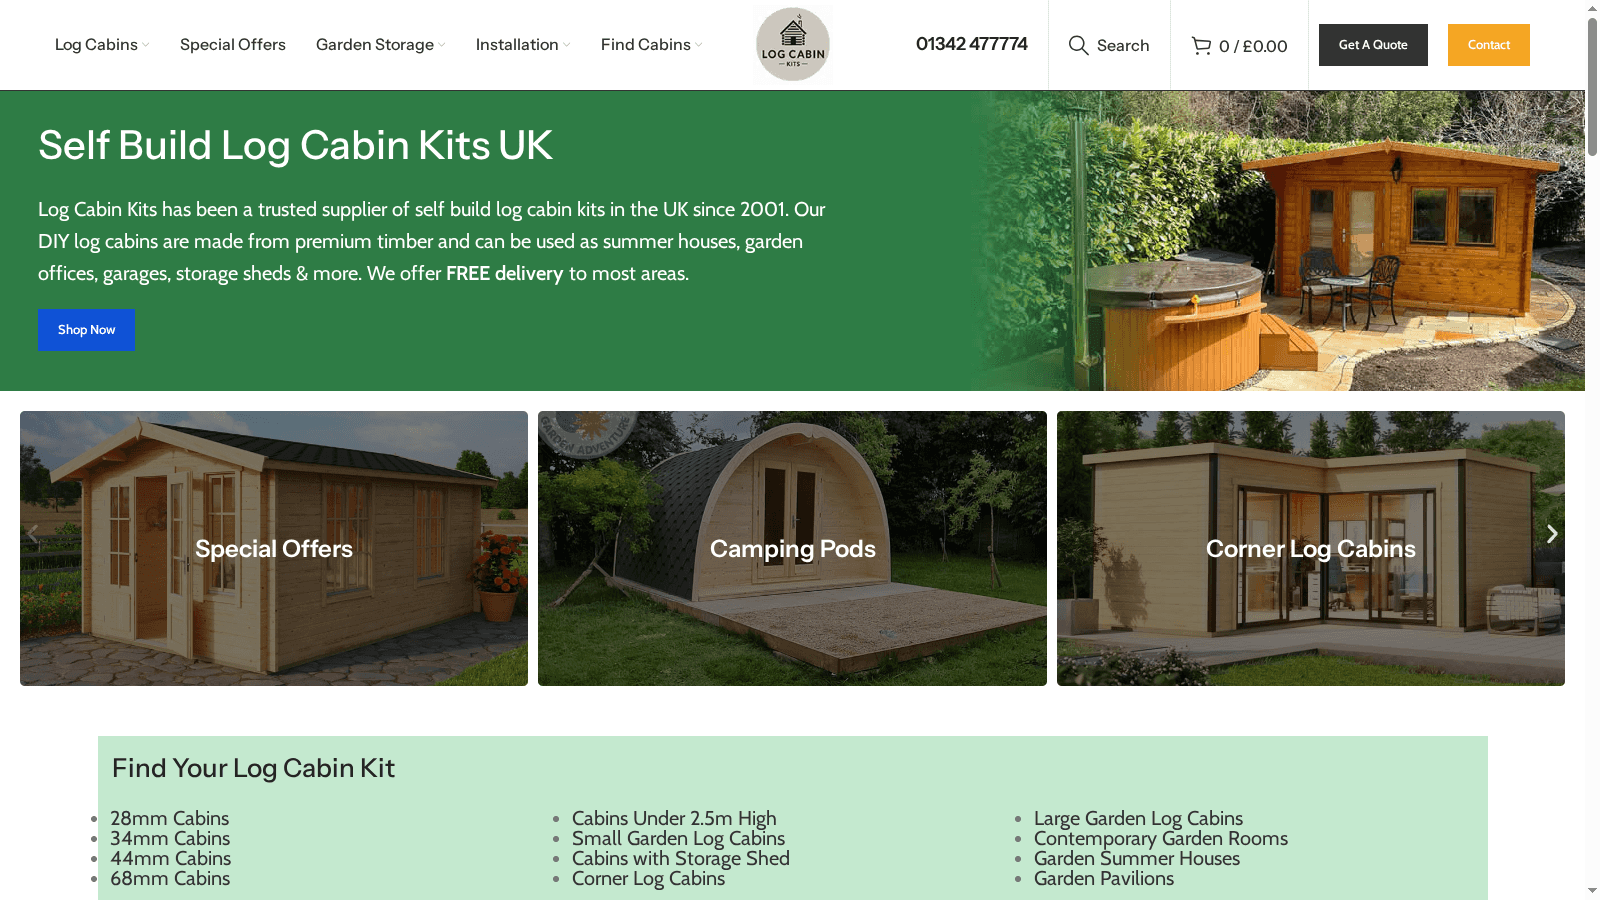
Every structure in the Logcabinkits range uses tongue and groove timber for the walls, floor, and roof boarding, giving you the weather resistance and structural strength that the joint is known for. The range covers everything from compact summerhouses to large, bespoke multi-room cabins. You can browse the full collection of garden log cabins to find a size and style that suits your garden and your plans. If you want something tailored to your exact requirements, the bespoke cabin design service lets you specify dimensions, log thickness, and finish from the ground up.
FAQ
What is the tongue and groove joint used for?
Tongue and groove joints are used for flooring, wall panelling, ceiling cladding, and exterior cladding on garden buildings. The interlocking profile conceals fixings and creates a tight, weather-resistant surface.
Is tongue and groove better than plywood for flooring?
Tongue and groove solid timber or engineered boards offer a cleaner finish and better load distribution than plywood for visible flooring surfaces. Plywood is often used as a subfloor beneath T&G boards rather than as a finished surface.
Can I install tongue and groove myself?
Yes, tongue and groove is a practical DIY option. Success depends on correct board moisture content, proper subfloor preparation, and using secret nailing through the tongue rather than face-nailing.
Why should I avoid gluing tongue and groove joints?
Timber expands and contracts with changes in temperature and humidity. A glued full-length T&G joint has no room to move, which causes the wood to buckle or the joint to split over time.
What does end-matched tongue and groove mean?
End-matched T&G boards carry the tongue and groove profile on their short ends as well as their long edges. This allows boards to be joined between support studs rather than only over them, reducing waste and speeding up installation.