


If you need this cabin in a custom size or want to make changes to its design, simply fill in the short form. We’ll get back to you with a quote, including technical drawings.
We can offer a fully insulated kit including, under floor, walls and roof.
Even with our relative temperate climate, if you're planning to use your cabin throughout the year, then you should consider upgrading to a fully insulated cabin.
Insulation will help control the internal temperature of your cabin both in the winter and summer making a more comfortable environment in which to live, work or play.
Most of the cabins we offer can be supplied with a full insulation kit including the necessary instructions on how to fit each part.
What Elements are Insulated ?
All external surfaces are insulated :
- Underfloor
- Walls
- Roof
In each case, the components used to achieve a well ventilated insulation structure include :
- Vapour barrier
- Wind barrier
- Insulation
- Battens
These items will ensure the core element insulation has longevity without being compromised by the ingress of water, dampness or wind.
Let's Look at Each Area
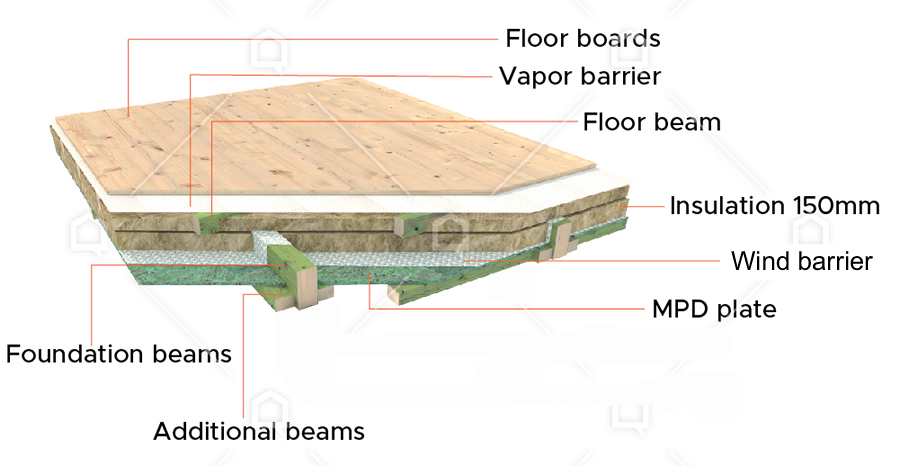
Underfloor
The underfloor insulation is made up from a number of key components. Let's assume you are starting with a concrete base:
- First, there needs to be a moisture barrier that prevents dampness tracking up into the floor.
- Next, the foundation beams are set, including additional beams to support the MPD sheet.
- Now the wind barrier fitted, covering the whole area before the void between the foundation beams is filled with insulation.
- Floor beams are now fitted perpendicular to the foundation beams. Again, this void is filled with insulation to the height of the floor beam.
- Followed by the vapour barrier.
- And finally, the floor boards are fitted on top.
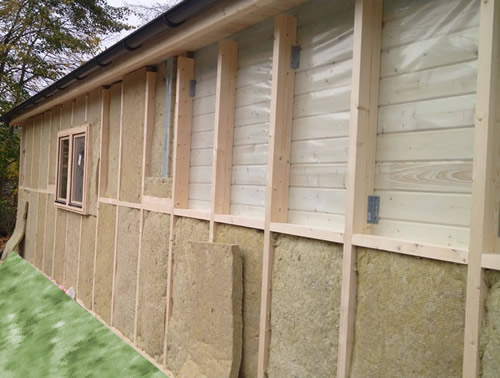
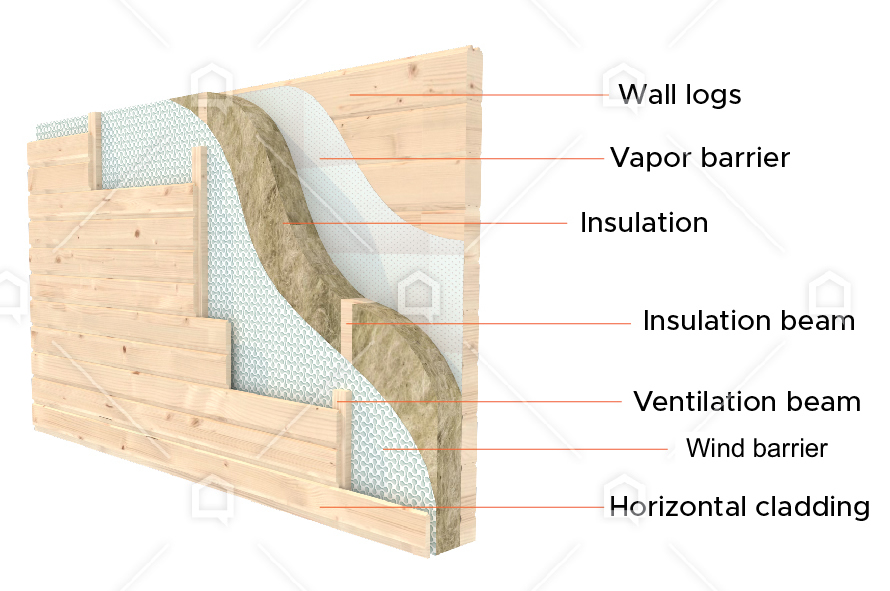
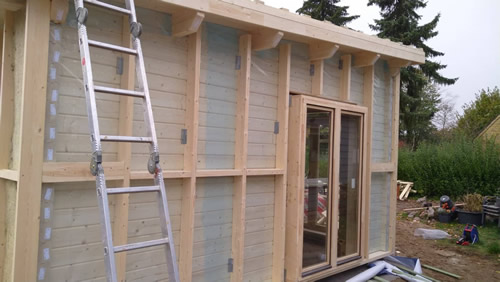
Walls
Cabin wall insulation can be positioned internal to the log wall or externally. We choose to place it externally to the log wall as in the following diagram :
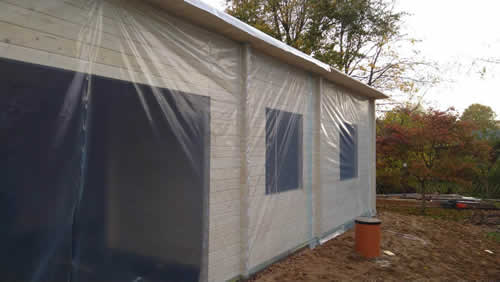
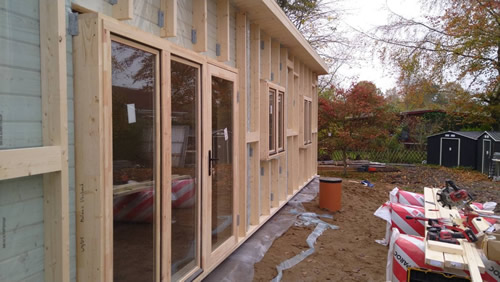
- After the main wall construction is in place, a vapour barrier is fixed across the whole external wall.
- Insulation beams are fitted vertically ensuring a sliding fixing is used at the top to allow the wall logs to move independently. The width of these beams dictate the thickness of the insulation you apply. Their separation is again dictated by the width of the insulation roll.
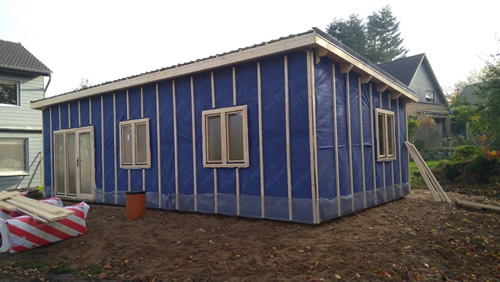
- The wind barrier is then fitted. This allows movement of moisture away from the cabin but prevents ingress of moisture and wind.
- The external cladding can be fitted vertically or horizontally. In this case it is horizontal and therefore the ventilation beam is applied directly over the insulation beam.
Roof
Cabin roof insulation is constructed on top of the rafters and roof boards as in the following diagram :
- Once the roof boards are in place, the roof insulation components can be fitted.
- First, the vapour barrier is applied across the whole roof area.
- Insulation beams are then fitted. Their width dictating the thickness of the insulation.
- Insulation is then rolled out between the insulation beams ensuring no air gaps remain.
- The wind barrier is then applied to the whole are allowing moisture out, but preventing the ingress of damp and wind.
- Ventilation beams are then fitted over the top, securing into the insulation beam beneath.
- The standard kit ends with the battens. Depending on your preferred roof covering there may be the need for additional components, for example. If you were wanting to use EPDM rubber or felt shingles that require a flat surface to attach to, then some form of timber sheet, such as OSB, would need to be applied to the battens before the roof covering was applied.

All Timber Cabins UAB buildings can be supplied with Insulation Kits
No matter what size or design of building, all the kits can be upgraded to have insulated underfloor, walls and roof. Contact the office now to see how cost affective this upgrade is.
Cabin
- External Size (Wall Log Length) : 5000 mm (W) x 3000 mm (D)
- Internal Size (approx.) : 4796 mm x 2796 mm
- Usable Floor Area: 13.4m²
- Ridge Height : 2500 mm
- Canopy : 500 mm
- Roof Pitch : 9°
Included in Your Log Cabin Kit :
The following items are included with your log cabin kit
- Pre-cut floor bearers - Treated 70mm x 50mm
- Kiln-dried wall logs (untreated)
- Cylinder door lock with 2 keys
- Doors and windows as indicated on the floor plan.
- Floor Boards - 19mm Tongue and Groove.
- Roof Boards - 19mm Tongue and Groove.
- Assembly Guide.
Items not Included
The following items are NOT included in the kit, but are required for installation
- Screws: We would recommend 100mm x 5mm (for the wooden base bearers) and 40mm x 4 mm stainless steel screws (for the doors and window frames).
- Nails to apply the roof and floor boards. We would recommend a 2.65 x 50mm wire nail
- Weather proof covering, such as felt shingles, shed felt or EPDM.
- Timber treatment for weather protection
Double glazing is offered in three options.
Your choice should be made by considering the building use, for example will it be used 12months of the year. All year round points more towards Superior and Premium, a summer house really only needs to use the Standard fit. Your location will also have a bearing on which to choose - How cold does it get where you live. Scotland has far more cold days than the South East of England, for example. And budget will play a part. The better options do cost more ! In each option, the glass panes are 3mm thick and the double glazing filled with Argon Gas. What varies across the options is the divide width between panes of glass. This ranges from 6mm up to 20mm. In simple terms, the greater the cavity the more efficient and insulating the double glazing becomes. Door and window furniture also upgrades with the options- Standard : 3-6-3
- Superior : 3-10-3
- Premium : 3-20-3
EPDM Kit
The EPDM Kit provisions all you need to apply EPDM to your roof including :
- One piece rubber sheet (1.14mm)
- Waterbased adhesive
- Elevate Spray adhesive
- UPVC 2 Part gutter trim
- UPVC Edge trim
- UPVC External corner
- Sundtry items
Benefits of EPDM for rubber roofing
- Totally inert and UV stable
- Will not crack or perish
- Environmentally friendly
- Cold applied
- Can be used on a flat roof
- Virtually maintenance free
20 Year Guarantee - Life Expectancy of 50 Years

- Firestone E.P.D.M is a high performing synthetic rubber membrane offering a unique combination of features and benefits.
- Quick and Easy Installation - Available in large sheet sizes anything up to 12.5m x 30m, resulting in fewer field seams and less installation time.
- Superior Weatherability and Durability - Due to its composition, essentially EPDM polymers and carbon black, Firestone EPDM offers unmatched resistance to ozone, UV radiation, and ultimately ageing. Life expectancy of 50+ years !
- High Flexibility and Elongation - Firestone EPDM remains flexible at temperatures down to -45 degrees and can elongate over 300% to accommodate building movements and temperature fluctuations.
- Low Life-cycle Cost - Firestone EPDM requires little or no maintenance. This feature combined with the inherent durability and competitive installed cost of EPDM roofing systems, result in a very low life-cycle cost.
- Environmentally Friendly - Firestone EPDM is an inert material with limited environmental impact during manufacture and use of the product.
Felt Shingles
Selecting this option will provision enough felt shingles to cover the roof with some to spare if laid correctly.
Felt shingles are available in four colours - Green / Grey / Red / Black.
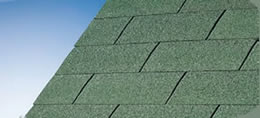 Bourne Green
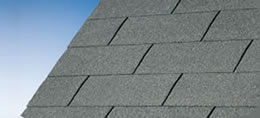 Bourne Grey
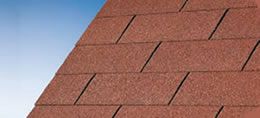 Bourne Red
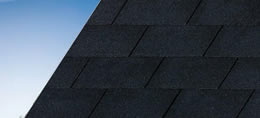 Bourne Black
Standard packs have 17 pieces at 1000mm x 330mm.
If available, ridge and starter row tiles are 1000mm x 250mm and each pack contains 20 pieces covering up to 20 linear metres to line the roof edge or 12 linear metres of overlapped ridge. Note : Not all colours are available as Ridge and Starter tiles, in which case enough standard shingles will be supplied to use for this purpose.
Felt shingles require a minimum 11 degree roof pitch. It is advised to use an underlay for all pitches between 8 and 11 degrees. It is not advised to use felt shingles on a ptich less than 8 degrees.
Construction
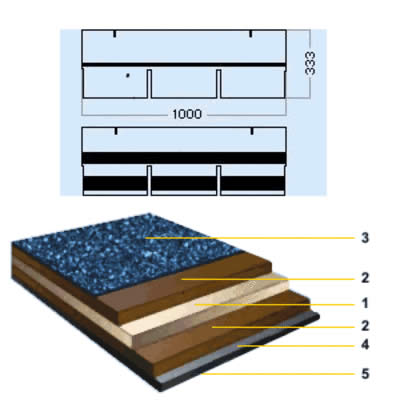
- Base - glass-fibre felt
- Improved bitumen modified with SBS polymers
- Basalt sprinkle
- Adhesive, frost-resistant polymeric bitumen bulk
Good Reasons to Choose Timber Cabins UAB®
Sourced from FSC approved forests of Scandinavia
-
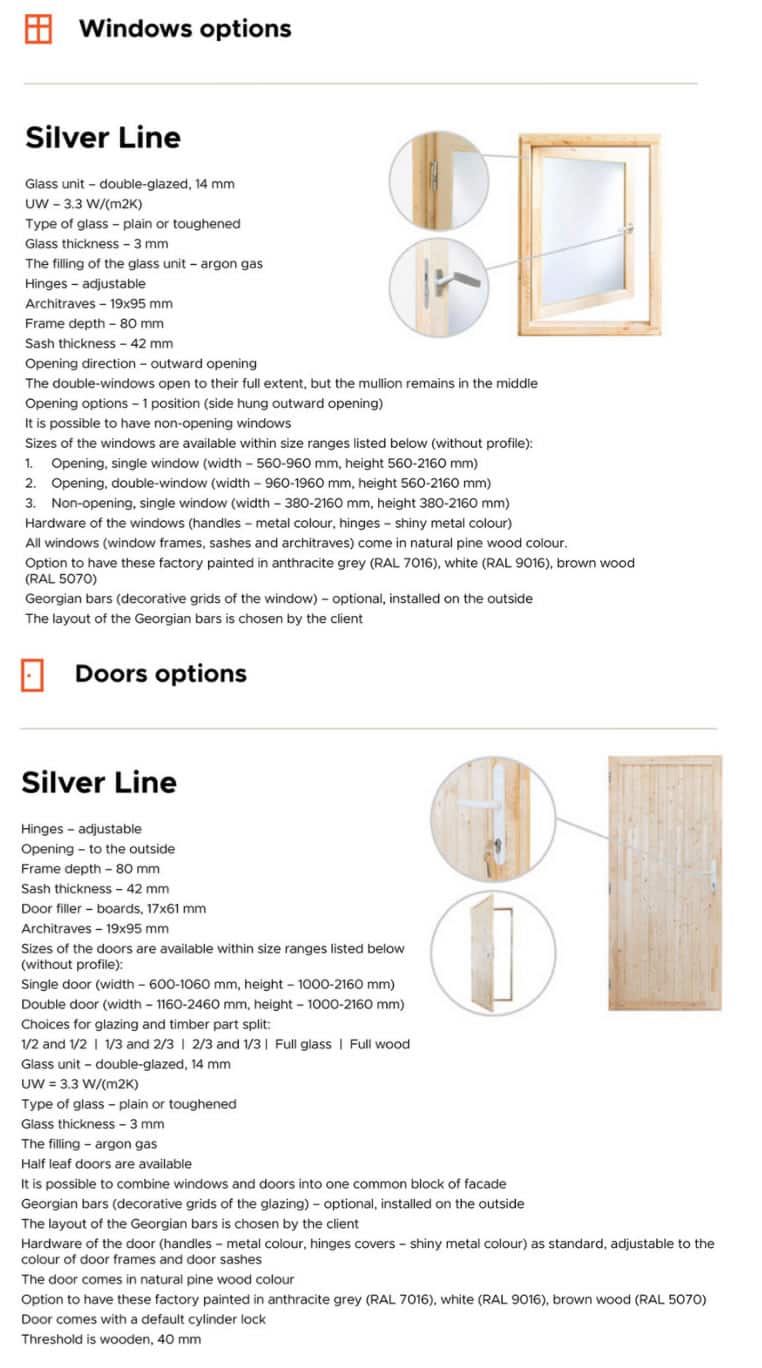
Silverline
-
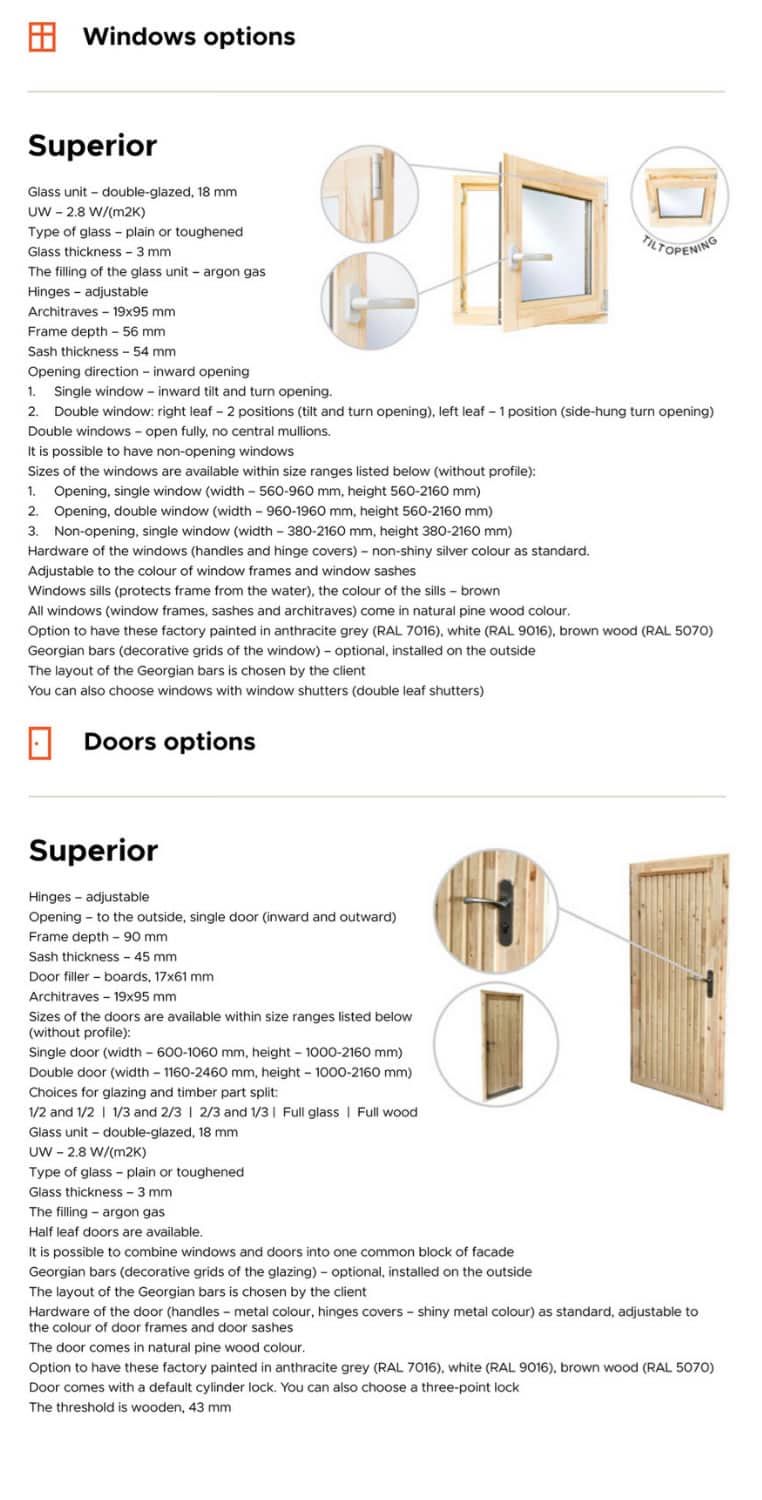
Superior
-
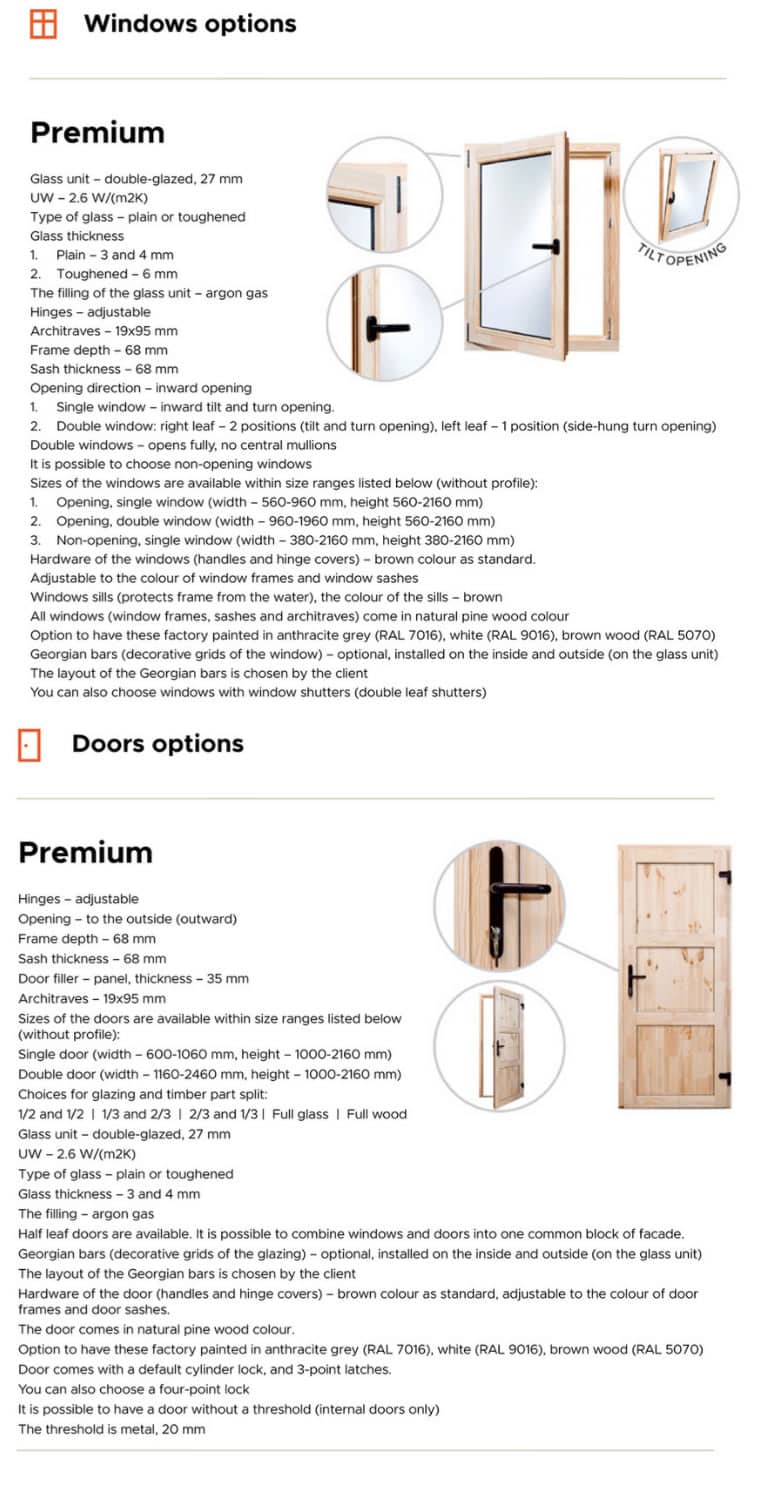
Premium


- Just like door and window opening reinforcement, their main purpose is to ensure a wall does not fall out of vertical alignment.
- A wall is particularly at risk where the wall perpendicular to it is a short return.
- In the example below, the short return is highlighted in GREEN. The wall at risk is highlighted in YELLOW.
- Because the green wall is quite short, there is limited friction to hold the YELLOW wall in line and there is the potential for this wall to bow out.


