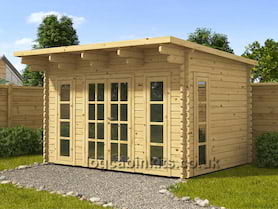


Product Overview
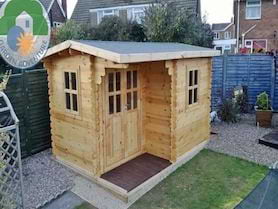
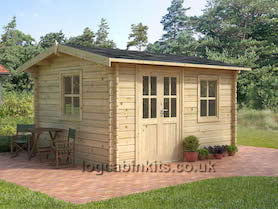
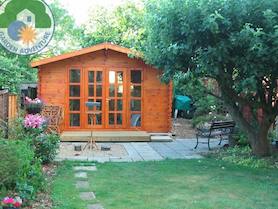
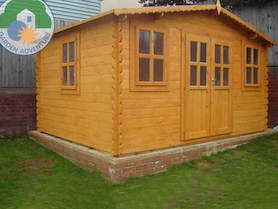
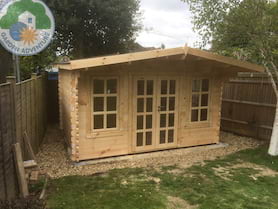
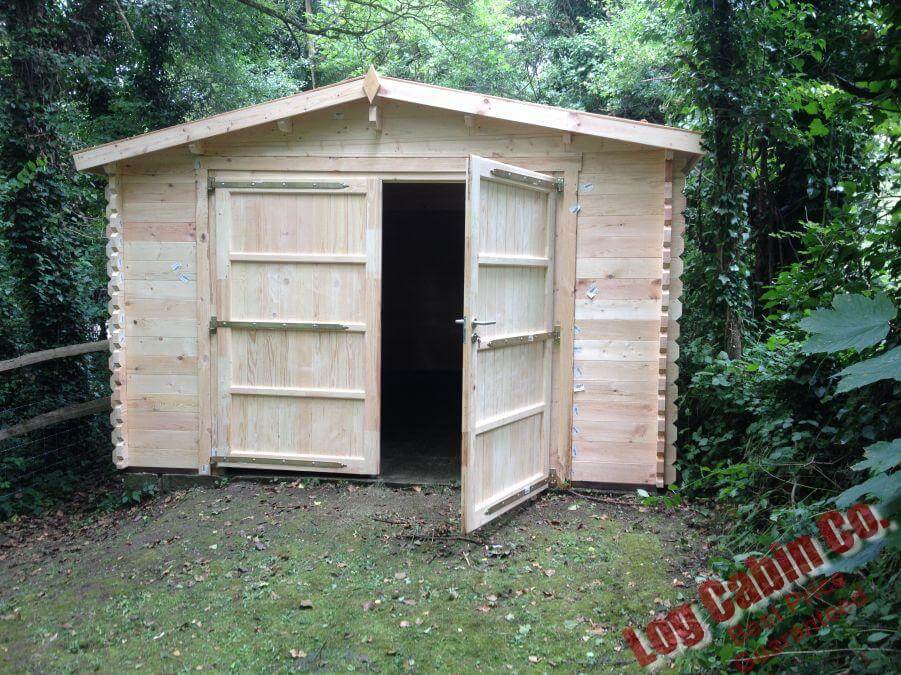
Our most popular garage. The name always offering great value in a 44mm wall log and sound construction to secure your vehicle and or storage requirements.
A floor is optional. Should you require this, please contact the office and we can provide a competitive quote.
Cabin :
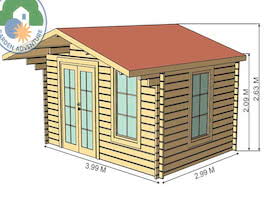
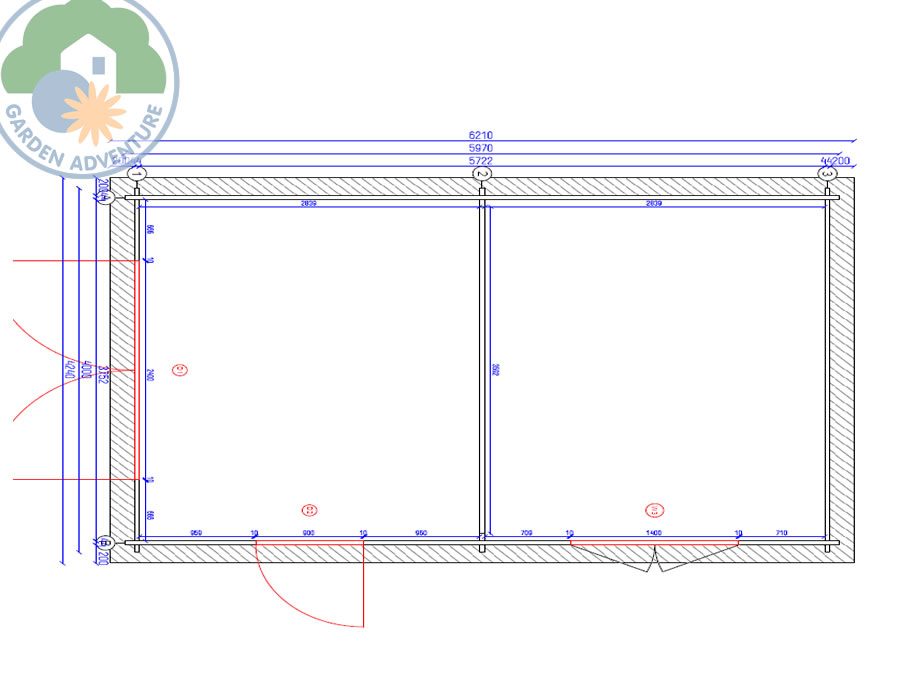
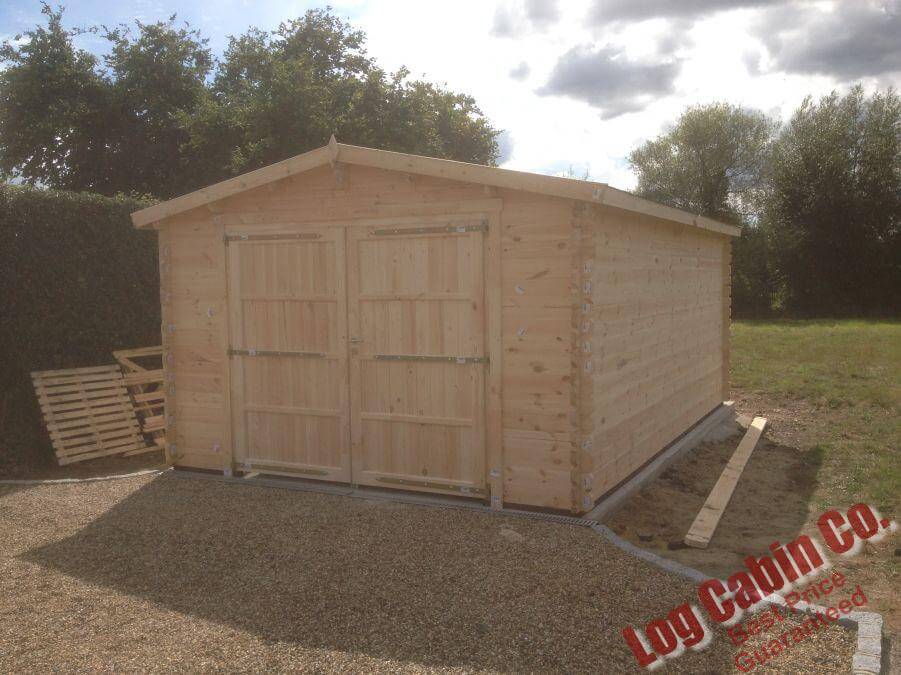
- External Size (Wall Log Length) : 4000 mm (W) x 6000 mm (D)
- Internal Size (approx.) :
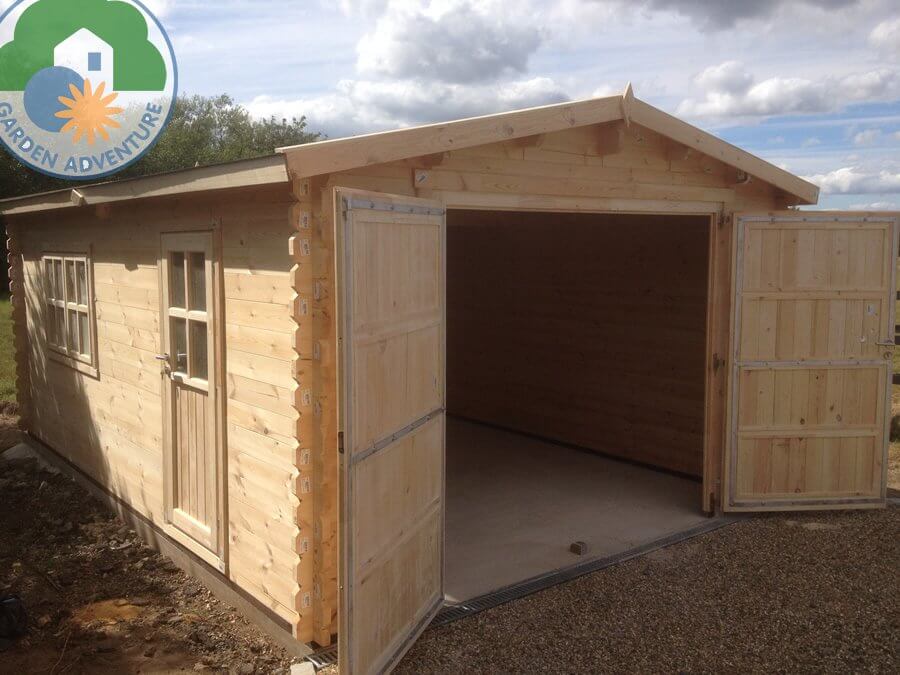
- Usable Floor Area : 23.56m²
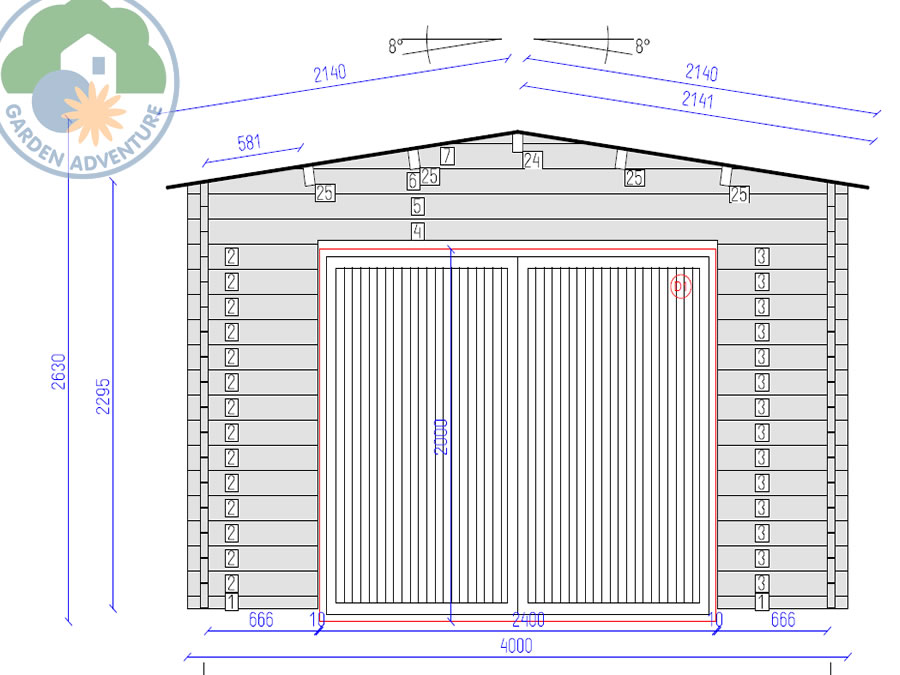
- Ridge Height : 2650 mm
- Wall Height : 2160 mm
- Roof Pitch : 8°
Included in Your Log Cabin Kit :
- Treated floor bearers
- Kiln-dried wall logs (untreated)
- Cylinder door lock with 2 keys
- Doors and windows as indicated on the floor plan.
- Floor Boards - 19mm Tongue and Groove.
- Roof Boards - 19mm Tongue and Groove.
- Assembly Guide.
Items not Included
The following items are NOT included in the kit, but are required for installation
- Screws: We would recommend 100mm x 5mm (for the base bearers) and 40mm x 4 mm stainless steel screws (for the doors and window frames).
- Nails to apply the roof and floor boards. We would recommend a 2.65 x 50mm wire nail
- Weather proof covering, such as felt shingles, shed felt or EPDM.
- Timber treatment for weather protection
Building Components
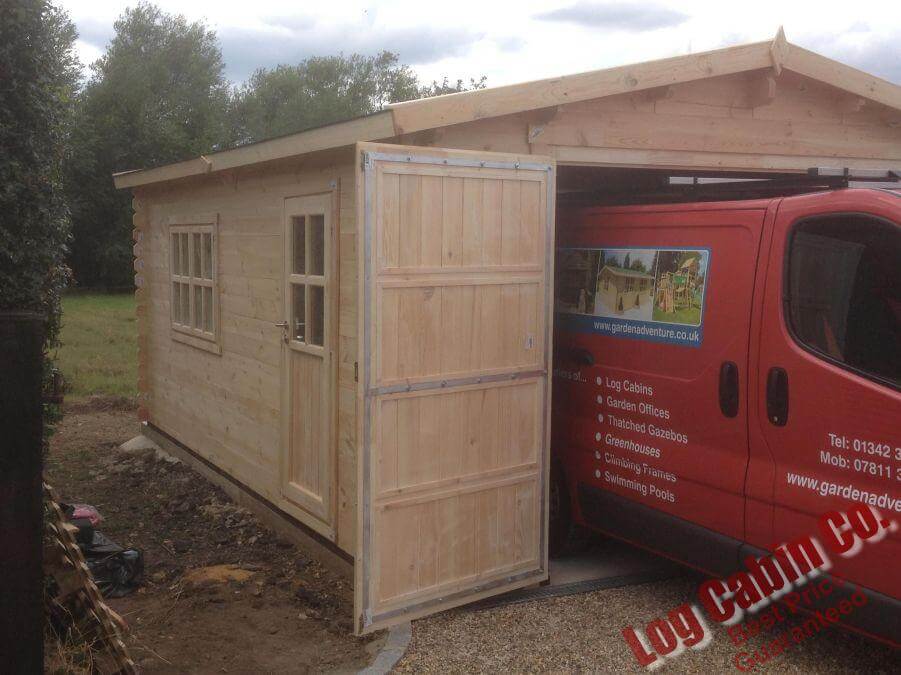
Doors
- 1x Primary
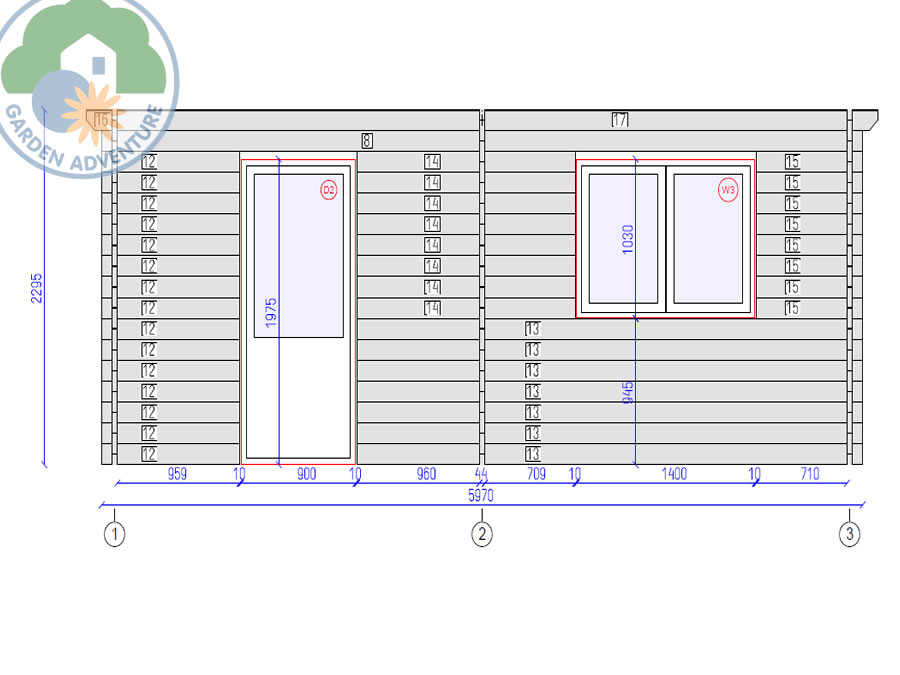
- 1x Single Half Glazed (SHG) (Secondary)
Windows
- 1x Double Window (Double)
Wooden 4x6 Garage
From : £6,709.00