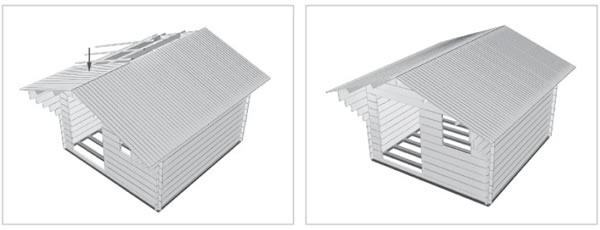
Once all the wall boards, gable ends and roof joists are in place, you are now ready to fit the roof boards.
Your building will look like this :
Tip - Before you start this process, temporarily fit a spare floor board to the ridge of the cabin. Use this as a "stopper board" to assist positioning of the roof boards. This is shown in the following picture by the brown coloured rectangle.
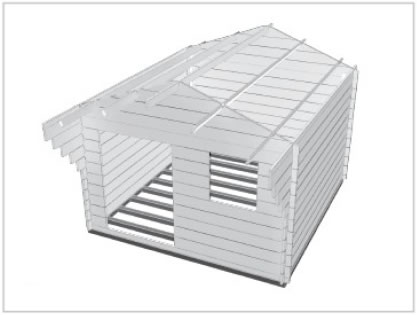
Position the first roof board against the stopper board and level with the front of the roof joists :
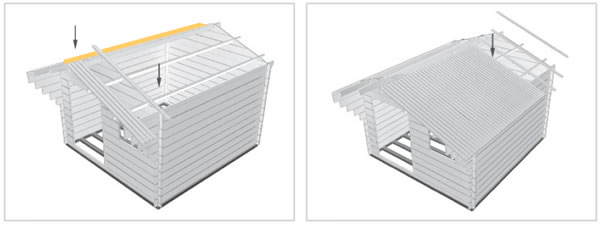
Now add more boards to the same side, working your way towards the back. Make sure each board is placed positively against the stopper board. (You will probably have to move the stopper board along the ridge at least once, depending on the cabin size).
As you reach the back of the cabin, the last roof board will likely have to be cut to width. Mark the required width and cut to size using a circular saw.
Once the first side is complete, remove the stopper board from the ridge and repeat the process of applying the roof boards to the second side. Start at the front, this time using the completed side boards as the stopper on the ridge.